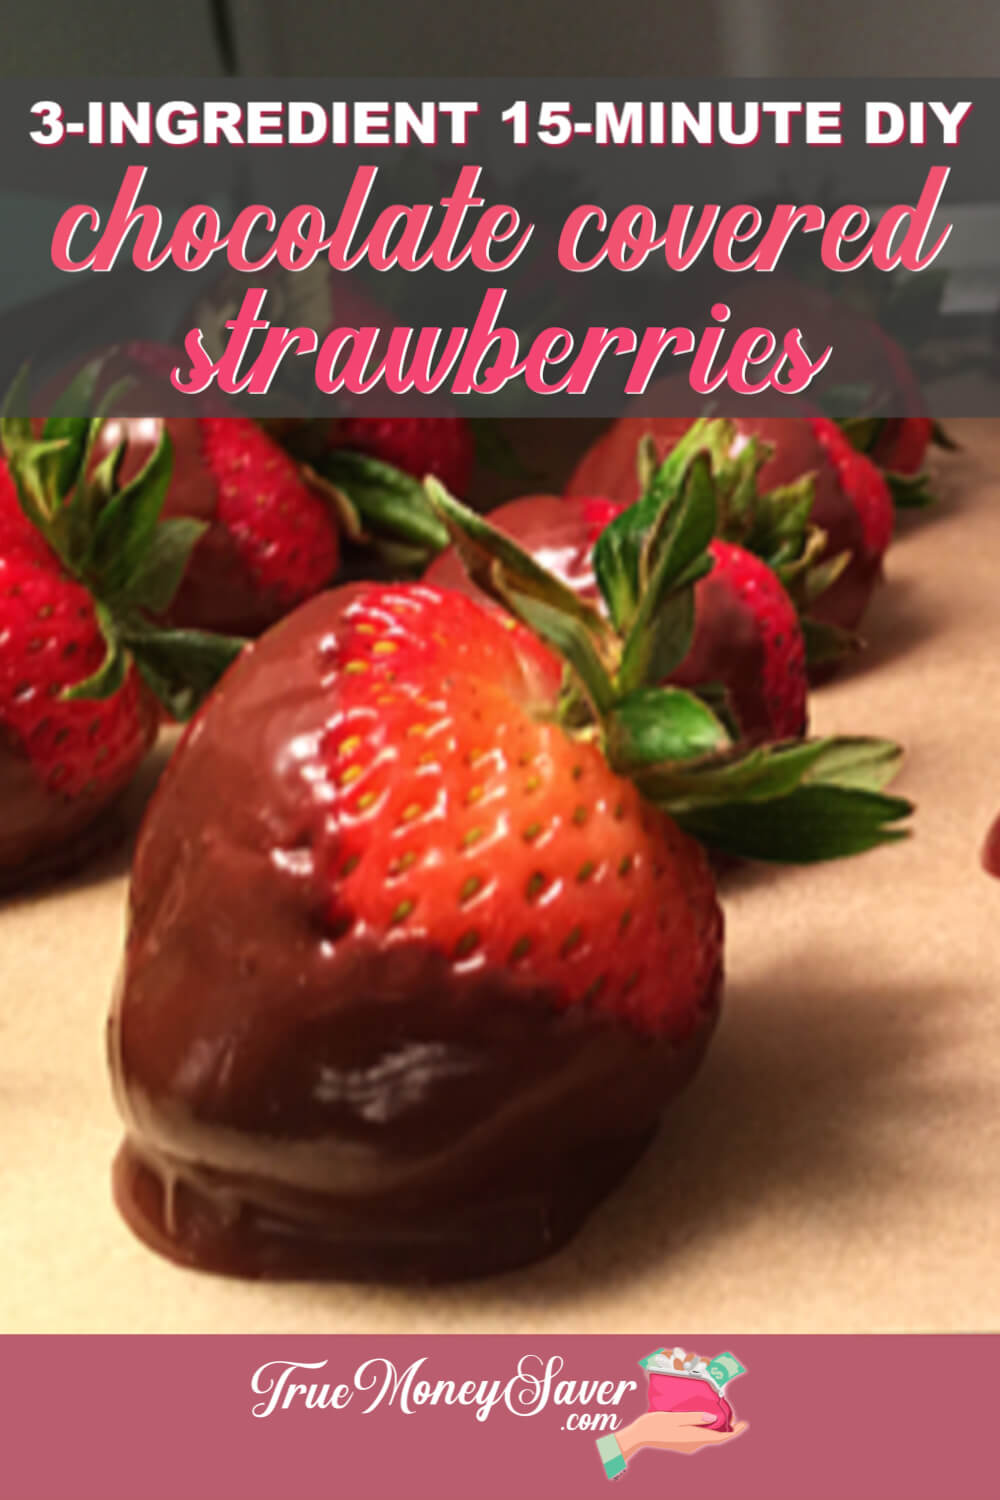
Have you ever enjoyed biting into your own creation of DIY Chocolate Covered Strawberries?
The hard outer chocolate exterior melds with the sweet juicy strawberry on the inside.
It's a little bit of heaven right here on earth!
Years ago my Mom and I would take the kids over to the mall and we'd hope that the Godiva store had some freshly dipped chocolate strawberries for us to share with the kids. What a treat!
But they are expensive! Like $3 EACH berry expensive! And you can't control the ingredients in them.
For years I was on a quest to create my own (Do It Yourself) DIY Chocolate Covered Strawberries recipe using my favorite no-sugar chocolate bars.
Because learning how to make DIY chocolate covered strawberries is important especially during the holidays!
Even when you are trying to watch your sugar intake, these sugar free chocolate covered strawberries are a decadent treat.
Plus, these easy DIY chocolate covered strawberries make a great gift!
My trick to make these sugar free chocolate covered strawberries actually sugar free is in the chocolate bar! Lily's is Stevia sweetened so it makes these chocolate covered strawberries – sugar free chocolate covered strawberries! Yippee!
Pro Tip: plan to make a few extra for you to eat immediately!
The trick is to heat the chocolate slowly in order to not get too hot or else it will ‘seize” and turns into a big globby, stiff, mess. Not at all delicious.
BONUS FREE DOWNLOAD
Save Money On Your Craft Supplies
Download this FREE Guide to find 25 Ways to save money when you buy craft supplies so that your beautiful creations cost less.
Save Money On Your Craft Supplies
Download this FREE Guide to find 25 Ways to save money when you buy craft supplies so that your beautiful creations cost less.
Don't miss these yummy strawberry recipes:
So let's get busy making these sugar free chocolate covered strawberries!
Step 1:
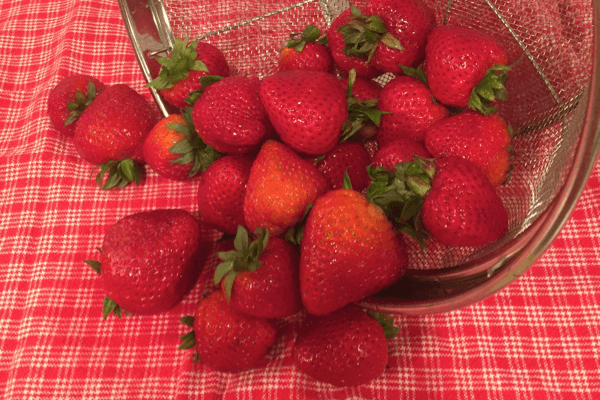
First, you need to wash your strawberries and dry them in a clean kitchen towel.
Step 2:
Then, cut parchment to fit cookie sheets so they are ready to receive the dipped DIY Chocolate Covered Strawberries.
Step 3:
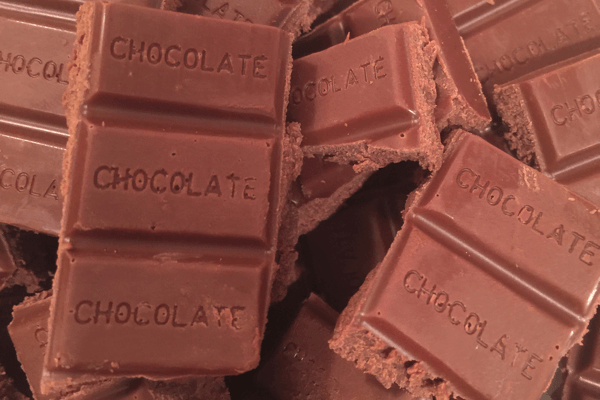
Open your candy bars and break them into pieces.
Step 4:
Then, add water to the bottom pan, turn on medium heat to bring to a boil.
Put the second/top pan on top and make sure that the water is low enough that it won’t touch the top pot. This will make sure the DIY Chocolate Covered Strawberries chocolate doesn't burn.
Step 5:
Once the water boils, turn the heat to low so it will simmer the chocolate for the DIY Chocolate Covered Strawberries.
Step 6:
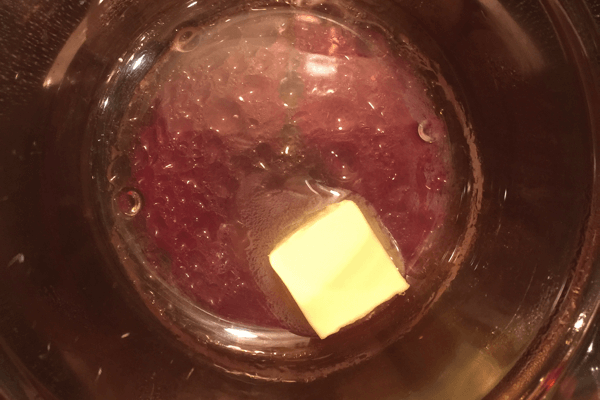
Add the tablespoon of butter to the top pan or bowl and let it melt.
Step 7:
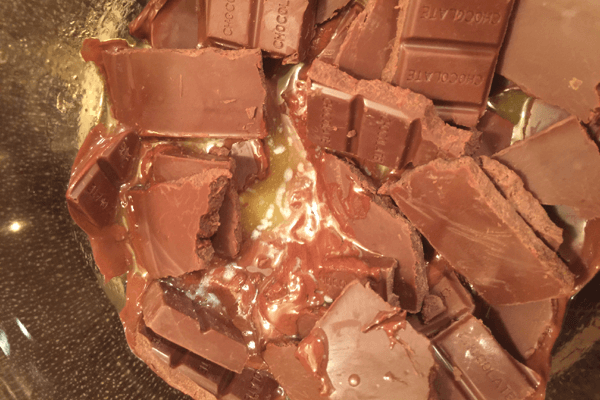
Now stir the chocolate pieces to the butter to combine and have patience while they melt.
IMPORTANT: This is where your chocolate could get ruined, so be sure the heat is low and the water is just barely simmering.
Step 8:
While waiting for the chocolate to melt for the DIY Chocolate Covered Strawberries, roughly chop any nuts to use in your “bark”.
Step 9:
Continue stirring every so often as the chocolate melts for the DIY Chocolate Covered Strawberries.
Step 10:
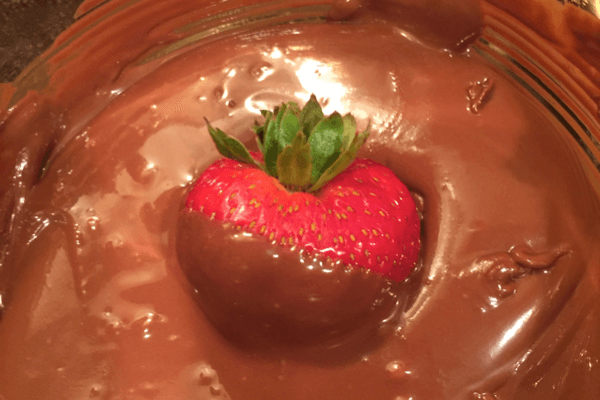
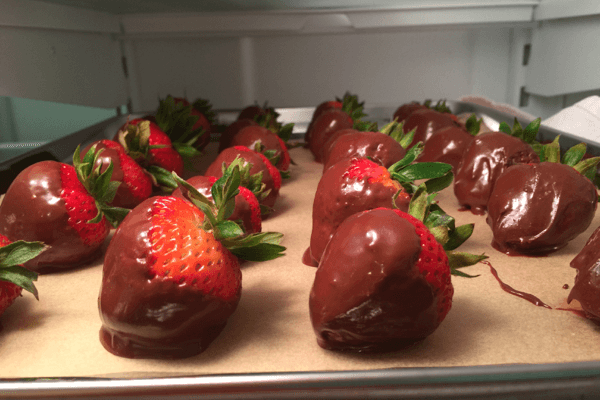
Remove from the heat and start dipping the strawberries.
Step 11:
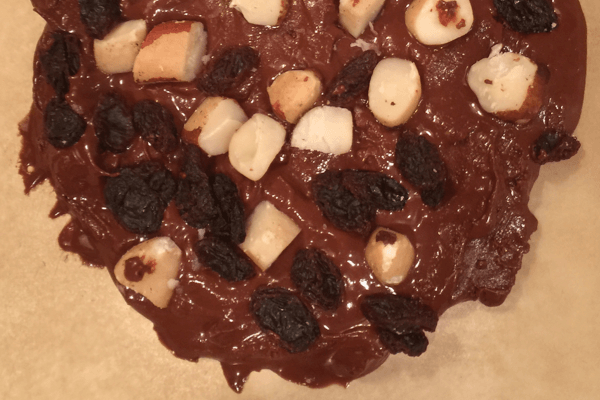
If you have any chocolate leftover spread it on your second cookie sheet and press the chopped nuts and raisins into it.
Step 12:
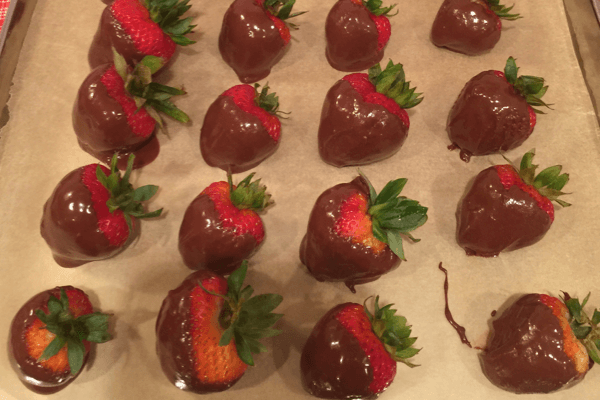
Refrigerate your DIY Chocolate Covered Strawberries and bark and they will be ready to serve in about an hour.
See how easy DIY chocolate covered strawberries really were? I should make them more often because they are so easy to make and so delicious!
Pack them with some parchment paper into these square kraft gift boxes to make some pretty delicious gifts!
BONUS FREE DOWNLOAD
Save Money On Your Craft Supplies
Download this FREE Guide to find 25 Ways to save money when you buy craft supplies so that your beautiful creations cost less.
Save Money On Your Craft Supplies
Download this FREE Guide to find 25 Ways to save money when you buy craft supplies so that your beautiful creations cost less.
DIY Chocolate Covered Strawberries Recipe
Prep time: 15 mins
Refrigerator time: 1 hour
Total time: 1 hour 15 mins
Author: Kati Kiefer
Kitchen Supplies:
1.) Two pots that fit inside each other or a double boiler. You need one pot to boil water and another pot to fit inside the other so the heat from the boiled water heats up the second bowl/pot with indirect heat.
The bottom pot gets about an inch of water.
IMPORTANT: The water in the bottom pot shouldn’t touch the upper pot or bowl while it is boiling! This was my biggest mistake, the water was touching the upper bowl making my chocolate get too hot, too fast.
2.) Two Cookie sheets. I used 16 ozs of strawberries and they all fit on one large cookie sheet. There tends to be extra chocolate left over, but not enough to cover another container of berries so I make “Chocolate Bark” with the remaining melted chocolate, and I’ve included the instructions below.
3.) Parchment paper to line the cookie sheets which makes pulling the berries off the sheet so easy. Plus it saves on clean up!
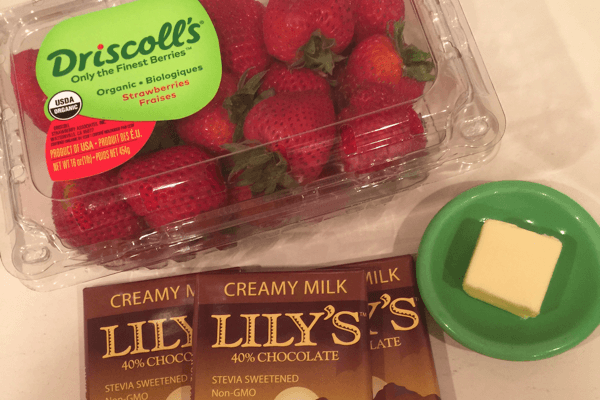
Ingredients:
- 1 Package 16 ozs Fresh Strawberries, washed and dried (IMPORTANT: They must be dried or the chocolate won't stick to them)
- 3 – 3oz Lily's Creamy Milk 40% Chocolate Bars, Stevia sweetened or your favorite chocolate bar
- 1 Tablespoon butter per 9 oz of Chocolate (the 3 chocolate bars equal 9 oz)
NOTE: If using a larger bar or 12 oz bag of chocolate chips increase the butter by a half tablespoon. - 1/2 Cup Total Nuts and Raisins of your choice to press into leftover chocolate to make your “bark”.
Step-By-Step Instructions:
Step 1: Wash your strawberries and dry them in a clean kitchen towel.
Step 2: Cut parchment to fit cookie sheets so they are ready to receive the dipped berries.
Step 3: Open your candy bars and break them into pieces.
Step 4: Add water to the bottom pan, turn on medium heat to bring to a boil. Put the second/top pan on top and make sure that the water is low enough that it won't touch the top pot.
Step 5: Once the water boils, turn the heat to low so it will simmer.
Step 6: Add the tablespoon of butter to the top pan or bowl and let it melt.
Step 7: Now stir the chocolate pieces to the butter to combine and have patience while they melt.
IMPORTANT: This is where your chocolate could get ruined, so be sure the heat is low and the water is just barely simmering.
Step 8: While waiting for the chocolate to melt, roughly chop any nuts to use in your “bark”
Step 9: Continue stirring every so often as the chocolate melts.
Step 10: Remove from the heat and start dipping the strawberries.
Step 11: If you have any chocolate leftover spread it on your second cookie sheet and press the chopped nuts and raisins into it.
Step 12: Refrigerate your berries and bark and they will be ready to serve in about an hour.
Enjoy making your own DIY Chocolate Covered Strawberries by using YOUR favorite chocolate candy bar…milk or dark…with or without sugar!
Learning how to make DIY chocolate covered strawberries is important especially during the holidays!
Even when you are trying to watch your sugar intake, these sugar free chocolate covered strawberries are a decadent treat.
Plus, these easy DIY chocolate covered strawberries make a great gift!
YOUR TURN: Have you ever tried to make chocolate covered strawberries before? Are you excited to see how easy it can be? Let me know in the comments below!