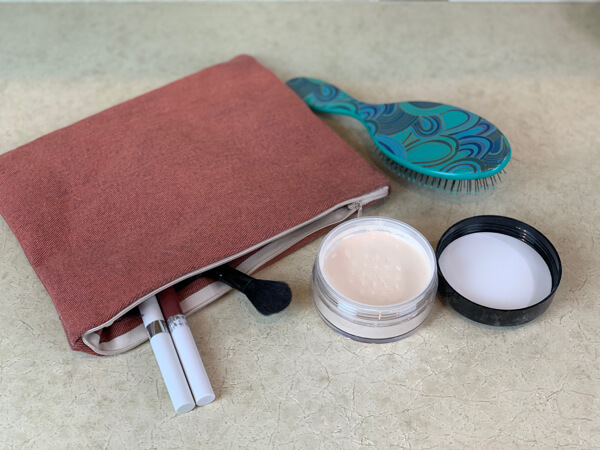
Little zippered bags are such great organizers and keep all the small things you need contained.
To make this DIY no-sew makeup bag you'll use something you probably already have in your closet… an old pair of jeans you aren't wearing any longer. (Or you can pick up a pair at the thrift store for super cheap… like $1 or maybe even less!) 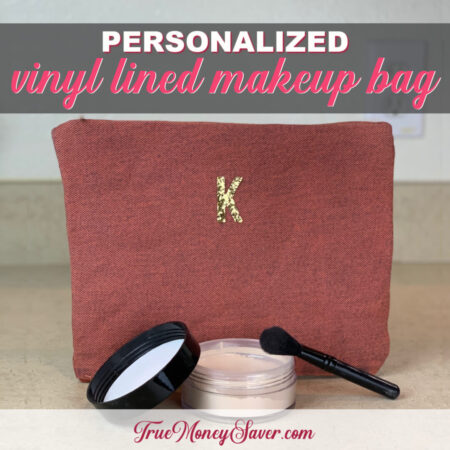
I'll show you how to make this no-sew pouch with this DIY zippered bag tutorial. This is an easy zippered bag that anyone can make in less time than it takes to run a load of laundry.
And when you're done, you won't believe how cheap they are to make.
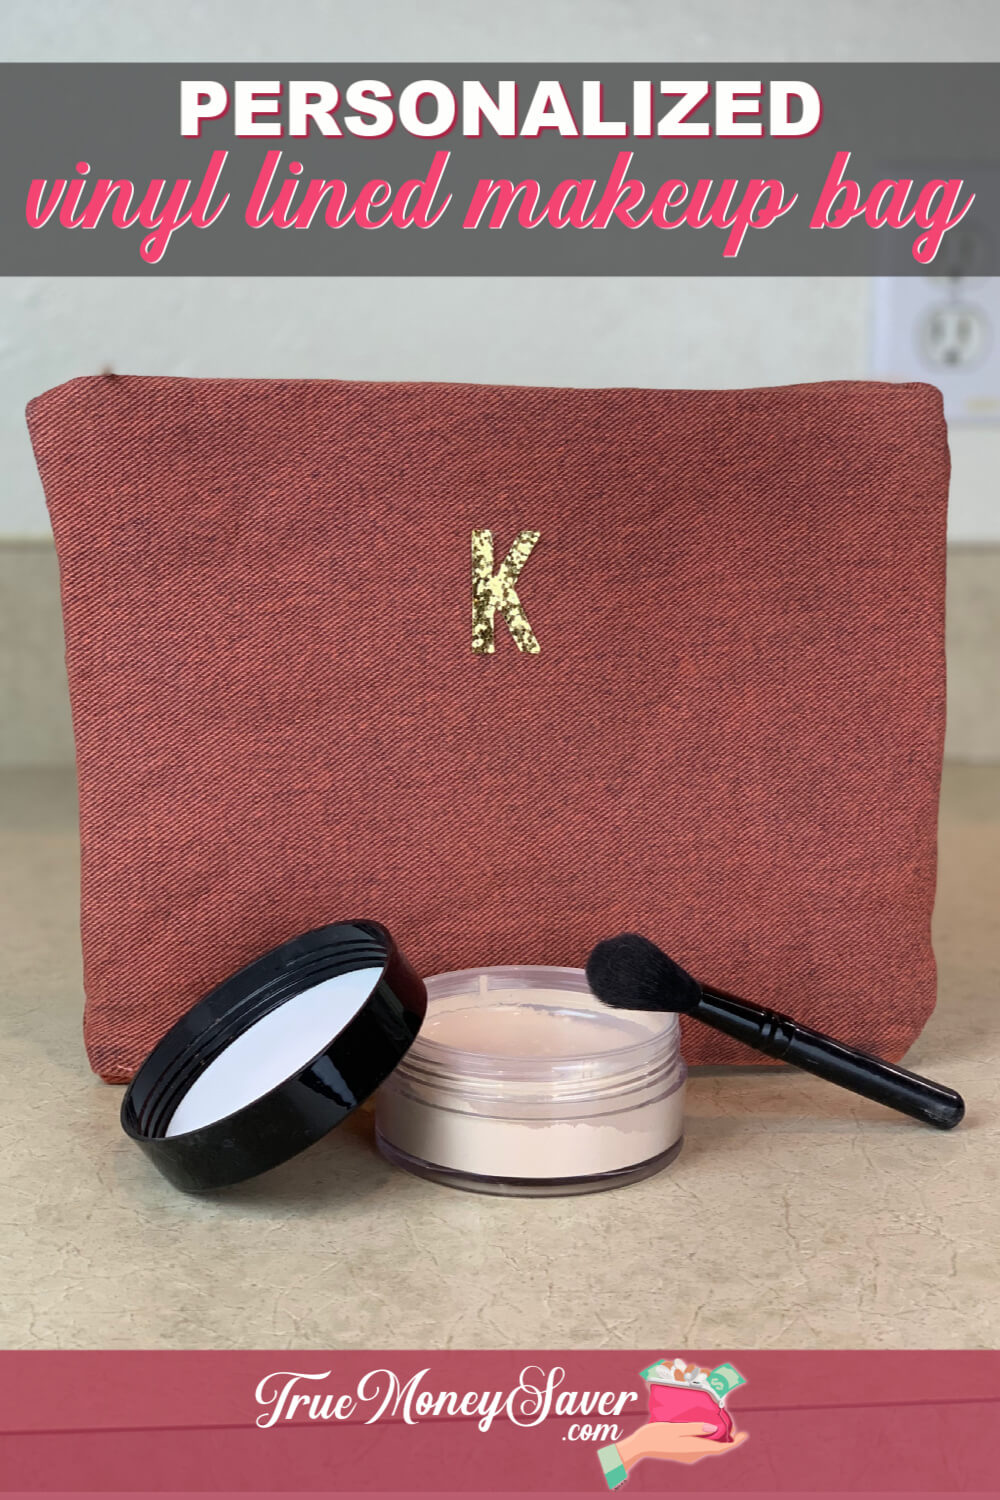
Need a quick, nice, gift for one of your girl friends or a family member? They are going to love getting one of these bags because you can personalize them with sparkly letters, iron-on appliques and so many cute things. That's what makes these cute personalized makeup bags such a great gift.
This post is part of our 30 Days of Homemade Gifts Series. 30 gifts that are easy (and cheap) to make, but also something you’ll be proud to give.
Each Homemade Gift has to meet 5 stipulations in order to maximize your money and make it easy for a busy mom to do:
- Easy to obtain supplies – Supplies are things you might already have on hand or are easy to find at Walmart or a craft store so you can get them in the same day you want to make it.
- Easy to make – Supplies are easy to work with or use so that anyone could do it… not caustic… so you could do the craft with your kids.
- Quick to make – It can be made in 30 minutes or less so it’s possible to make this gift in the middle of the night with products you most likely already have on hand. (Note: The 30 minute guide is your “hands on” time, dry time is excluded.)
- Cheap to make – You should be able to make the project without spending more than $10.
- Substantial – Each gift is “big” enough that you’ll feel confident giving it alone and not having to add a gift card to it.
BONUSES:
Multiple uses – Multiple gifts can be made out of the same supplies giving you options to use up all the supplies you buy.
Saving Money Double Bonus: Try to think about what you already have on hand to upcycled and save more money.
Are you ready to make some personalized makeup bags for every gal you know? (It'll be our secret how quick and easy they are.) Let's do it!

Supplies For Personalized Makeup Bags:
- Pair Of Old Jeans (you can get around 8 makeup bags out of one adult pair of jeans)
- Peel-N-Stick Fabric Fuse – $3.99
OR Fabric Glue - 12-14″ Zipper – $1.99 (50% Off @ Hobby Lobby) = $.99
- Embellishments – Iron-On Monograms, Rhinestones, Appliques, Letters – As low as $1.49
- Iron
- Scissors
Optional Supplies:
- Fabric Dye
- Wristlet Key Chain – As low as $3.99 (50% Off @ Hobby Lobby) = $1.99
- Zipper Pull – As low as $1.99 (50% Off @ Hobby Lobby) = $.99
- Heat ‘N Bond Iron-On Vinyl – $9.99 (could use Duck Tape instead)
BONUS FREE DOWNLOAD
Save Money On Your Craft Supplies
Download this FREE Guide to find 25 Ways to save money when you buy craft supplies so that your beautiful creations cost less.
Save Money On Your Craft Supplies
Download this FREE Guide to find 25 Ways to save money when you buy craft supplies so that your beautiful creations cost less.
- You probably already have a pair on hand that you can use (the size doesn't really matter… so it can even be a pair your kids just grew out of and they have a hole in the knee!)
- Jean material is sturdy fabric that will last.
- You can make approximately 3 bags from each leg and 2 bags from the top – that's up to 8 bags! Talk about cheap “fabric!”
Canvas or corderoy would also be a great choice for these makeup bags.
If you decide to use fabric, you can make the personalized makeup bags any size you want. Just make sure your zipper is longer than the size of the bag you want it to be.
Directions To Make Personalized Makeup Bags:
Optional First Step:
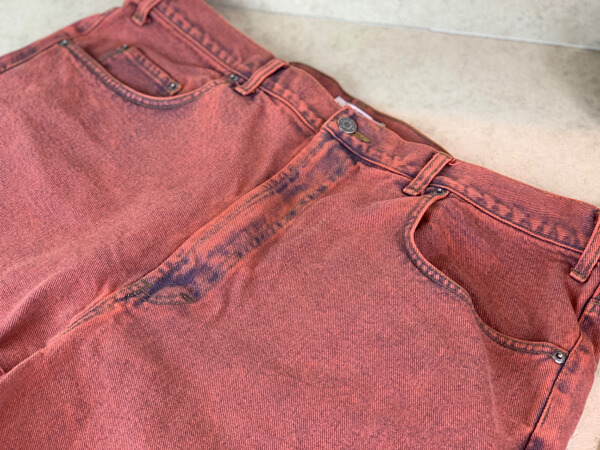
If you want to dye your jeans a different color, make sure you get white jeans or very light jeans. Make sure they are free of stains before buying. Also, I would use the Rit Laundry Treatment White-Wash to help make sure the jeans dye well.
Dye according to directions, wash and dry before starting to make the bags. (I tried two different ways to dye the jeans and I like doing it inside my washing machine the best. Then I just washed a load of towels in the very next load in case it left some dye residue behind… it didn't seem to though, so that was good!)
Look at that crazy bright color?!! I had no idea it would “take” so well. Fun!
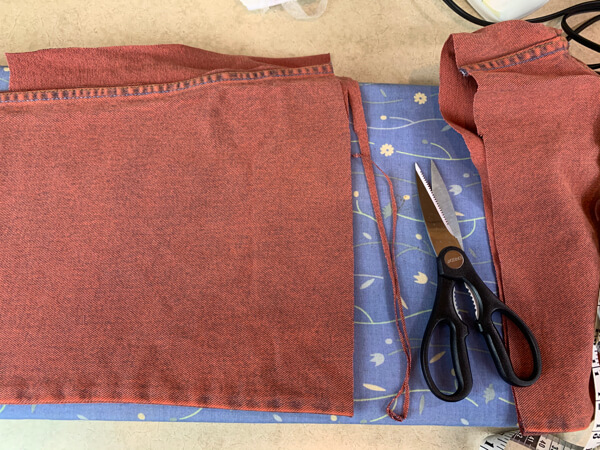
Step 1: Start Cutting Your Jeans
Lay out your pair of jeans. On one side of the leg, cut the leg off at the crotch. Think of this as your main piece of fabric.
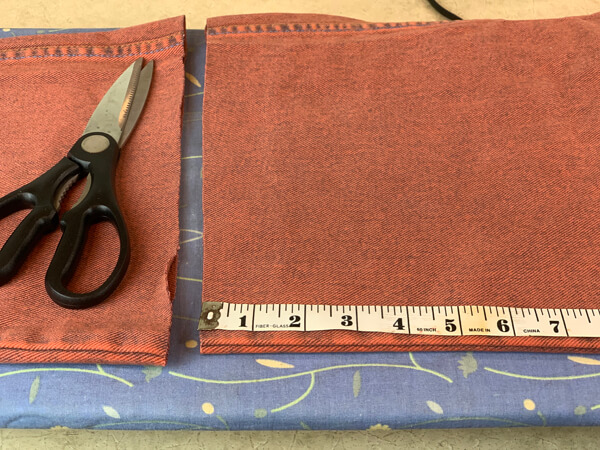
Think about using the side seam as the bottom seam for your makeup bag (it's already sewn and reinforced). Measure along the seam about 8-10″ and be sure to measure the opposite way also to determine how deep you want your bag to be when it's finished.
I made the side seam (from the pants) the bottom of my bag.
Step 2: Measure & Square Fabric
Now, if the leg was tapered, you can choose to square up the fabric or just keep the wider part as the zipper opening.
If you choose to square up the fabric, which is what I did, measure from the seam to the edges. Cut the fabric so it is square for making your cute personalized makeup bags.
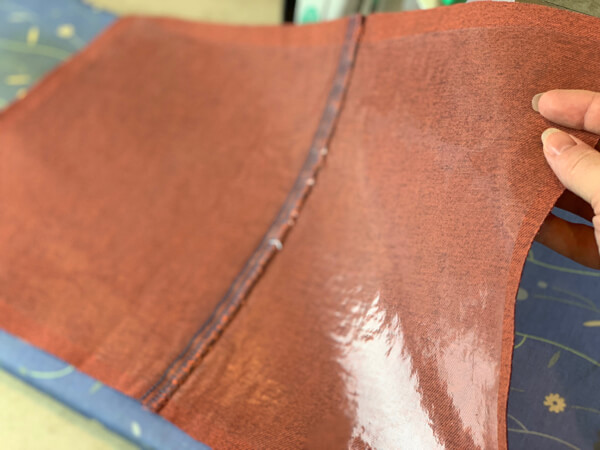
Optional Step: Apply Iron-On Vinyl
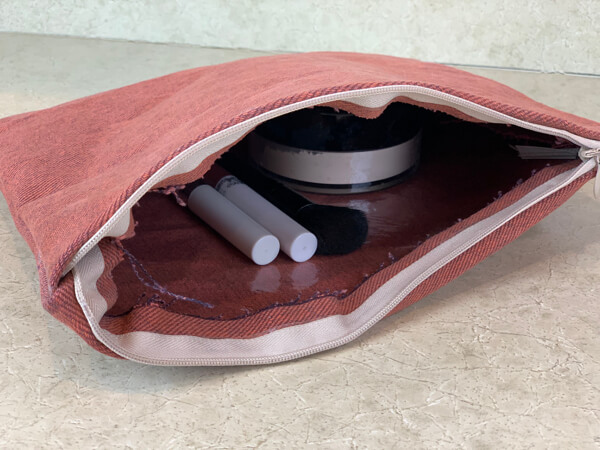
Although this is an optional step, if you are making these for makeup bags, it's nice that you can wipe the insides clean when makeup spills.
If you choose to add the vinyl, lay the fabric flat, inside facing up.
Trim the vinyl slighly short of your jean fabric so that you allow for finishing the sides and top for the zipper.
Apply the Iron-On Vinyl to the inside (or wrong side) of the jean fabric. Make sure you follow the directions. (The directions on the vinyl I bought were so simple and only took about 30 seconds total to laminiate the jean material.)
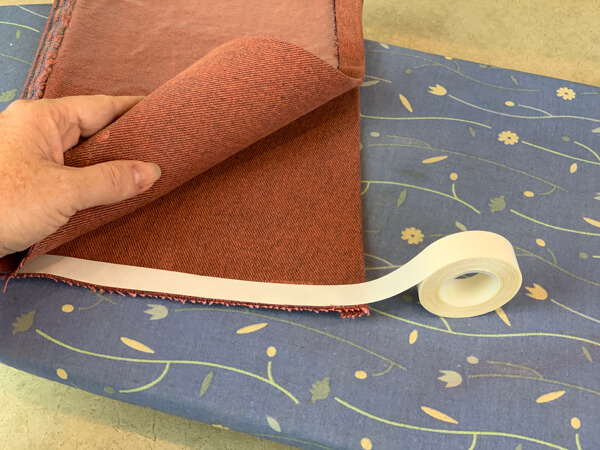
Step 4: Close The Sides Of Your Makeup Bag
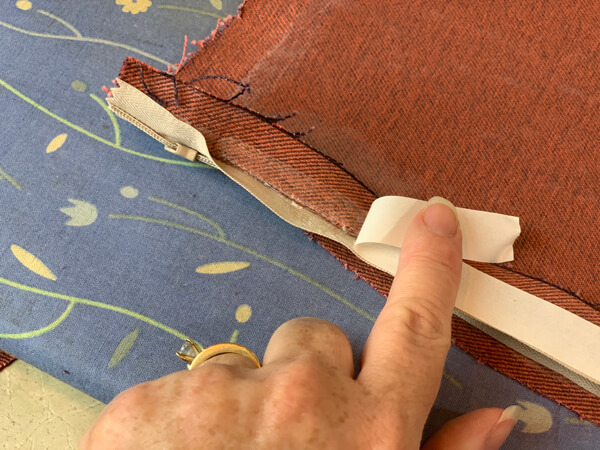
Run a piece of tape in between the FRONT sides of the fabric. Take off the paper backing and press the fabric firmly into the tape on both sides.
Repeat on all the other side of the bag.
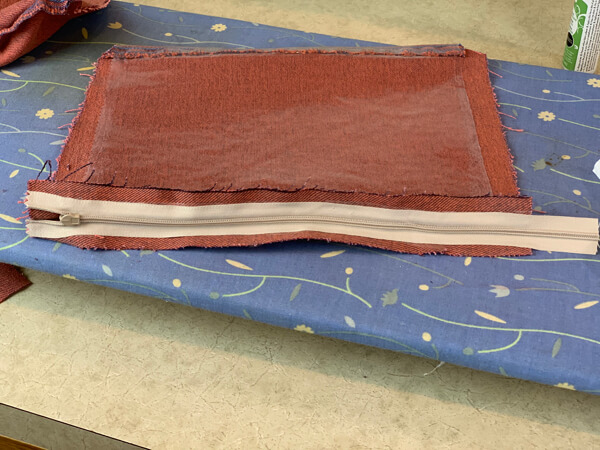
Step 5: Attach The Zipper
Fold the fabric wrong side out, with the top of the fabric upwards. Fold over the fabric 1/2 inch. You may want to iron this seam down so that it stays while you are trying to attach the zipper.
Face the zipper downwards on top of the fabric top edge. Leave some overhang on the zipper pull to one side.
Make sure you open the zipper about an inch or so so that once you are done attaching it to your makeup bag you can open your bag (I learned that one the hard way).
Using The Tape To Tape The Zipper:
NOTE: The tape is very sticky and once it's stuck to the fabric it won't come off. Please use the tape carefully and don't get it on the actual zipper elements or your bag will be hard to open (the zipper will stick to itself).
First, measure the length of the spot you want to put the tape. Then cut a piece of tape that length.
When all is said and down, you are going to fold the tape onto itself. We must do this step because the tape is too wide to fit on the zipper without having excess. I have tried cutting the tape in half but the tape is too sticky even for scissors with a non-stick coating.
I pressed the tape onto both the zipper AND the fabric at the same time, and then folded the glue on the zipper onto the glue on the jean. This way the glue was folding in half and sticking to itself, while also sticking to the zipper fabric and the jean.
You could use glue for this step instead of the tape:
Run a bead of glue in between the zipper and the fabric. Press the zipper into the glue firmly so that the glue seeps into both the fabric and the zipper material.
Caution: Make sure you leave room for the zipper to open. It only needs a little bit so that the zipper opens easily.
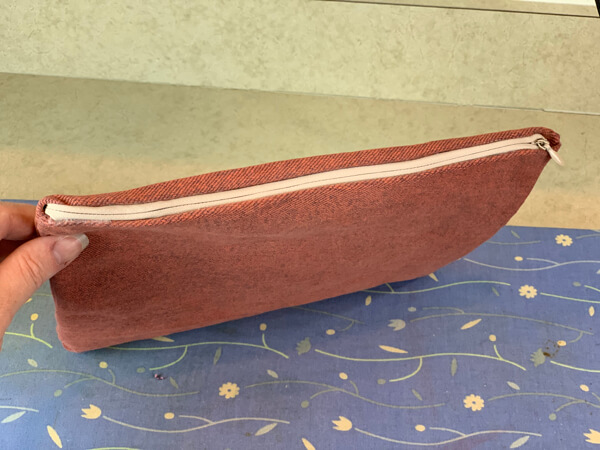
Next, turn the fabric bag over. Fold the zipper over so that the zipper is folded onto the other side of the jean material.
Run a bead of glue in between the zipper and the fabric. Press the zipper into the glue firmly so that the glue seeps into both the fabric and the zipper material.
Step 6: Add Embellishments & Zipper Pull
Now that the bag has dried, it's time to make these cute personalized makeup bags pretty and personalized.
Add embellishments according to the directions on the package. Some may require glue or an iron.
Jazz your personalized makeup bags up with rhinestones, iron-on appliques, patches, transfers & more. Get creative and have fun!
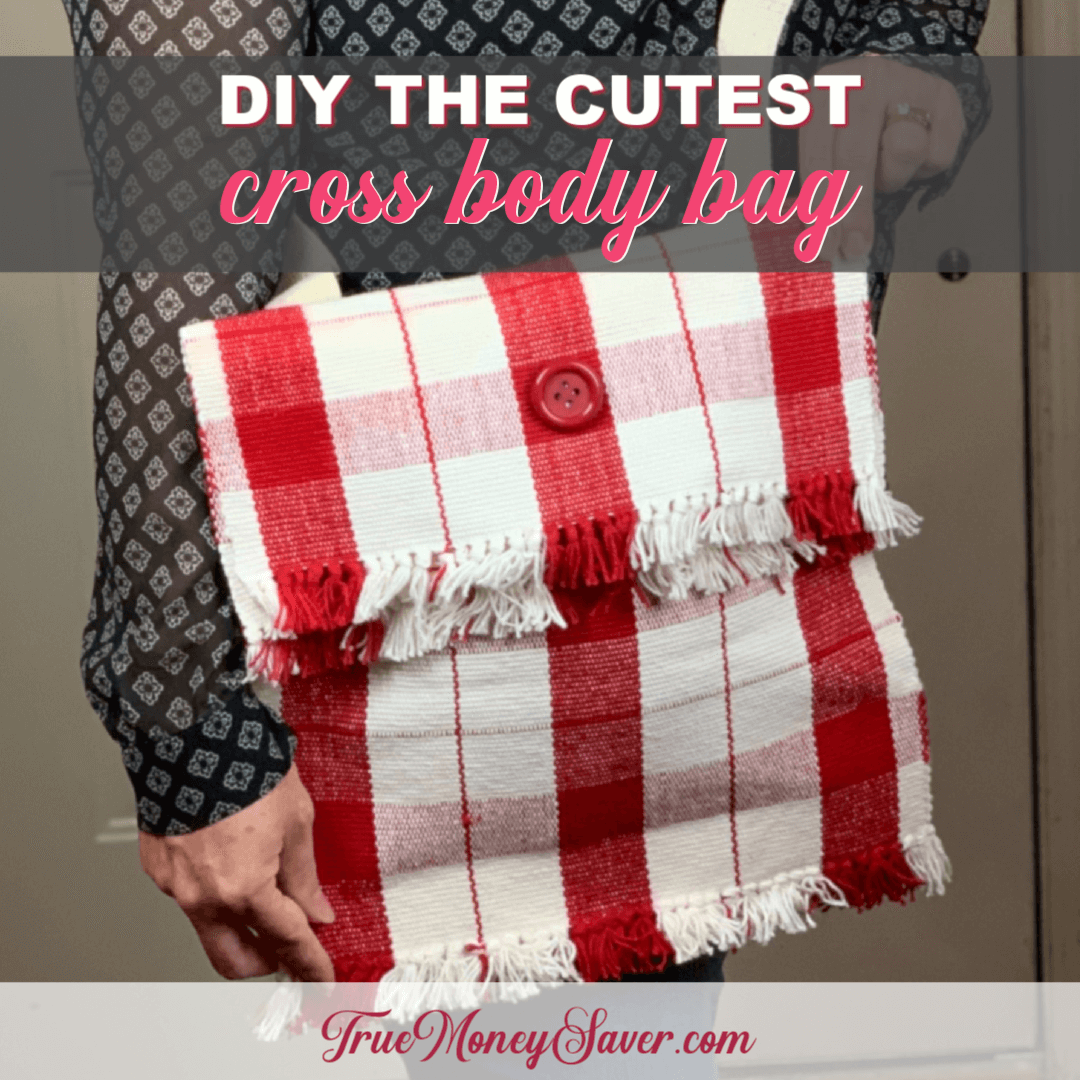
More Uses For Personalized Makeup Bags:
Of course these DIY no-sew makeup bags don't have to be for just makeup.
You can use them for all sorts of things including:
- Pencil Pouches
- Sewing Kits
- Toiletry Bags or Gym Toiletry Bags
- Jewelry Bag for Traveling
- Feminine Care Bags
- Electronic Organizing Bag: Cords, Earbuds, Chargers, etc.
- Emergency Driving Kits: hand wipes, medicine, hand sanitizer, stain sticks, etc.
- Sun Glass or Eyeglass holders (made from smaller bags)
- Locker Kits
- First Aid Kits
BONUS FREE DOWNLOAD
Save Money On Your Craft Supplies
Download this FREE Guide to find 25 Ways to save money when you buy craft supplies so that your beautiful creations cost less.
Save Money On Your Craft Supplies
Download this FREE Guide to find 25 Ways to save money when you buy craft supplies so that your beautiful creations cost less.
- Office Emergency Supply Bag: toothbrush, toothpaste, safety pins, bobby pins, toothpicks, etc.
- Keeping Kids Busy In the Car Bags
- Money Wristlet (made from smaller bags)
- Medication Kit
- Hair Care Kit
- Business Card (made from smaller bags)
- Planner & Tools
- Nail Care Kit
As you can see, there are so many uses for these types of easy zippered bags.
And all made from a pair of jeans you weren't even using!
What Does It Cost To Make Personalized Makeup Bags?
- Pair Of Old Jeans (you can get anywhere from 6-8 makeup bags from an adult pair of jeans) – Free if you already have some
- Peel-N-Stick Fabric Fuse – $3.99 (using about 80¢ worth)
OR Fabric Glue - 12″ Zipper – $1.99 (50% Off @ Hobby Lobby) = $0.99
- Heat ‘N Bond Iron-On Vinyl – $9.99 (use 40% Off coupon = $5.99. Only using about 1/4 of the vinyl = $1.50)
- Embellishments – Iron-On Rhinestones, Appliques, Letters, Monograms – As low as $1.49
- Zipper Pull – As low as $1.99 (50% Off @ Hobby Lobby) = $.99
- Wristlet Key Chain – As low as $3.99 (50% Off @ Hobby Lobby) = $1.99
Total Cost: $3.29 (Fabric Fuse, zipper and vinyl)
So as you can see, it is so fast to make these cute personalized makeup bags. You are basically just cutting a square out of some jeans and pressing adhesive on the sides to keep it closed. Can it get any easier than that? BOOM.
Plus, these DIY no sew makeup bags are so cheap to make!
You can personalize these easy zippered bags with rhinestone letters, iron-on appliques and so many cute things to make them a great gift.
YOUR TURN: How many personalized makeup bags are you going to make? Let me know in the comments below!