You can! I didn’t know either until recently. And now my custom t-shirt making possibilities just blew wide open!
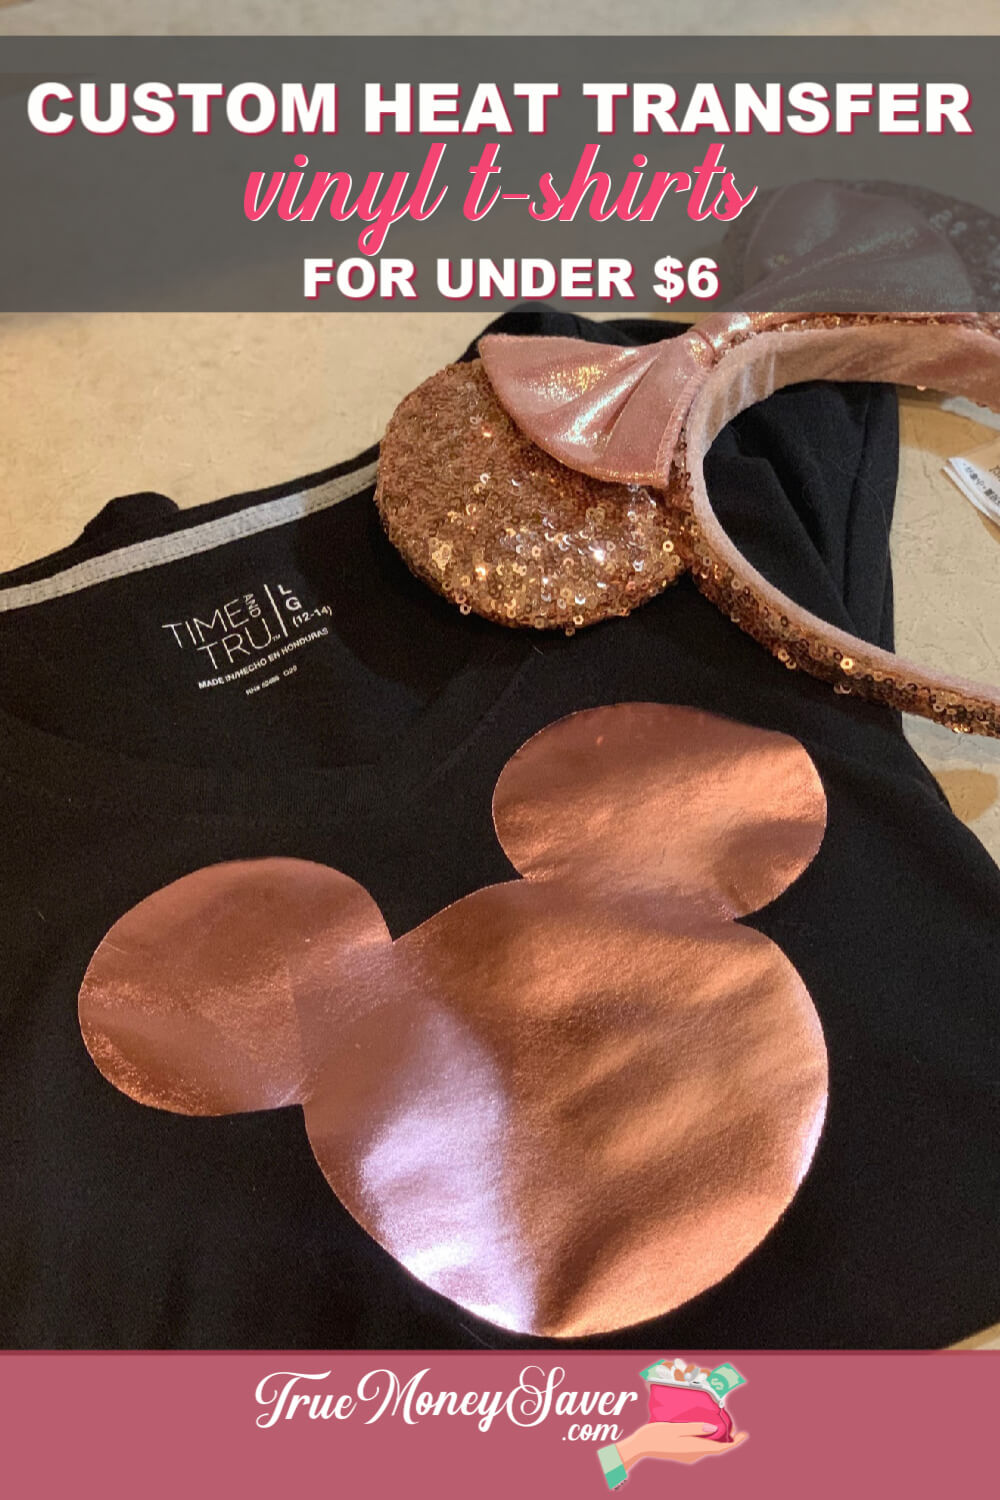
And since my family loves Disney, this is the best opportunity to make my family some of the cutest custom Disney t-shirts. ![]()
Let me tell you how easy this DIY t-shirt transfer is to do… Can you trace, use scissors and an iron? Then you can do this project!
Plus, this DIY t-shirt vinyl is very simple to use. The simpler the design you make, the easier and faster this project will be – but still super cute and fashionable.
And this DIY heat transfer vinyl t-shirt is very affordable. Since you don’t need a fancy cutter, all you’ll need is a t-shirt and the heat transfter vinyl. That’s it!
This post is part of our 30 Days of Homemade Gifts Series. 30 gifts that are easy (and cheap) to make, but also something you’ll be proud to give.
Each Homemade Gift has to meet 5 stipulations in order to maximize your money and make it easy for a busy mom to do:
- Easy to obtain supplies – Supplies are things you might already have on hand or are easy to find at Walmart or a craft store so you can get them in the same day you want to make it.
- Easy to make – Supplies are easy to work with or use so that anyone could do it… not caustic… so you could do the craft with your kids.
- Quick to make – It can be made in 30 minutes or less so it’s possible to make this gift in the middle of the night with products you most likely already have on hand. (Note: The 30 minute guide is your “hands on” time, dry time is excluded.)
- Cheap to make – You should be able to make the project without spending more than $10.
- Substantial – Each gift is “big” enough that you’ll feel confident giving it alone and not having to add a gift card to it.
BONUSES:
Multiple uses – Multiple gifts can be made out of the same supplies giving you options to use up all the supplies you buy.
Saving Money Double Bonus: Try to think about what you already have on hand to upcycled and save more money.
So are you ready to learn how to make this DIY heat transfer vinyl t-shirt? Let’s get pressing!

DIY Heat Transfer Vinyl T-Shirt Supplies:
- T-Shirt – $4.44 (@ Walmart)
- Heat Transfer Iron-On Vinyl 12″ x 24″ roll – $6.49 (50% Off @ Hobby Lobby) (you can get at least 2 shirts out of this vinyl size, depending on the size of your design)
- Scissors – $0
- Iron – $0
- Ironing Board or protective heat surface – $0
- Weeder Tool (optional – may be needed for intricate designs) – $8.99 (@ Hobby Lobby)
- Printed Design – $0
- Ruler – $0
- Xacto Knife (optional) – $0
I printed the clip art Mickey Head from this clipart website.
Note: There are different types of heat transfer vinyl. Make sure the vinyl will work with your type of fabric of your shirt.
Heat Transfer Iron-On Vinyl is also known as iron-on vinyl, HTV or t-shirt vinyl. This type is only activated by heat.
You cannot use adhesive vinyl for fabric, it won’t stay on when you wear it.
BONUS FREE DOWNLOAD
Save Money On Your Craft Supplies
Download this FREE Guide to find 25 Ways to save money when you buy craft supplies so that your beautiful creations cost less.
Save Money On Your Craft Supplies
Download this FREE Guide to find 25 Ways to save money when you buy craft supplies so that your beautiful creations cost less.
Directions For Your Heat Transfer Vinyl T-Shirt:
Step 1: Print & Prewash
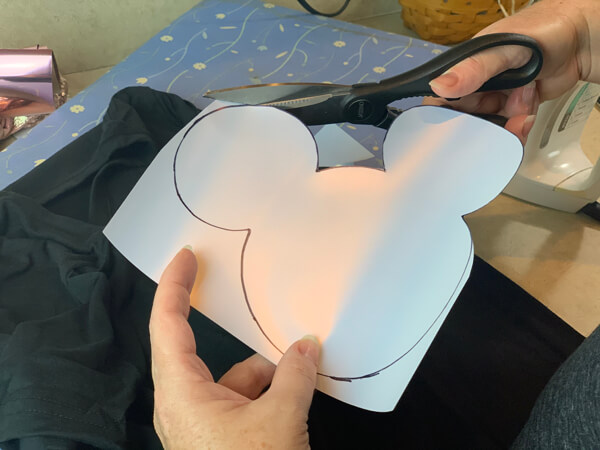
First, decide on the design you want on your t-shirt. Then, print it out on computer paper. I would also go with a very simple design because it will be faster to cut out, trace and then cut out again.
The more intricate design, obvoiusly, the more time consuming it will be. It will still work… and that is the ONLY part that will take some time, but I want you to know up front that it will take longer if you choose a more detailed image.
Remember that you will be working on the backside of the vinyl (the side that will go against the t-shirt). So if you have any letters in your design, you will have to mirror or flip the design so that you trace it backwards and that way the correct side will show up once you have ironed it on.
Using scissors, cut out your design.
Having a hard time deciding how big your design should be? Here are some size ideas to help.
Then, prewash your shirt but DO NOT use fabric softener. The residue may prevent the vinyl from sticking to the shirt.
Step 2: Trace Your Design On The Vinyl
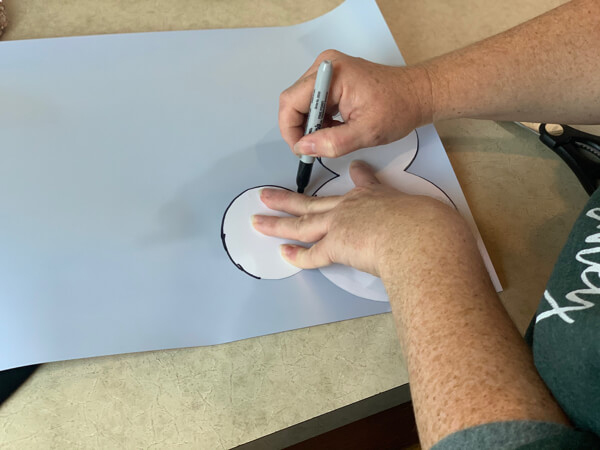
Now it’s time to trace your design onto the DIY t-shirt vinyl. I used a sharpie, but I’m sure a pencil would work too.
Remember, you are tracing on to the NOT pretty side of the vinyl. This is the side that will stick to your shirt.
Once you’re finished tracing, go ahead and cut your design out of the vinyl.
Step 3: Place Your Vinyl
This step might be obvious, but I like to include every single step I do to complete a project so I’ve got it here.
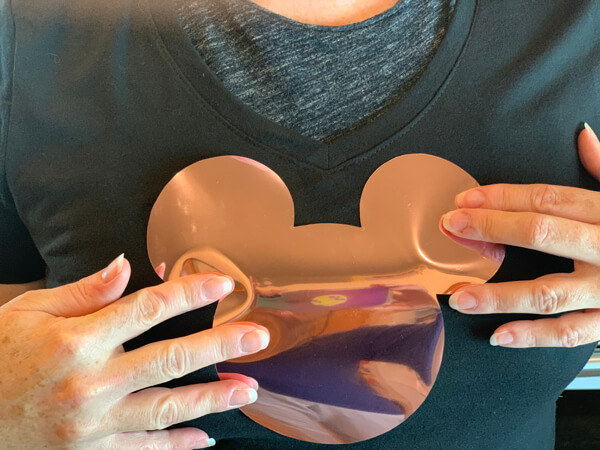
Put your shirt on (yes, right over the shirt you have on already) and look in the mirror to guage where you want to place your vinyl.
I was concerned that the Mickey “Ears” would be in an awkward place on the front of my shirt. To avoid any potential issues, take 2 seconds to put the shirt on and make sure you’re vinyl will be ironed in the right place.
I noticed that the center of my vinyl needed to be about 1.25″ down from the center V and that each ear was about 1/2″ out from the V.
Step 4: Iron The Vinyl On
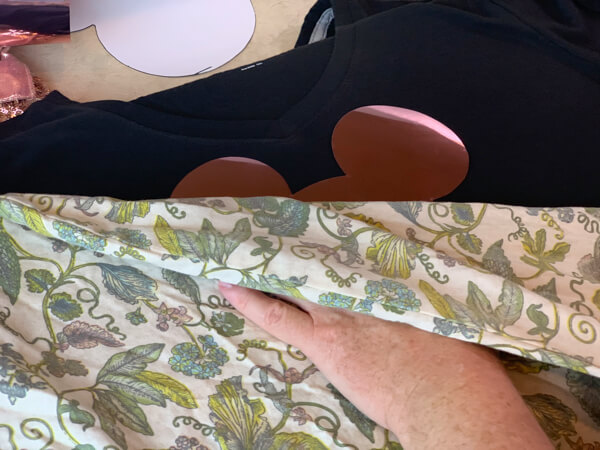
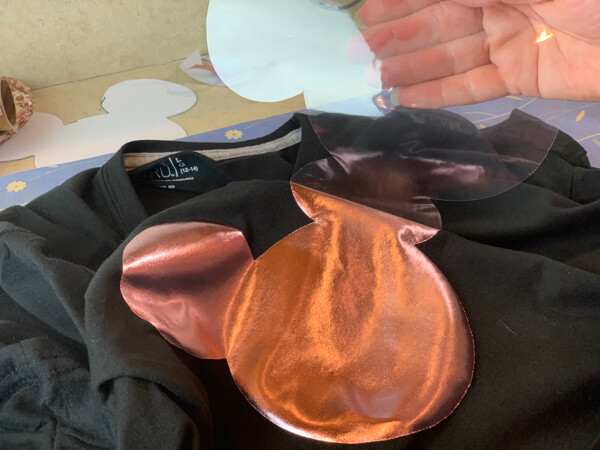
Place your vinyl design where you want it with the pretty side up and cover with a thin cloth to protect your iron (I used a pillow case).
Using the directions from the vinyl package, iron the vinyl on to make your DIY t-shirt transfer.
Make sure that the steam is off (even though you probably need it hot enough to be in the normal “steam” zone, I just empied the water out of my iron to ensure we’d have no steam) and you keep moving the iron slightly or in squiggles to prevent the holes in your iron from staying in the same place and making a dimple in your vinyl.
Make sure that you don’t keep the iron on it in the same place for too long as it will melt the vinyl into your shirt and make it look bad.
Check out this Heat Setting Chart that might help you with your iron setting.
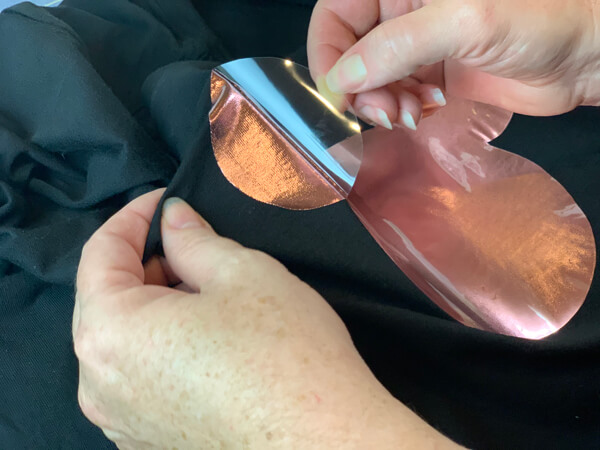
Step 5: Carefully Peel Back The Carrier Sheet
After you have ironed on the vinyl, carefully and slowly start to peel back the carrier sheet which is the clear front protection to the vinyl.
If you start to see a piece that was not secured, iron that spot again for a couple more seconds.
Continue peeling back the carrier sheet to reveal your design.
You won’t believe how soft the vinyl feels on your t-shirt. It’s like it was printed on it from the manufacturer. Yay!
Step 6: Care & Washing Instructions
After you have made your DIY heat transfer vinyl t-shirt, you will want to make sure that your gift recipient knows how to take care of the shirt.
BONUS FREE DOWNLOAD
Save Money On Your Craft Supplies
Download this FREE Guide to find 25 Ways to save money when you buy craft supplies so that your beautiful creations cost less.
Save Money On Your Craft Supplies
Download this FREE Guide to find 25 Ways to save money when you buy craft supplies so that your beautiful creations cost less.
The t-shirt should be turned inside out, washed in cold water, and then line dried. It shouldn’t really go in the dryer.
If the shirt has metallic or foil vinyl, they should be hand washed and then line dried.

What Does A Custom Heat Transfer Vinyl T-Shirt Cost?
- T-Shirt – $4.44 (@ Walmart)
- Heat Transfer Iron-On Vinyl 12″ x 24″ roll – $6.49 (50% Off @ Hobby Lobby) (you can get about 6 shirt designs out of this vinyl size, depending on the size of your design) = $1.08 per shirt
- Scissors – $0
- Iron – $0
- Ironing Board or protective heat surface – $0
- Weeder Tool (optional – may be needed for intricate designs) – $8.99 (@ Hobby Lobby)
- Printed Design – $0
- Ruler – $0
- Xacto Knife (optional) – $0
Total Cost: $5.52 = T-shirt + 1/6 of the vinyl on sale (note: I only used about 1/6 of my sheet, so I could still make 5 more of this design out of the same piece of heat transfer vinyl)
See how easy this DIY t-shirt transfer is to do?!! If you can you trace, use scissors and an iron, then you can do this project!
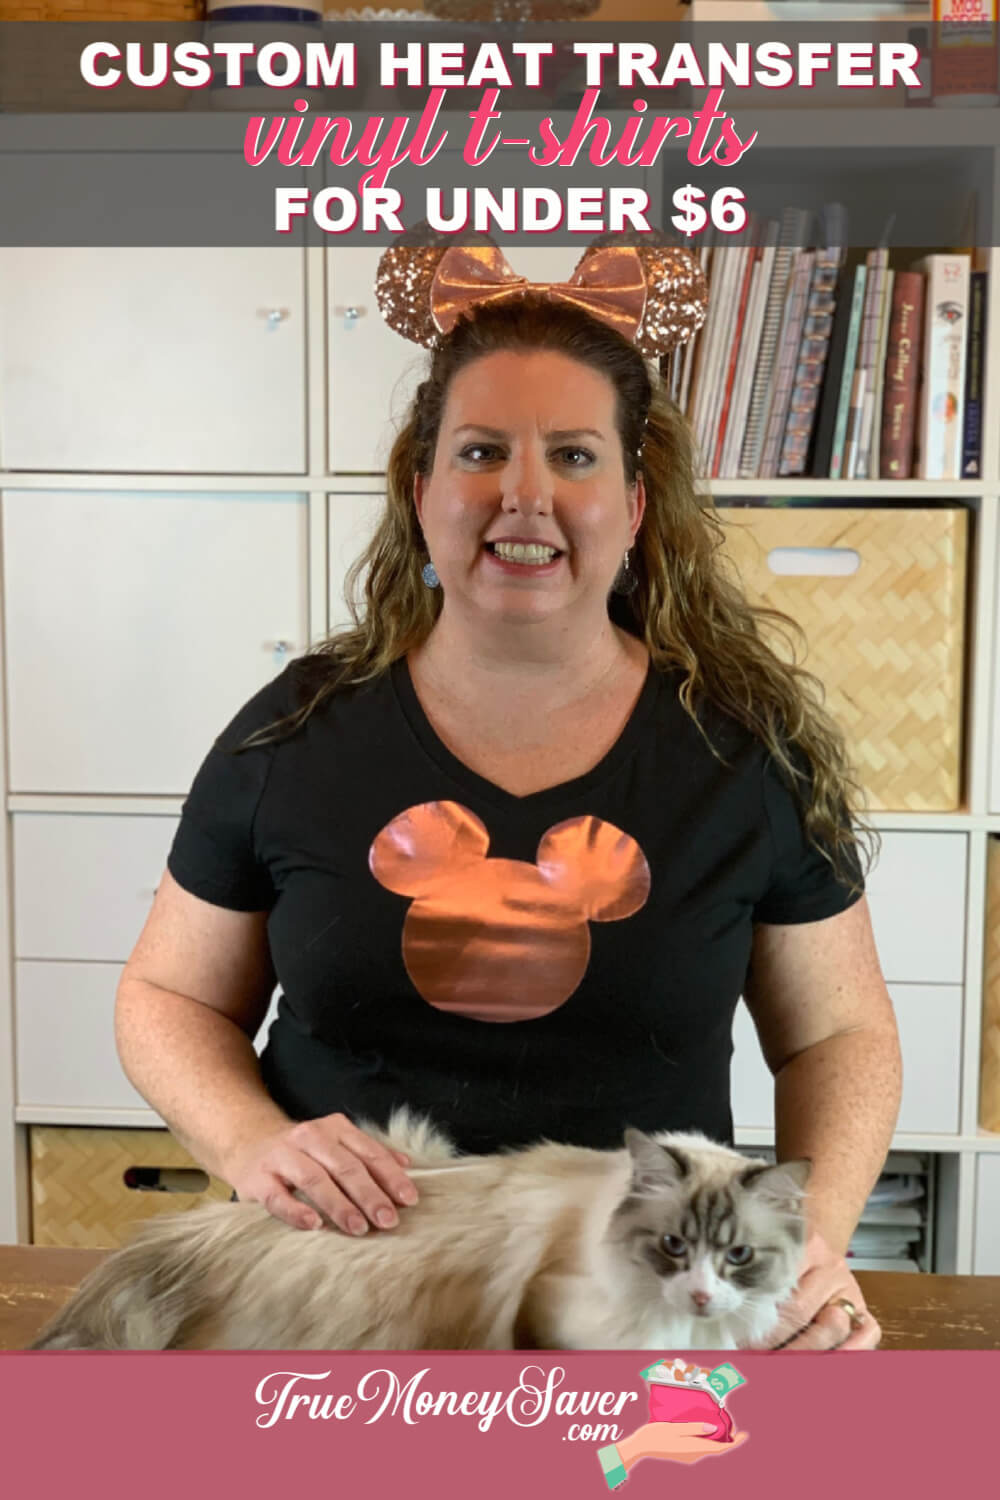
This DIY t-shirt vinyl is very simple to use. And the simpler the design you make, the easier and faster this project takes! Don’t these t-shirts look super cute too?!!
And this DIY heat transfer vinyl t-shirt is very affordable. Since you don’t need a fancy cutter, it makes this project super affordable! Just under $6 for each custom shirt (of course, depending on the design and how many colors you use).
I can’t wait to see what your DIY heat transfer vinyl t-shirt looks like!
YOUR TURN: What design are you going to make on your DIY heat transfer vinyl t-shirt? Let me know in the comments below!
More Fun Articles To Read: