I love using a cross body bag becuase it allows me to have my hands free to hold children’s hands while running errands. Plus, sometimes I make mad dashes into the store just to grab a couple of things and don’t want to grab a cart. Having my hands free means I can grab those several things without having to hold my purse too. 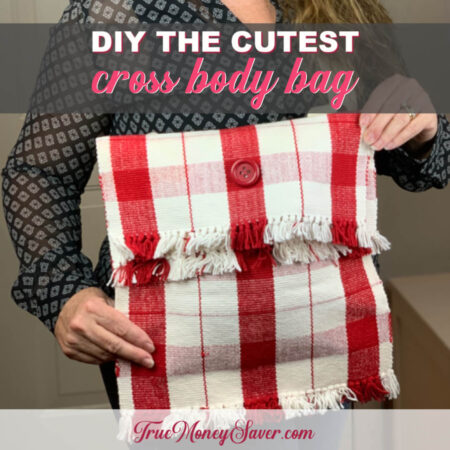
But cross body bags can get pricey. so that’s why I was determined to find a way to make a DIY cross body bag that was easy to make and looked nice too. And I found it!
What if I told you that all you needed was some placemats, a strap, and either a needle and thread or some fabric glue. Hard to believe right?!!
Well, it’s true! This large travel cross body bag is just what you need to make a great gift for all your mommy friends! And you can customize them and make them as pretty as you want so your friends will love them even more!
I can’t wait to show you how this large hipster bag can be made in 30 minutes or less,
And this cross body bag free tutorial will show you how just easy they are to make. Just sew or glue and away you go…
If you are excited about making this DIY easy cross body bag, get the family involved! It’s a great starter to show kids how to make a blanket stitch!
This post is part of our 30 Days of Homemade Gifts Series. 30 gifts that are easy (and cheap) to make, but also something you’ll be proud to give.
Each Homemade Gift has to meet 5 stipulations in order to maximize your money and make it easy for a busy mom to do:
- Easy to obtain supplies – Supplies are things you might already have on hand or are easy to find at Walmart or a craft store so you can get them in the same day you want to make it.
- Easy to make – Supplies are easy to work with or use so that anyone could do it… not caustic… so you could do the craft with your kids.
- Quick to make – It can be made in 30 minutes or less so it’s possible to make this gift in the middle of the night with products you most likely already have on hand. (Note: The 30 minute guide is your “hands on” time, dry time is excluded.)
- Cheap to make – You should be able to make the project without spending more than $10.
- Substantial – Each gift is “big” enough that you’ll feel confident giving it alone and not having to add a gift card to it.
BONUSES:
Multiple uses – Multiple gifts can be made out of the same supplies giving you options to use up all the supplies you buy.
Saving Money Double Bonus: Try to think about what you already have on hand to upcycled and save more money.
So are you ready to learn how to make this DIY cross body bag? Let’s get started!
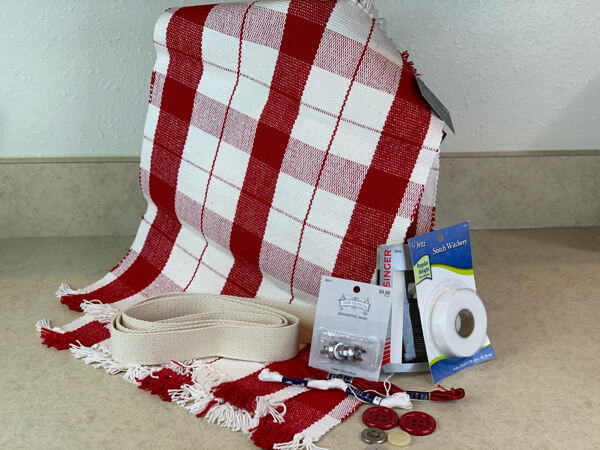
Supplies For DIY Cross Body Bag:
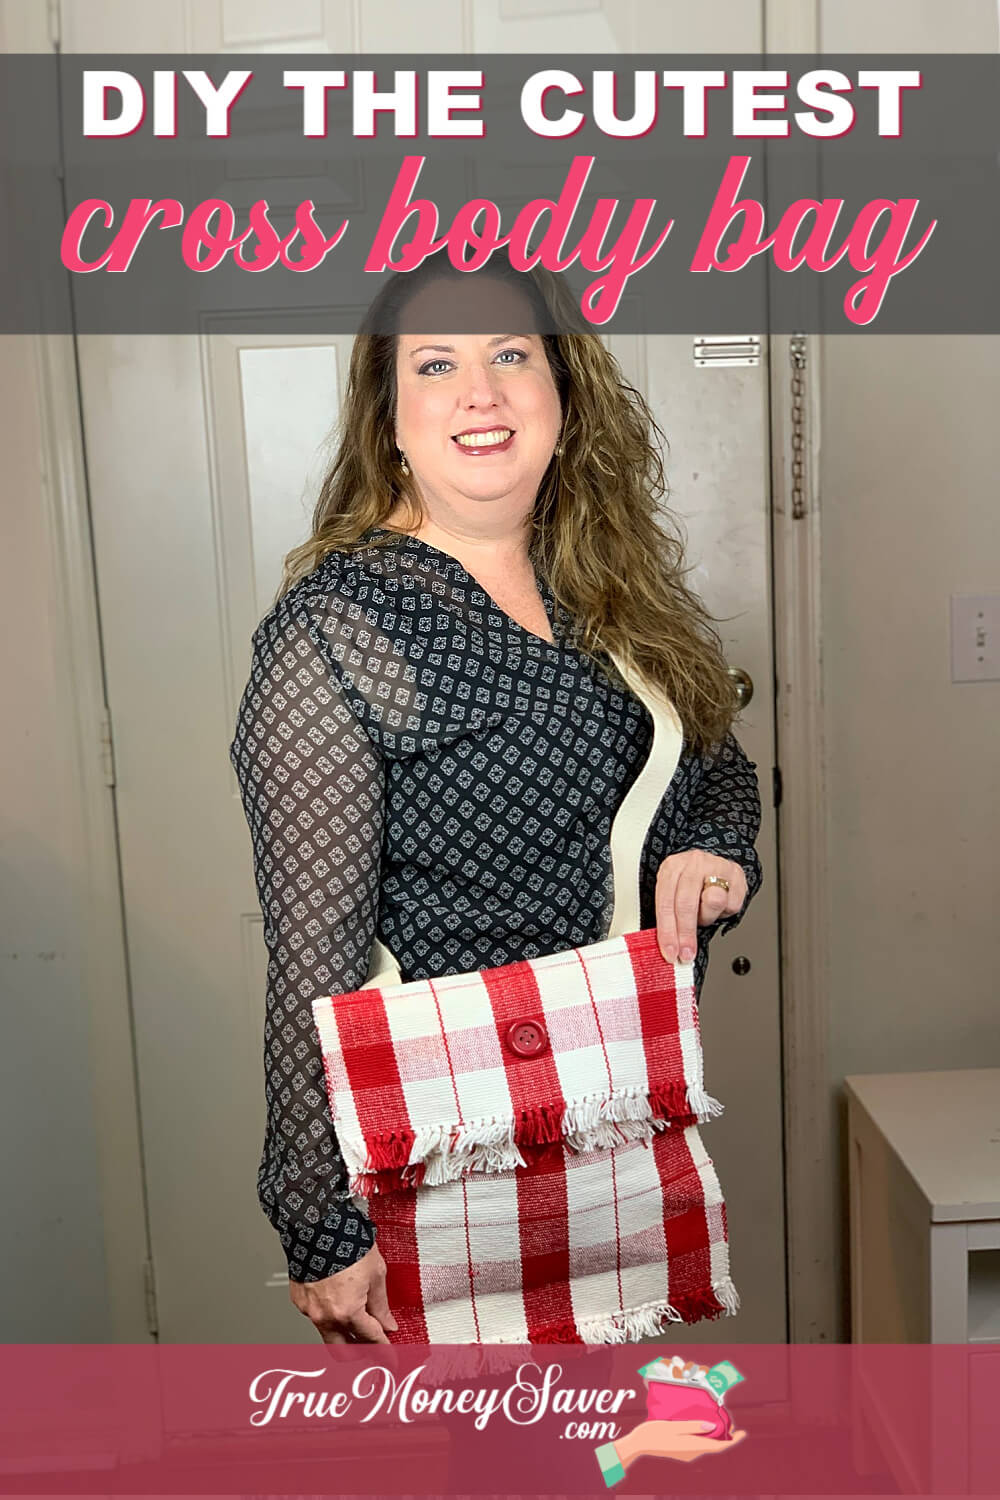
- (2) Placemats – I chose this red pattern that has fringe (50% Off on sale for $2.99 @ Hobby Lobby) = $5.98
- Strap (this is called “1 inch Cotton Webbing“) – $1.99/yd @ Hobby Lobby (I bought 1 & 1/2 yards) = $2.98
- Matching Embroidery Thread – 56¢ (@ Hobby Lobby)
OR use Peel-N-Stick Fabric Fuse OR Fabric Glue – $3.99 (@ Hobby Lobby) - If use Embroidery Thread you’ll need a Needle – $1.59 (@ Hobby Lobby)
- Nickel Sew-On Magnetic Snaps 1/2″ 2 pk – $4.99 (Optional – Use 40% Off coupon to get it cheaper @ Hobby Lobby) = $2.99
- Cute Button – $0
- E-6000 to glue button on to snap
- Iron (for Fabric Fuse)
- Pliers – $0
- Ruler – $0
Other Optional Embellishments For Your DIY Easy Cross Body Bag:
- Iron On Monogram Letters or Embellishments – prices start at $1.49 (@ Hobby Lobby)
- Toggle Closure – prices start at $3.25 (@ Hobby Lobby)
- Slide Adjusters – $1.99 up to $2.49 (@ Hobby Lobby)
BONUS FREE DOWNLOAD
Save Money On Your Craft Supplies
Download this FREE Guide to find 25 Ways to save money when you buy craft supplies so that your beautiful creations cost less.
Save Money On Your Craft Supplies
Download this FREE Guide to find 25 Ways to save money when you buy craft supplies so that your beautiful creations cost less.
Directions For DIY Cross Body Bag:
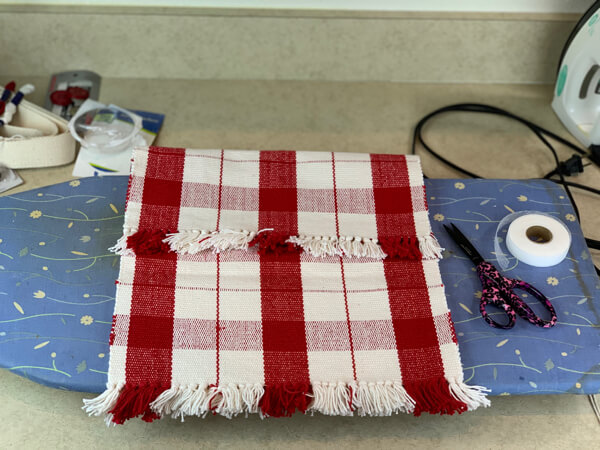
Step 1: Lay The Placemats Right Sides Out & “Sew” Together
First, take off the tags off your placemats.
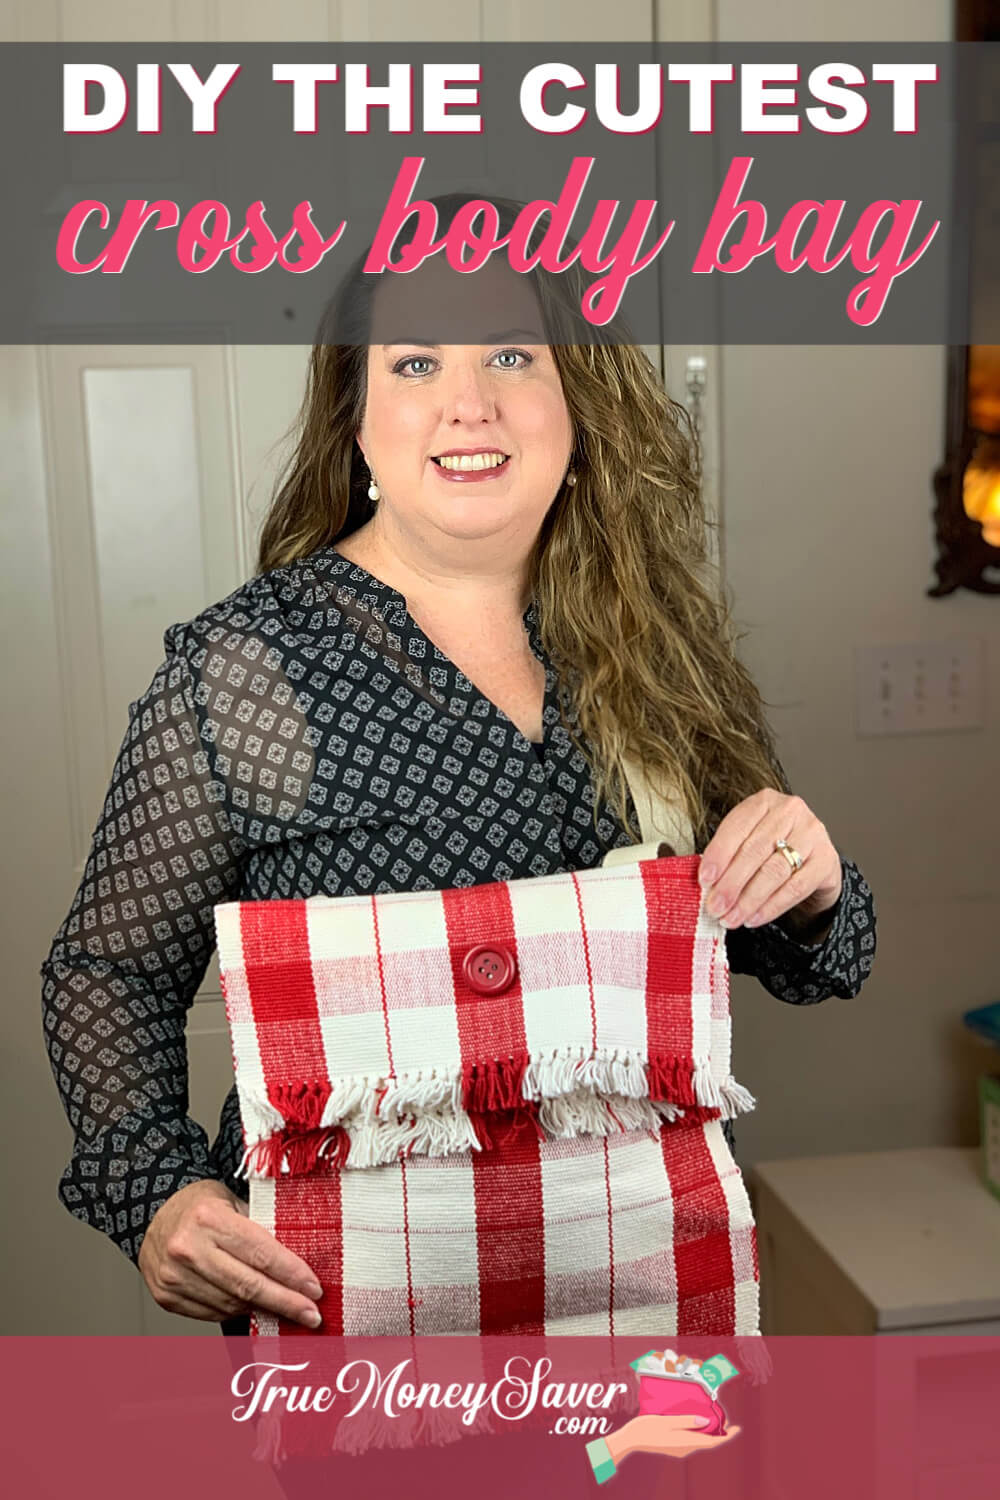
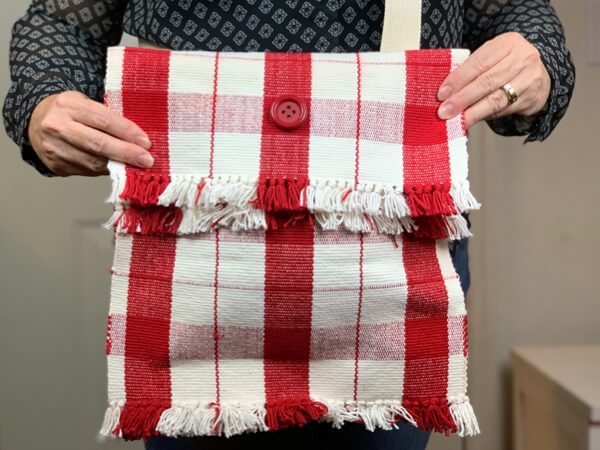
Then, make sure the correct sides (the prettiest sides) are facing away from each other and lay them on top of one another. This will make a large hipster bag or large travel cross body bag. One that has enough room to carry a water bottle, wallet, phone, keys, etc.
Option 1: Needle & Embroidery Thread
The first way you can sew around the bag is with a needle and thread, using a simple blanket stitch to sew all the way around (excluding the top). Start from the right top corner and sew down and around to the left top corner. Make sure you do not close up the top of the bag.
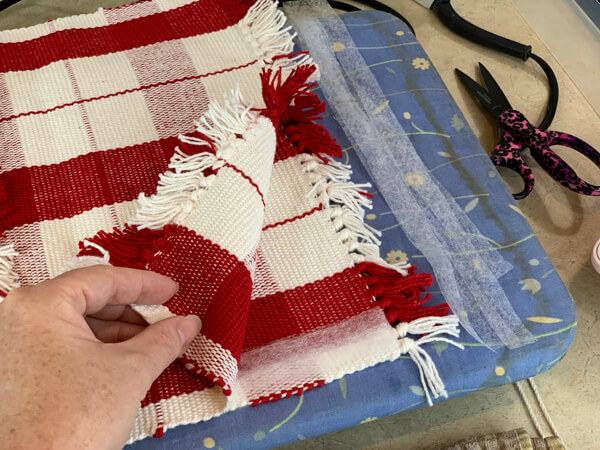
Option2: Glue Or Tape Instead Of Stitching
If your not a fan of stitching, use can use fabric glue or stitch witch instead.
First, make sure both the pretty sides are facing out from each other and lay them on top of one another.
Starting from the top right corner, lay a bead of glue or a strip of tape all the way around to the left top corner. Make sure you do not glue or tape the bag shut.
Depending on the fabric fuse tape you use, you might need to use an iron to meld the sides together. That’s the type of fabric tape I had on hand:

Let your new cross body bag dry.
This is going to be one easy cross body bag free tutorial. Except waiting for it to dry – I’m so impatient! {Side Note: You can use a hair dryer to speed up the drying process.}
Step 2: Attach The Straps
This step really needs to be done with a needle and thread. This will make sure the bag strap is secure. Thankfully, it is only a small square of sewing.
Fold down the top of the bag to the amount where you want it to fold down. Make sure both sides are level and add a pin on both sides at the crease.
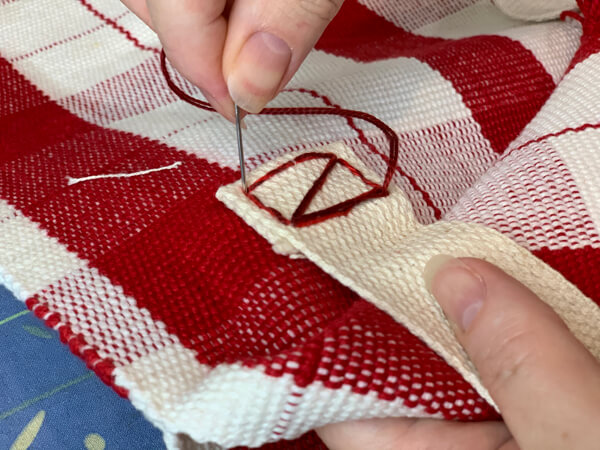
First, Fold the strap (cotton webbing) down 1″. Then, using a needle and thread, stitch a box around the edge of the trim catching both layers of the webbing and the bag.
Once you have completed the box, stitch an X inside the box.
Here is an image of an x box stitch if you’ve never stitched one before.
Run the strap over to the other side of the bag making sure it’s not twisted. Repeat the process of folding the webbing, stiching an x and stitching the box.
Here’s what it looks like from the back when it’s done:
Optional Step 3: Adding The Magnetic Snaps
You don’t really need a magnetic snap to this bag since it does fold over. You can skip this step and save a couple extra dollars. But just in case you do, I’m adding the directions.
Now to add the magnetic snaps, you will also need something to cover up the snap on the top of the bag.
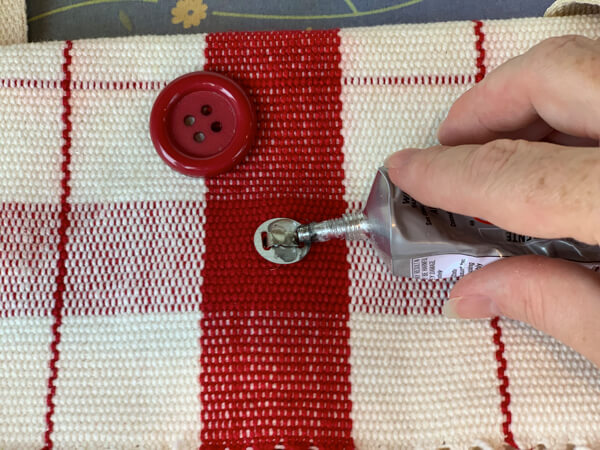
Since the snap closure will show through to the front of the bag since we only have one layer to the bag, you can easily cover it up with a cute button. I’m sure you have several laying around. I’m a button saver too. So find a cute one that will cover it up.
To add the magnetic closure, first measure and find the center of the bag on the fold. You can probably go an 1″ to 2″ up from the fringe. Make sure the magnetic sides are on the inside of the bag and push the prongs through to the outside of the bag. Since this type of material has lots of little holes, I didn’t have to cut any slits to accomodate the prongs. Add the metal support on top of the prongs and fold the prongs over the support towards the center.
Repeat the process with the other side of the magnetic closure making sure they are aligned correctly.
Figure out what side you want the front of the bag to be and glue a button on top of the metal support so it can’t be seen. I used a little dot of E-6000 and then I used the hair dryer to get it to “set” quicker.

Optional Step 4: Embellish Your DIY Cross Body Bag
If you didn’t add the magnetic closure and button, there is ample room to emebellish the bag if you want to.
Add monogram letters, flowers, ribbons and such. Make it pretty and fun!
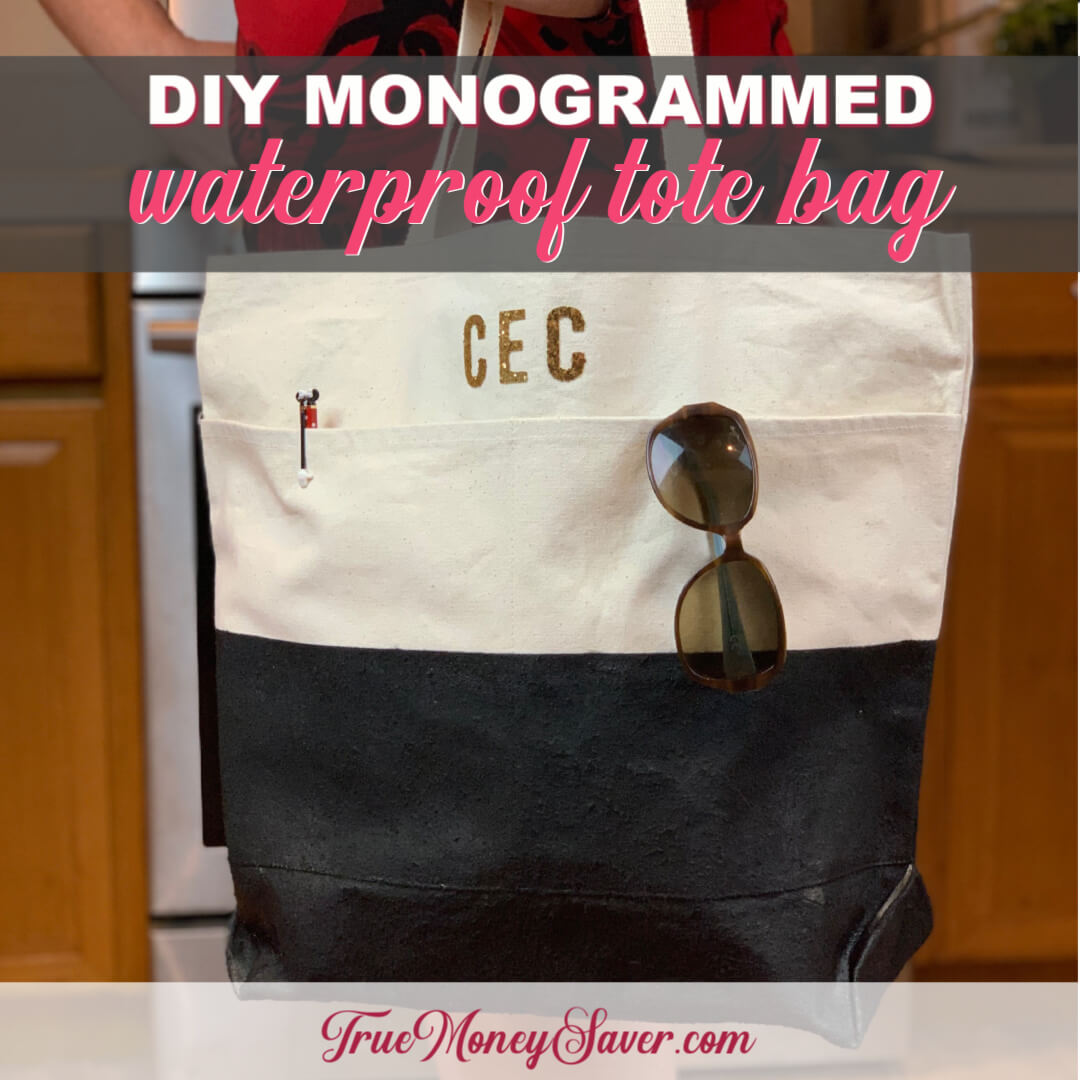
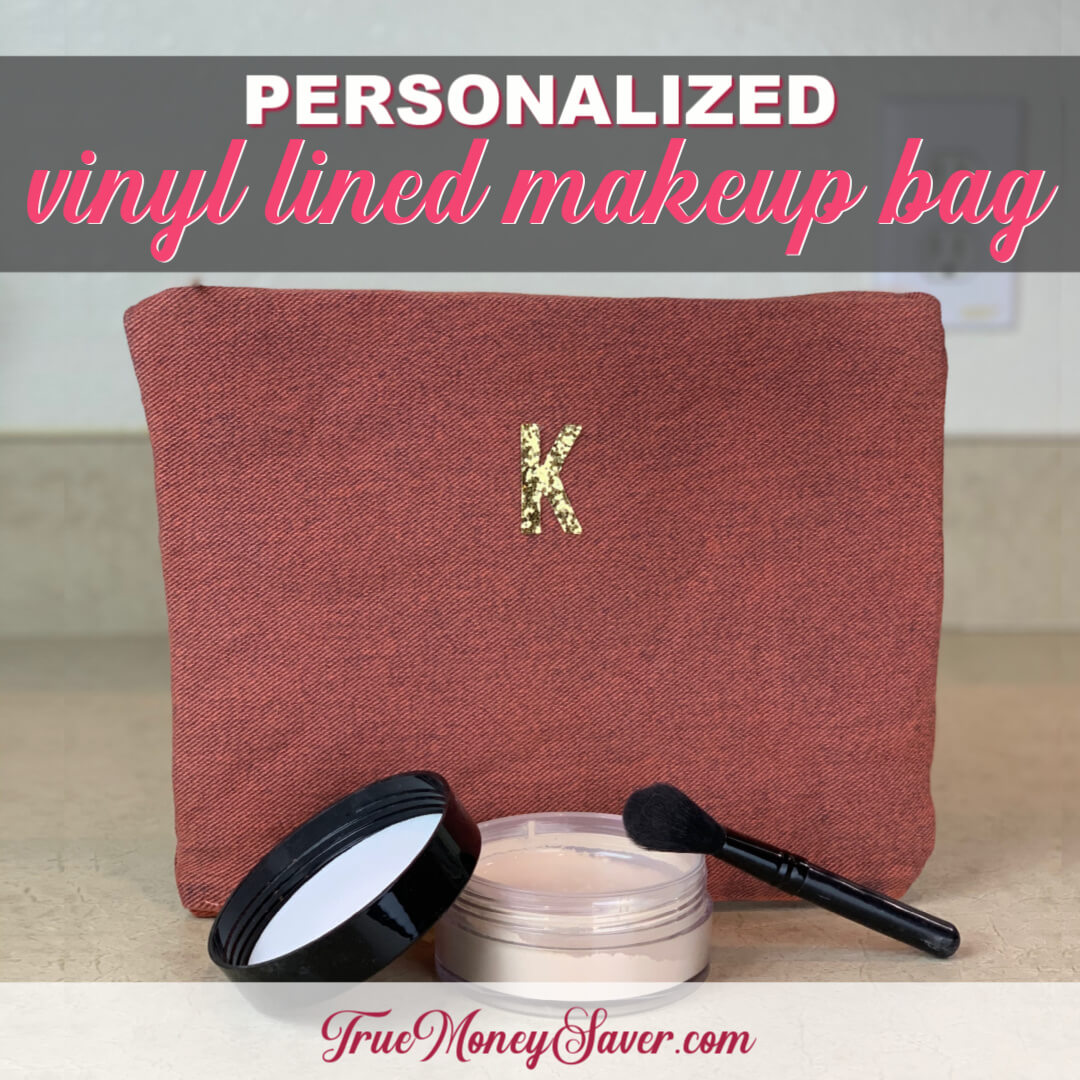
More No-Sew Fun Gift Ideas:
There are so many neat things you can make that don’t need to be sewn. Here are a few of the best ones I found:
BONUS FREE DOWNLOAD
Save Money On Your Craft Supplies
Download this FREE Guide to find 25 Ways to save money when you buy craft supplies so that your beautiful creations cost less.
Save Money On Your Craft Supplies
Download this FREE Guide to find 25 Ways to save money when you buy craft supplies so that your beautiful creations cost less.
How Much Does This Cross Body Bag Cost?
- (2) Placemats – I chose this red pattern that has fringe (50% Off on sale for $2.99 @ Hobby Lobby) = $5.98
- Strap (this is called “1 inch Cotton Webbing”) – $1.99/yd @ Hobby Lobby (I bought 1 & 1/2 yards) = $2.98
- Matching Embroidery Thread – 56¢ (@ Hobby Lobby)
OR use Peel-N-Stick Fabric Fuse OR Fabric Glue – $3.99 (@ Hobby Lobby) - If use Embroidery Thread you’ll need a Needle – $1.59 (@ Hobby Lobby)
- Nickel Sew-On Magnetic Snaps 1/2″ 2 pk – $4.99 (Optional – Use 40% Off coupon to get it cheaper @ Hobby Lobby) = $2.99
- Cute Button – $0
- E-6000 to glue button on to snap
- Iron (for Fabric Fuse)
- Pliers – $0
- Ruler – $0
Total Cost: As low as $8.98 (2 placemats & strap) {Or, $10.48 for 2 placemats, strap & (1) snap}
I hope you see how this DIY easy cross body bag really was to make. I hope you share this cross body bag free tutorial with your friends too.
And since this large travel cross body bag is so easy to make, I hope you make a whole bunch of them for loved ones this year.
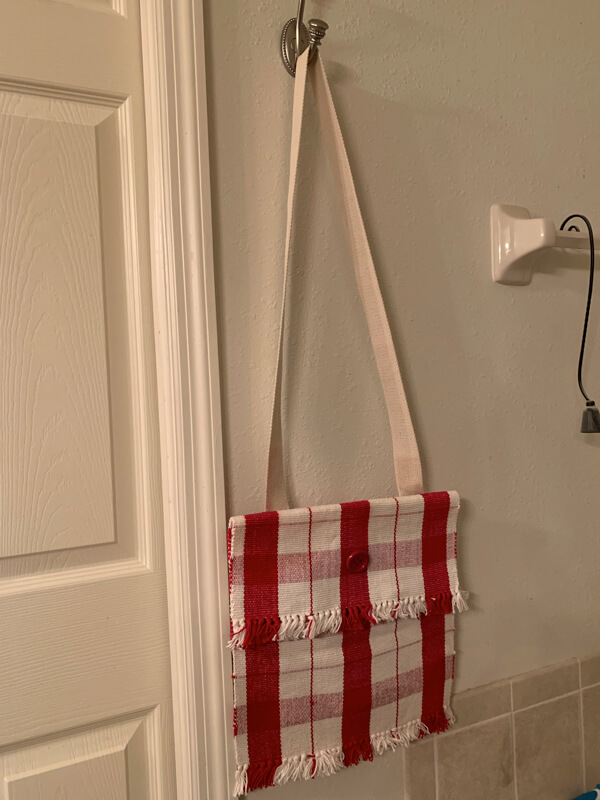
This large hipster bag is great to keep your hands free to wrangle your kids in the store. I know from experience!
YOUR TURN: Who are you going to make a DIY cross body bag for this year? Let me know in the comments below!