I don’t know about you, but I love mason jars! They are just so useful for so many purposes including on the go drinks! I love having a drink with me wherever I go so that I save money!
Recently I needed a gift for my friend and she didn’t have an on the go cup with her. Shocking, I know!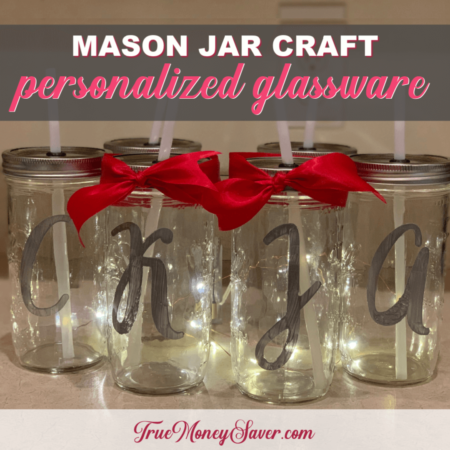
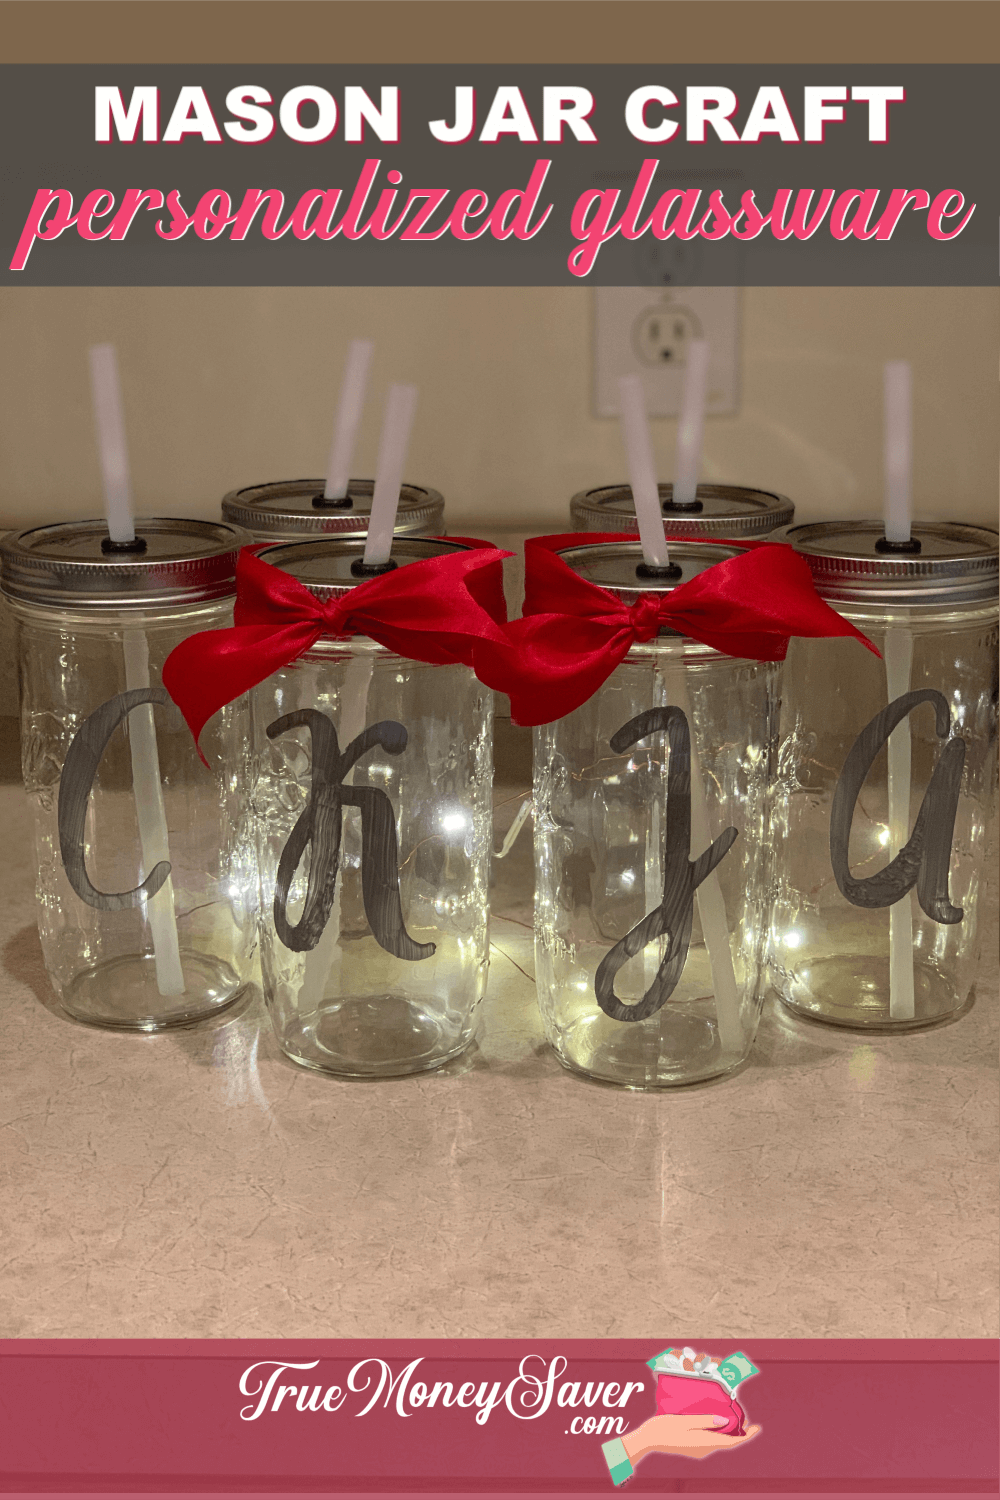
So I was racking my brain around what to give her and then it hit me! I could make her a DIY mason jar drinking glass! How perfect is that?!!
Now I didn’t know how I was going to make this DIY mason jar drinks gift ideas until I found this multi-surface paint that I used with the Celebration Plates! Once it is cured, you can throw these personalized mason jar drinking glasses into the dishwasher and not worry about them.
This mason jar craft is so easy to do that you will be surprised at just how easy it is to make this DIY mason jar drinking glass.
And while most of the time that it takes to make will be drying and curing time, you’ll love how these custom DIY mason jar drinks gift ideas turned out
Your friends and family are going to love this personalized mason jar drinking glass this year!
This post is part of our 30 Days of Homemade Gifts Series. 30 gifts that are easy (and cheap) to make, but also something you’ll be proud to give.
Each Homemade Gift has to meet 5 stipulations in order to maximize your money and make it easy for a busy mom to do:
- Easy to obtain supplies – Supplies are things you might already have on hand or are easy to find at Walmart or a craft store so you can get them in the same day you want to make it.
- Easy to make – Supplies are easy to work with or use so that anyone could do it… not caustic… so you could do the craft with your kids.
- Quick to make – It can be made in 30 minutes or less so it’s possible to make this gift in the middle of the night with products you most likely already have on hand. (Note: The 30-minute guide is your “hands-on” time, dry time is excluded. This project takes extra drying and baking time.)
- Cheap to make – You should be able to make the project without spending more than $10.
- Substantial – Each gift is “big” enough that you’ll feel confident giving it alone and not having to add a gift card to it.
BONUSES:
Multiple uses – Multiple gifts can be made out of the same supplies giving you options to use up all the supplies you buy.
Saving Money Double Bonus: Try to think about what you already have on hand to upcycled and save more money.
So let’s get busy making this mason jar craft!
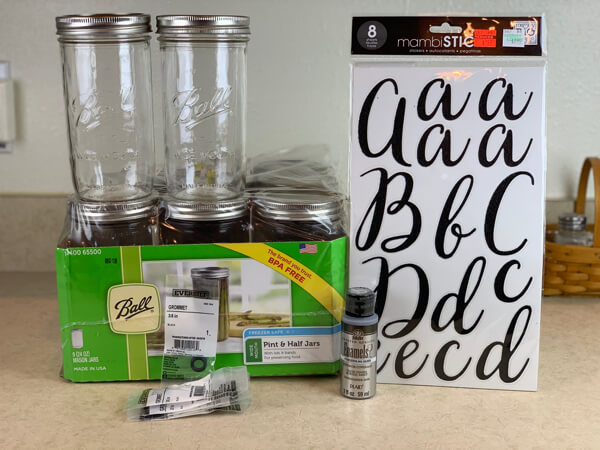
Personalized Mason Jar Drinking Glass Supplies:
- Wide Mouth Mason Jar 24 oz 9 ct – $9.98 (@ Walmart) = $1.10 each jar)
- Mason Jar Drink Lids & Straws 4 ct – $8.99 (@ Walmart) = $2.25 each jar
OR you can make the lid with straw hole yourself by using a heavy duty hole punch (or drill) and getting a Neoprene Grommet, a food safe silicone clear rubber grommets or colored silicone grommets (@ Home Depot) = $1.24 each jar
(I always have the smoothie straws on hand. I get them from Amazon here. One box lasts us an entire year.) - Monogram stickers – prices start at $1.99 (@ Hobby Lobby)
- Multisurface Paint (must be able to be cured in the oven) – $1.48 (@ Walmart or other craft store)
- Paint brush
- Masking/Painters Tape
- Rubbing Alcohol
- Removable Poster Puddy (or something to keep your jar from rolling)
- Tweezers in case you need to remove any areas inside circles (like the inside of an O or any script or loopy letters)
- Paper Towels
- Q-tips
- Toothpicks
- Scissors
Sometimes you can find a deal on your mason jars by keeping an eye out for coupons and a sale. They also come in beautiful colors like teal, purple, blue or green. They don’t have to be clear.
It just needs to have one part of a side that does not have lettering so you can add your monogram.
BONUS FREE DOWNLOAD
Save Money On Your Craft Supplies
Download this FREE Guide to find 25 Ways to save money when you buy craft supplies so that your beautiful creations cost less.
Save Money On Your Craft Supplies
Download this FREE Guide to find 25 Ways to save money when you buy craft supplies so that your beautiful creations cost less.
Directions:
Step 1: Secure Your Mason Jar
You should really wash and dry your mason jar to make sure that the paint adheres well.
Next, you’ll need to secure your jar so it doesn’t roll while you are painting.
I used poster putty (as a homeschool mom, I’ve always got plenty of that on hand). Just roll two balls in your hands each about the size of a quarter and press them directly on your countertop. Then press your glass into the putty and WaLa you’ve got a roll resistant surface.
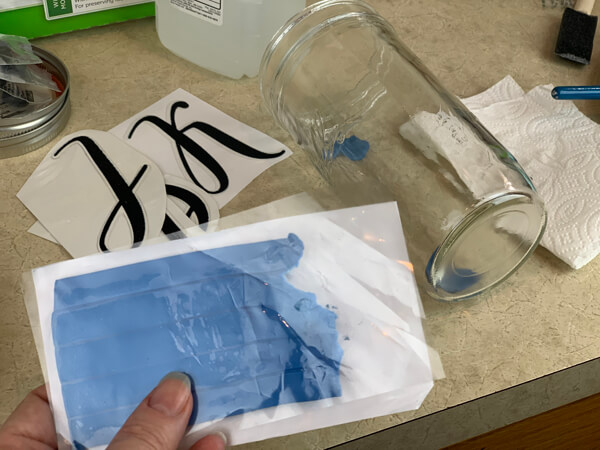
Step 2: Cut Out Monogram Sticker And Mask Off Area
Before you start, also rub down your mason jar with rubbing alcohol to make sure any oil from your fingerprints won’t be on there when you start.
Cut out your monogram sticker from the sticker sheet and then add it to the spot where you want it to go. This is probably the most time-consuming part because it’s not a flat surface and the sticker is sticky. Don’t worry about making it perfect so that the paint doesn’t seep through, it will be fine because the paint is forgiving and you can wipe it off afterward with no problem.
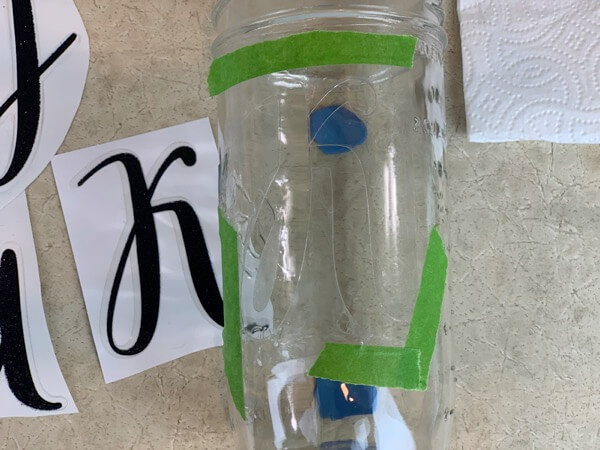
Use painters tape to keep the sticker down and to also protect the area around it so the paint doesn’t get everywhere.
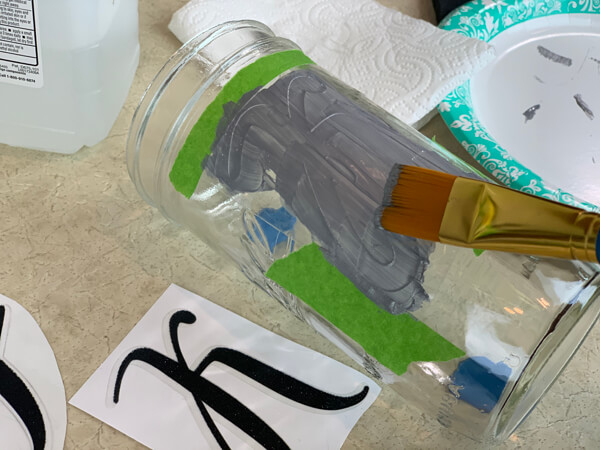
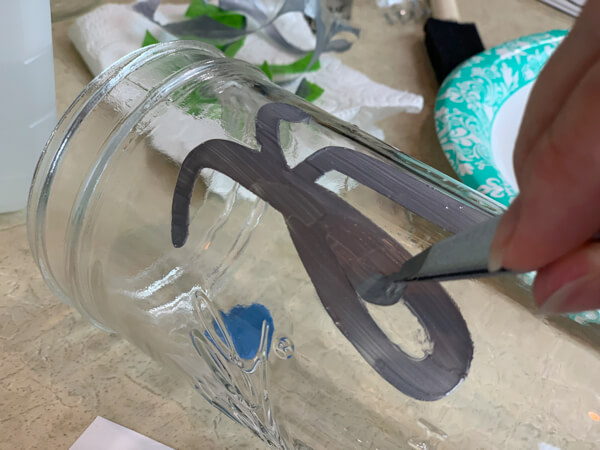
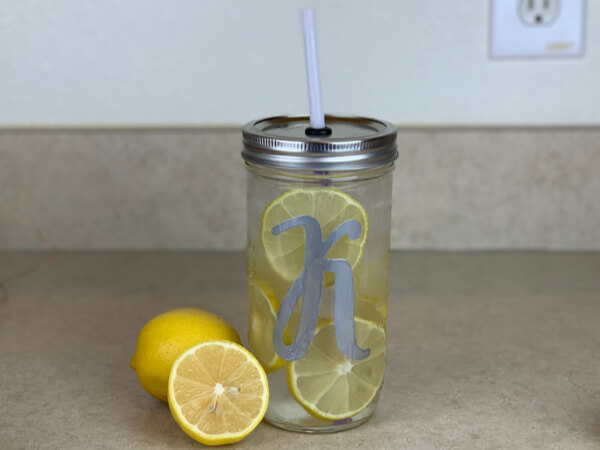
Step 3: Paint The Monogram
Using a paintbrush, use quick strokes to paint your stencil. Make sure you fully layer the area with paint. Remember, the way your strokes look right now is how they will look when you’re done.
This is where it’ll take the most time (still only talking about 5 minutes) because you want to make sure you evenly paint inside your monogram.
IMPORTANT: Once you’ve got it looking good, you need to IMMEDIATELY take off the painter’s tape and the sticker. Be SO SO SO careful not to touch the painted monogram… it is hard to correct (later… NOT immediately).
Step 4: Remove The Stencil & Touch Up Lines
When you quickly remove the stencil there could be some places where the paint snuck under the sticker stencil.
If you wait about 5 minutes for the paint to dry slightly, it will be easier to work with because it will not be as slick. Use toothpicks and paper towels to clean up the lines.
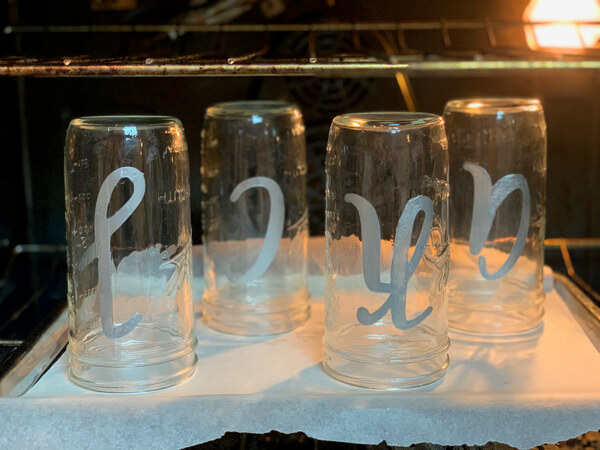
Step 5: Dry Time And Baking Time
According to the directions on my multisurface bottle, the paint must first dry for one hour but follow your paint instructions.
Then, it must bake according to directions.
Put the glasses on a baking sheet in the cool oven before turning it on. Then turn it on to 350º and bake for one hour. After that is done, turn the oven off and leave the glasses in there until they are cool.
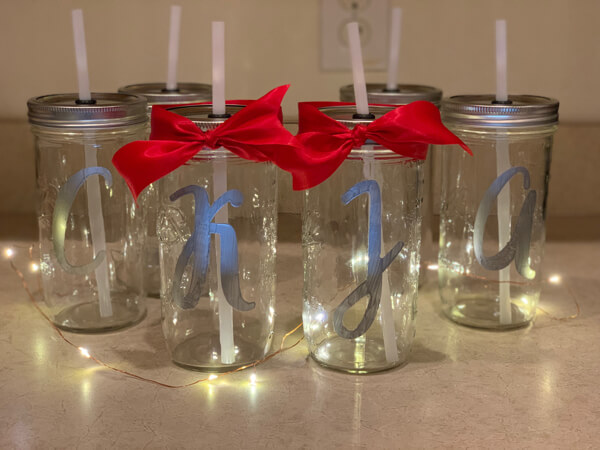
Step 6: Add Your Embellishments & Goodies
Of course you can’t just give a glass like this, it needs a few extra goodies to make it personal.
In order to make it a drinking glass, it needs a lid with an opening and a straw.
In the past, I’ve found mason jar lids at Walmart in the same section as the mason jars, but I couldn’t find them so I came up with an even cheaper option. I made them!
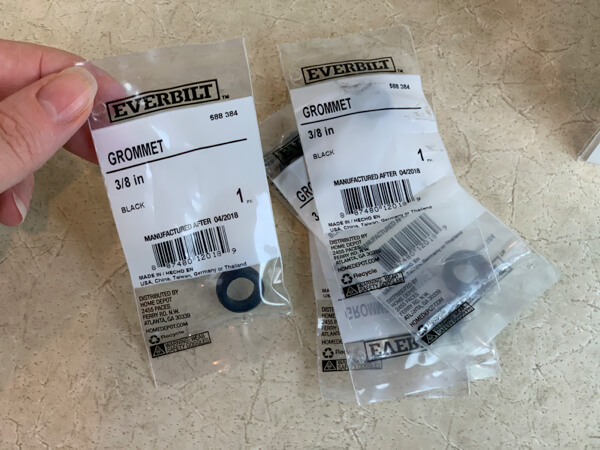
Here’s a close-up photo of the food safe grommets you can get at Home Depot. If you have more time, I’d order these silicone ones from Amazon.
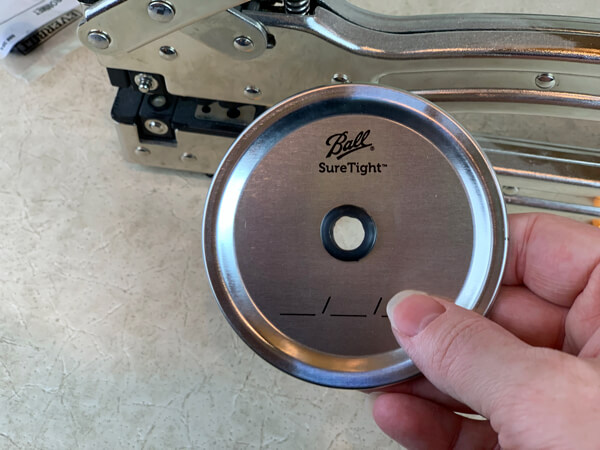
First I drew a circle with a dry erase marker so I’d know where to punch the hole.
Then, to punch the hole, I used a heavy-duty hole punch I had from my days of scrapbooking to punch a hole through the lid, then I added a food-safe neoprene grommet to cover the metal and provide a tighter spot for the straw.

You could poke the hole using a hammer and nail (then wiggle the nail until the opening will fit the grommet for the straw. Or, you could drill a hole in the lid. I don’t trust myself to use power tools, so I stuck with the punch.
Because of the size of my punch, I had to punch several holes to make enough room for the grommet and straw.
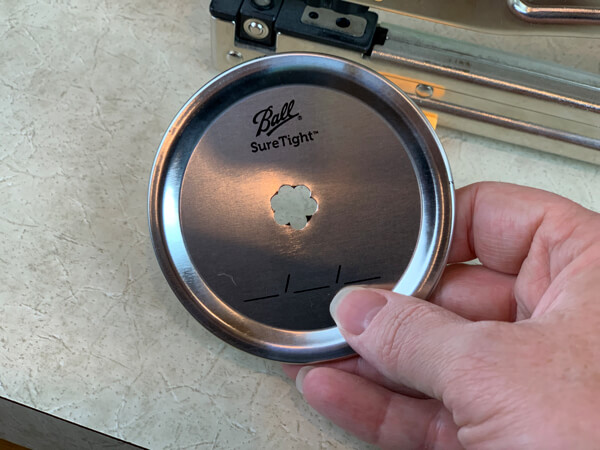
Once you’ve punched the hole, then you wiggle the grommet in place.
Now you’re ready to add the lid and straw to your personalized mason jar drinking glass.
But you don’t have to stop there! Add some chocolates inside or even some drink mix packets and some chocolates!
That makes it a special mason jar craft gift for sure!
Other Mason Jar Craft Ideas For These Drinking Glasses:
Of course, there are more than just this one idea for these DIY mason jar drinks gift ideas.
You can turn this idea into an iced coffee gift with a bottle of cold brew, or K-cups and some coffee syrup flavor samples!
Iced Tea Time: Add some cold brew iced tea bags and some honey or sugar packets.
Add a gift card to Dunkin Donuts or Starbucks where they can get a refill for iced coffee!
Or even back some small cookies to add to the glass!
BONUS FREE DOWNLOAD
Save Money On Your Craft Supplies
Download this FREE Guide to find 25 Ways to save money when you buy craft supplies so that your beautiful creations cost less.
Save Money On Your Craft Supplies
Download this FREE Guide to find 25 Ways to save money when you buy craft supplies so that your beautiful creations cost less.
What Does It Cost?
- Wide Mouth Mason Jar 24 oz 9 ct – $9.98 (@ Walmart) = $1.10 each jar
- Mason Jar Drink Lids & Straws 4 ct – $8.99 (@ Walmart) = $2.25 each jar
OR you can make it yourself by using a heavy duty hole punch (or drill) and getting a Neoprene Grommet, a food safe rubber (@ Home Depot) = $1.24 each jar - Monogram stickers – prices start at $1.99 (@ Hobby Lobby)
- Multisurface Paint (must be able to be cured in the oven) – $1.48 (@ Walmart or other craft store)
- Paint brush
- Masking/Painters Tape
- Rubbing Alcohol
- Removable Poster Puddy (or something to keep your jar from rolling)
- Tweezers in case you need to remove any areas inside circles (like the inside of an O or any script or loopy letters)
- Paper Towels
- Q-tips
- Toothpicks
- Scissors
Total Cost: $3.82 per complete jar (mason jar, lid with grommet & paint) Plus you can use the paint for more jars!
Cost for every addtional jar now that you have the paint: $2.34!! That’s awesome!
These DIY mason jar drinking glasses are so easy to make! Aren’t you surprised at how easy this personalized mason jar drinking glass really is to create?!
I know that you’ll just love giving this is just the start to your DIY mason jar drinks gift ideas to give to your friends and family this year!
They are going to love this DIY mason jar craft this year!
YOUR TURN: Are you excited to try making this monogrammed mason jar craft? Let me know in the comments below!