It's such a special time together. I always say, the more, the merrier, because we get loads of baking done!
Pies, cookies, and cakes galore! It's so much fun! 
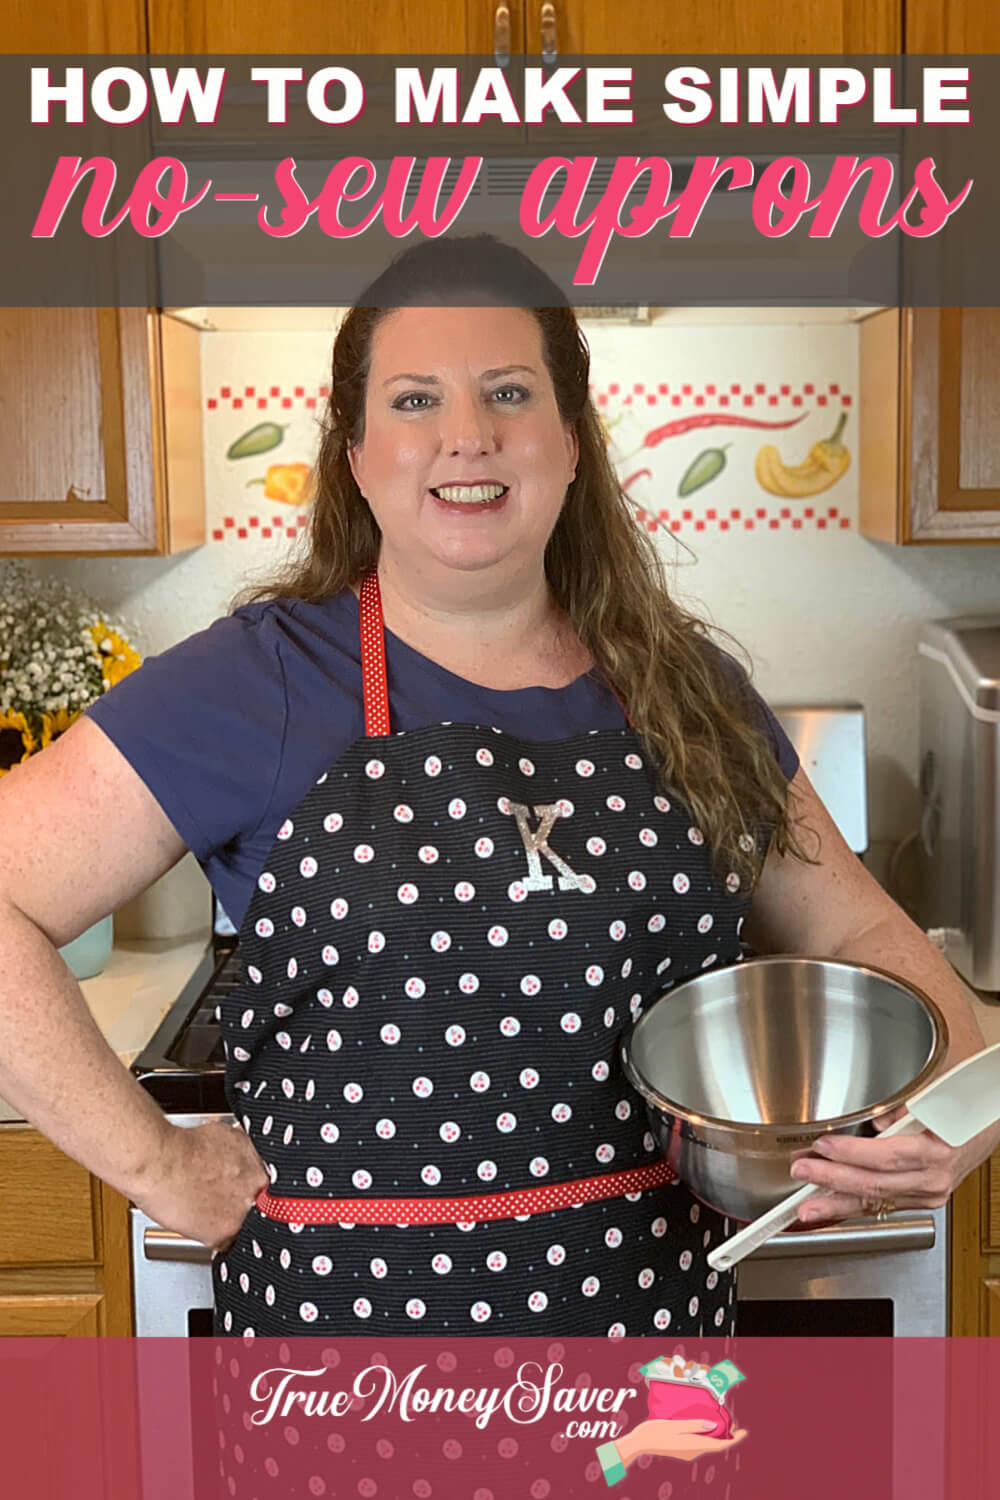
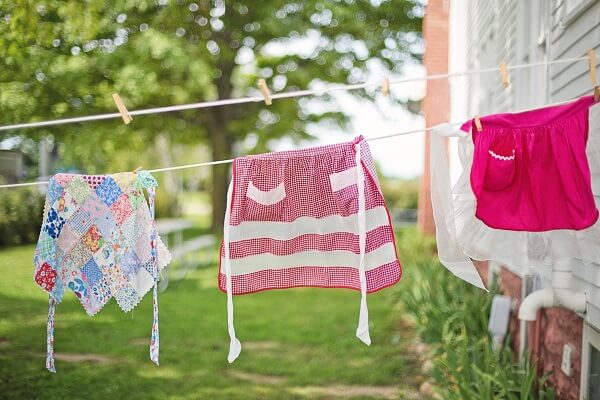
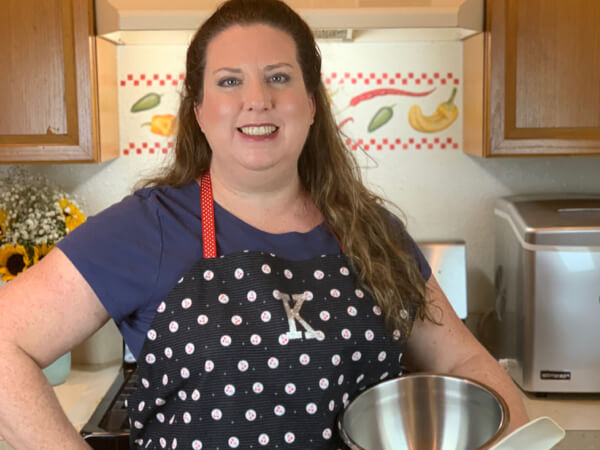
And since we always get a little messy, we love to have our aprons on.
It's always fun for us to have new aprons for each of us as a fun gift, but sewing matching aprons is a huge undertaking. And they are expensive to buy from Etsy.
So I did a little digging in my craft box and found Stitch Witchery. It's this great little product that works with an iron to create a no-sew seam. No sewing I said! Isn't that exciting?!!
And since you don't have to sew, this is a super easy project. That's right, these are easy no-sew aprons. Woohoo!
And you'll only be spending as low as $7 since you only have to buy 1 yard of fabric and just a couple other things. So this gift is super cheap.
And if you have about an hour, you can create one to give today! Don't worry, I'll teach you how to make a simple apron in no time flat.
This post is part of our 30 Days of Homemade Gifts Series. 30 gifts that are easy (and cheap) to make, but also something you’ll be proud to give.
Each Homemade Gift has to meet 5 stipulations in order to maximize your money and make it easy for a busy mom to do:
- Easy to obtain supplies – Supplies are things you might already have on hand or are easy to find at Walmart or a craft store so you can get them in the same day you want to make it.
- Easy to make – Supplies are easy to work with or use so that anyone could do it… not caustic… so you could do the craft with your kids.
- Quick to make – It can be made in 30 minutes or less so it’s possible to make this gift in the middle of the night with products you most likely already have on hand. (Note: The 30 minute guide is your “hands on” time, dry time is excluded.)
- Cheap to make – You should be able to make the project without spending more than $10.
- Substantial – Each gift is “big” enough that you'll feel confident giving it alone and not having to add a gift card to it.
BONUSES:
Multiple uses – Multiple gifts can be made out of the same supplies giving you options to use up all the supplies you buy.
Saving Money Double Bonus: Try to think about what you already have on hand to upcycled and save more money.
So let's get busy creating these no-sew aprons with pockets for gifts this year!
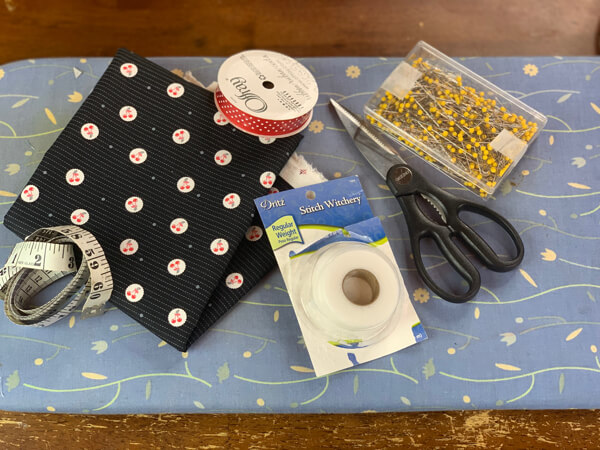
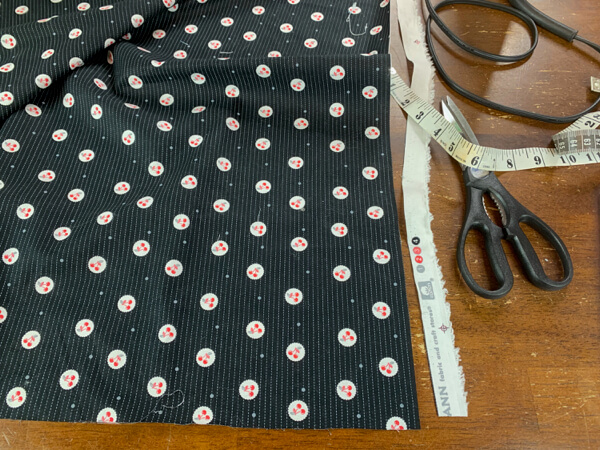
Supplies For Easy No Sew Aprons:
- 1 yard of fabric (try to find a heavier fabric which will hold up better)
- 1 roll of grosgrain ribbon (3 yards; at least 1 inch in width up to 2 inches)
- Sharp Fabric Scissors (Use the best ones you have, they make a difference!)
- Stitch Witchery or Fabric Fuse
- Iron & rag
- Ruler or measuring tape
- Iron On Monogram Letter (optional)
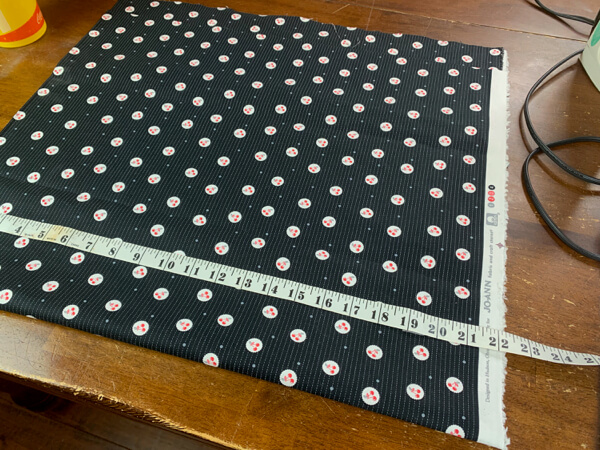
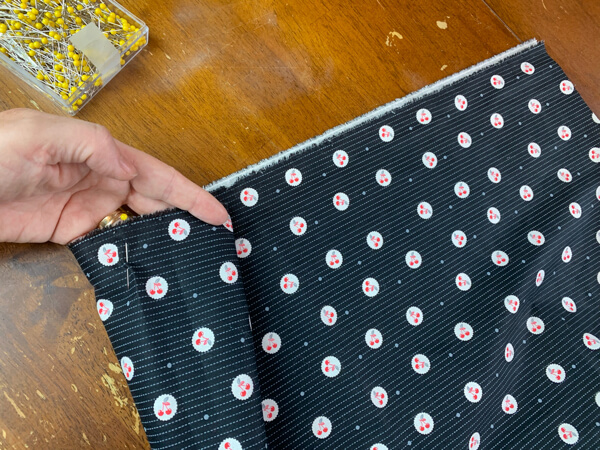
Keep the fabric folded longways like it came off the bolt and lay it out flat. Measure 22″ wide from the fold to the selvage. Cutting down the side of the selvage, cut the excess off.
If you do not cut the excess off, you will have an apron that it too wide across the front.
As you can see, my fabric was 22″ WITH the selvage, which is kinda worrisome that it might be too small. However, this is an easy apron and I like to do things simply, so I just cut the one side of the selvage off (not the fabric layer underneath). That saved me a little extra room on the total width of the fabric.
Be carefull that you are only cutting down the side with the selvage. Do not cut the fold side off!
BONUS FREE DOWNLOAD
Save Money On Your Craft Supplies
Download this FREE Guide to find 25 Ways to save money when you buy craft supplies so that your beautiful creations cost less.
Save Money On Your Craft Supplies
Download this FREE Guide to find 25 Ways to save money when you buy craft supplies so that your beautiful creations cost less.
No Sew Aprons Directions:
Step 1: Find The Top & Center
If your fabric has a pattern or a flow of pattern, make sure you are working with the side you want at the top of the neck.
With your 1 yard of fabric, fold the fabric in half longways, open the fabric, find the center and put a pin in the center of the fabric at the very top.
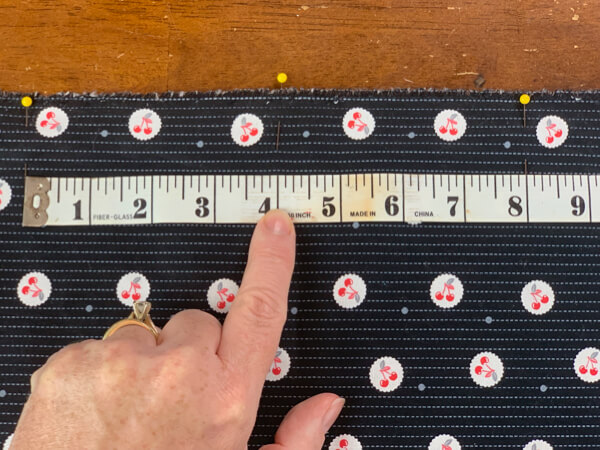
Step 2: Measure The Neck
Using a ruler, measure 4 inches to the left and 4 inches to the right of the center. This creates the neck of your apron.
Add a pin at each 4″ spot.

Step 3: Measuring & Cutting The Arm Holes
Then folding in the right corner towards the center, make sure that the fabric stops 4 inches from the center.
This is what you will be cutting to create room for the arms at each side.
Repeat on the left side.
Step 4: Make Arm Holes
Put pins along the top side. You will be cutting the excess fabric off these sides.
Measure one inch and cut the excess off this corner. Then repeat on the other side.
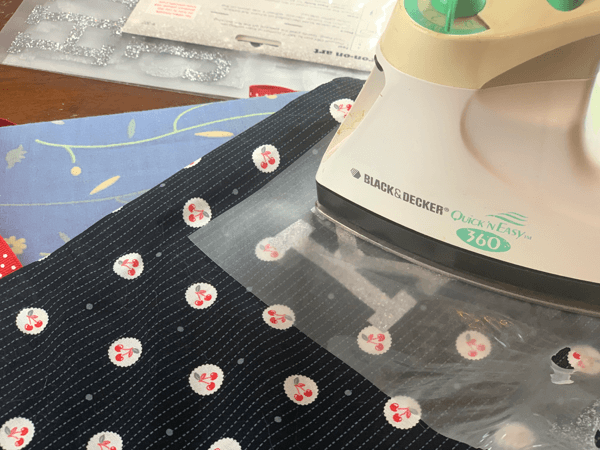
After you have cut the excess off, iron this fold flat so it'll be easy to add the Stich Witchery. Take out the pins and repeat on the other side.
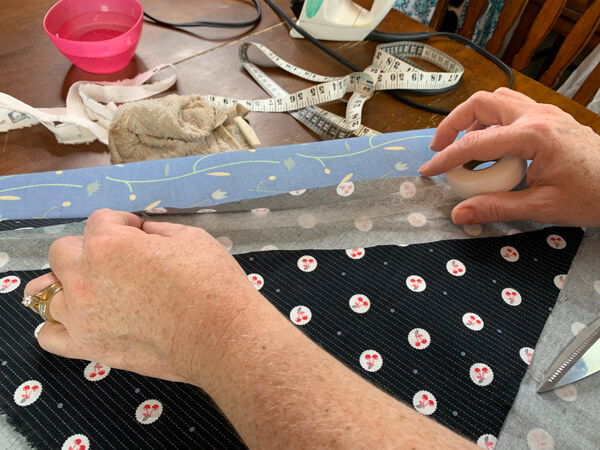
Step 5: Secure Arm Holes
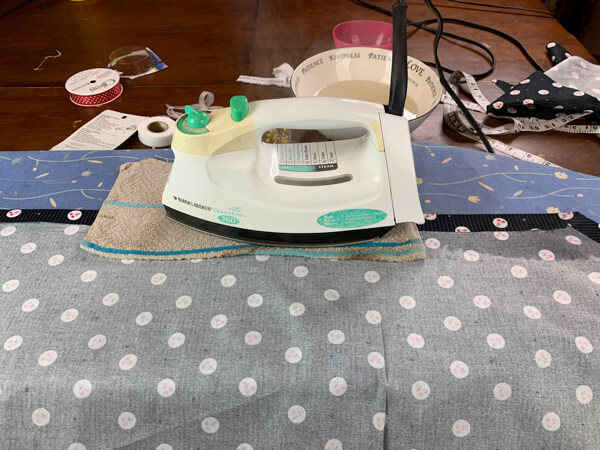
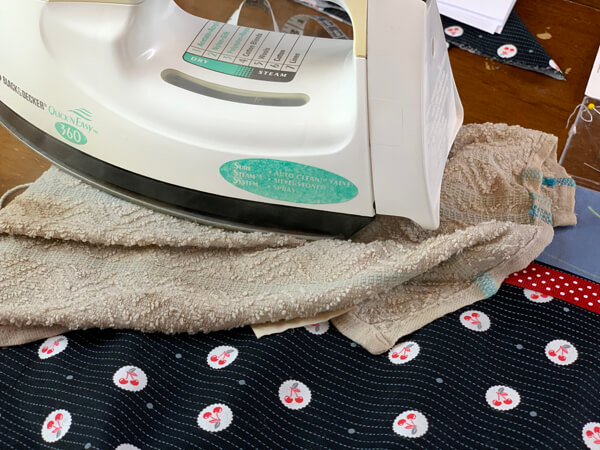
Then put stitch witchery in between the fabric, apply your damp rag and then the iron.
Hold for the allotted time (approx 10 seconds) and move on to the next section.
Complete on both sides.

Step 6: Securing The Neck Line
At the top of the neck, fold in one inch and iron flat.
Then, secure with stich witchery.
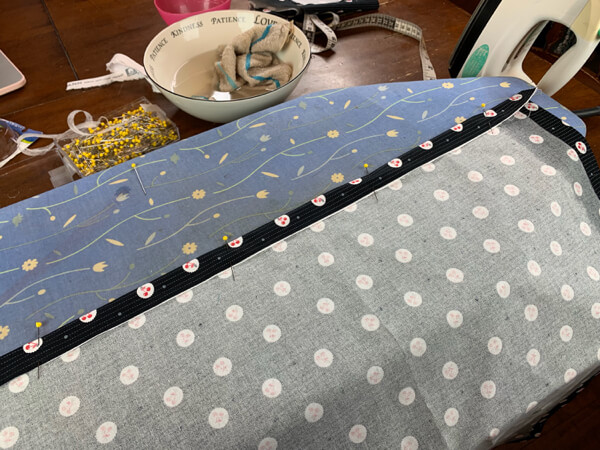
Step 7: Fixing The Sides
Just like you did with the arm holes and neck line, fold in one inch, iron flat, and then secure with stitch witchery.
This creates finished edge and prettier no-sew aprons.
Step 8: Fold & Secure Bottom Hem
Just like you did with the other sides, fold your bottom hem in one inch and iron flat, then secure with stitch witchery.
See? This is not so hard, right?
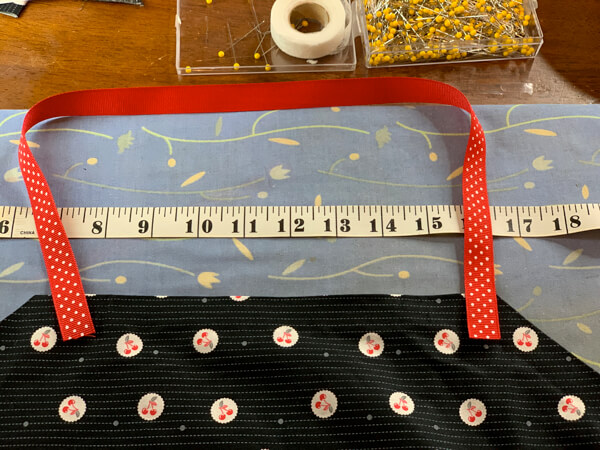
Step 9: Creating The Neck Loop
With your gross grain ribbon, measure out 22 inches and cut.
Lay your apron good side up on the table. Layout the ribbon so that it connects to the apron neck. Pin the ribbon to the apron so that it sits on the neck of the person well and straight.
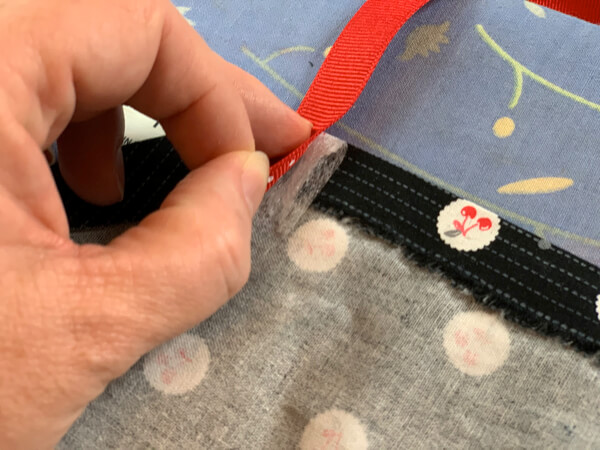
Flip over the apron and secure with stitch witchery. If your ribbon is wide, you will want to use several pieces so that the entire ribbon is connected to the apron securely.
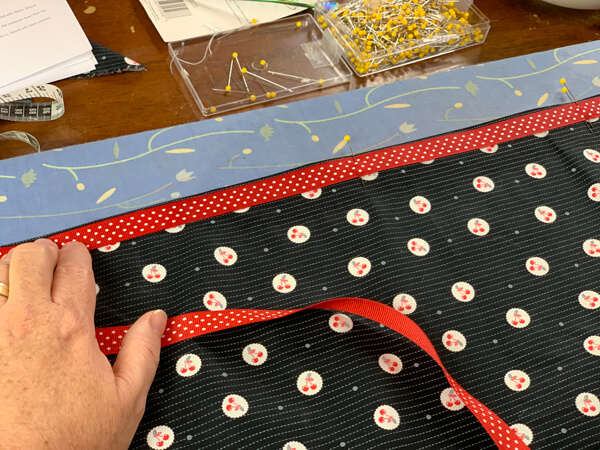
Step 10: Creating The Waist Tie
Where the slits end below the arm folds, measure and find the exact center of the apron. Put a pin in it so you don’t lose it.
Get the rest of your ribbon and fold one inch on each end (this is only if the ribbon on the spool was a total of 3 yards). If your ribbon was longer than 3 yards, measure out 86 inches and cut. This length creates a nice long tie so you can create a pretty bow in the back. You can cut it down if you don't want it that long.
Secure the folded ends with stitch witchery to make the ribbon ends have a finished end and look nice.
Then find the very center of your ribbon and put a pin in it. Line up the center of the ribbon to the center of the front of the apron. Secure the ribbon to the apron in the center so that it doesn’t move on you.
Use your Stich Witchery and work from the center out to secure the waist tie across the front of your apron.
I started on one side and secured the ribbon and then did the other side.
Again, depending on the size of your ribbon, you may need double the width of stitch witchery to fully secure the entire ribbon.
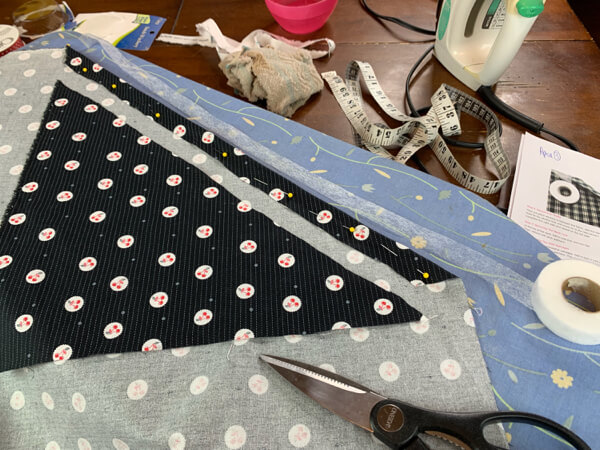
Step 11: Adding The Monogram
First, measure the monogram letter and decide how big an edge you want the solid fabric to show around the letter.
If the letter is 2 inches, do you want ½ inch or 1 around the letter?
Cut your solid fabric one inch larger than your measurements. This will be for gluing purposes.
On the backside of the solid fabric, fold in one inch and secure with stitch witchery.
Iron on the monogram letter, centering it in the center of the solid colored fabric.
Measure the placement of the monogram at the top of the apron near the neck.
Pin so it doesn’t move on you. Secure the solid colored fabric and monogram with stitch witchery.
Fold, package & present!
Can't Get Enough Aprons?
Here are 19 vintage apron patterns for you to choose from!
What about for kids? Here's a Child's Fat Quarter Apron tutorial!
BONUS FREE DOWNLOAD
Save Money On Your Craft Supplies
Download this FREE Guide to find 25 Ways to save money when you buy craft supplies so that your beautiful creations cost less.
Save Money On Your Craft Supplies
Download this FREE Guide to find 25 Ways to save money when you buy craft supplies so that your beautiful creations cost less.
Or there's this monogrammed half apron made from a heavyweight linen tea towel.
How Much Do Easy No Sew Aprons Cost?
- 1 yard of fabric – $5 (50% @ $9.99)
- 1 roll of grosgrain ribbon (at least 3 yards in length; at least 1 inch in width up to 2 inches) – As low as $1.99 (50% Off at Hobby Lobby)
- Scissors – $0
- Stitch Witchery – $3.29 (at Hobby Lobby)
- Iron & rag – $0
- Ruler or Measuring Tape – $0
- Iron On Monogram Letter (optional) – As low as $.89 (on sale at Hobby Lobby)
Total Cost: As low as $6.99 (fabric, ribbon)
As you can see, this is a super easy project. And you’ll only spend around $7 each, so this is a super cheap gift that's easy on your budget.
If you have about an hour, you can create one and give it in the same day! Now that's a fast diy gift!
YOUR TURN: Who are you going to make aprons for this year? Let me know in the comments below!