No, I'm not talking about their attitude…I'm talking about making some great gifts this year!
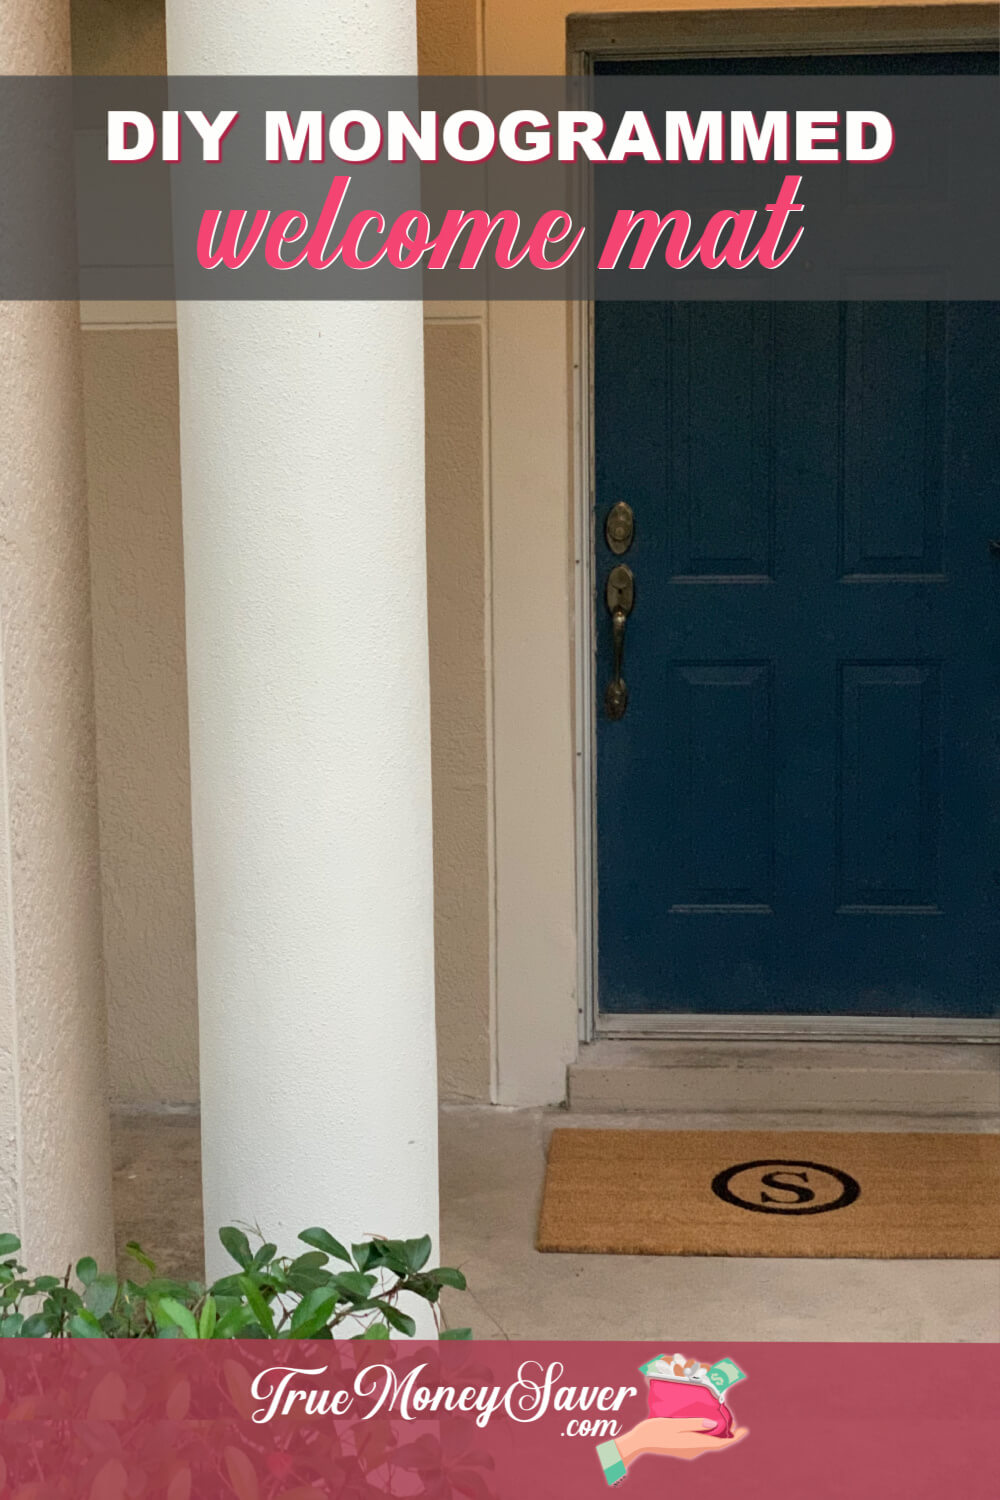
Welcome mats are the first thing that make people feel welcome into your home. 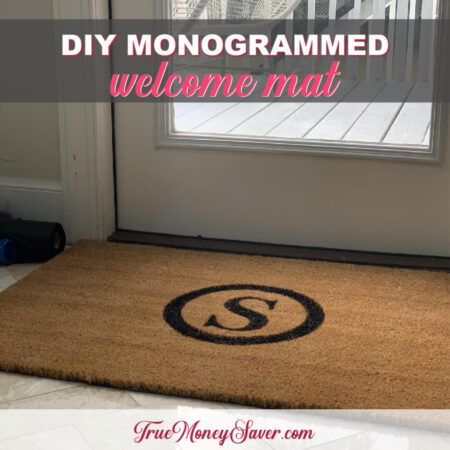
So let's make a great DIY personalized doormat to give to our friends and family this year that won't cost us a lot!
This DIY painted welcome mat is so easy that it should take you no more than 30 minutes to complete. Need it today? No worries! It's that easy.
Complicated? No way! This monogrammed front door welcome mat is about as simple as they come. If you can trace and color within the lines, you can make this gift!
This post is part of our 30 Days of Homemade Gifts Series. 30 gifts that are easy (and cheap) to make, but also something you’ll be proud to give.
Each Homemade Gift has to meet 5 stipulations in order to maximize your money and make it easy for a busy mom to do:
- Easy to obtain supplies – Supplies are things you might already have on hand or are easy to find at Walmart or a craft store so you can get them in the same day you want to make it.
- Easy to make – Supplies are easy to work with or use so that anyone could do it… not caustic… so you could do the craft with your kids.
- Quick to make – It can be made in 30 minutes or less so it’s possible to make this gift in the middle of the night with products most likely already have on hand. (Note: It takes extra dry time and baking time for this project.)
- Cheap to make – You should be able to make the project without spending more than $10.
- Substantial – Each gift is “big” enough that you’ll feel confident giving it alone and not having to add a gift card to it.
BONUSES:
Multiple uses – Multiple gifts can be made out of the same supplies giving you options to use up all the supplies you buy.
Saving Money Double Bonus: Try to think about what you already have on hand to upcycled and save more money.
Are you excited to make a quick monogrammed welcome mat and upgrade your front door or have a great gift for one of your loved ones?
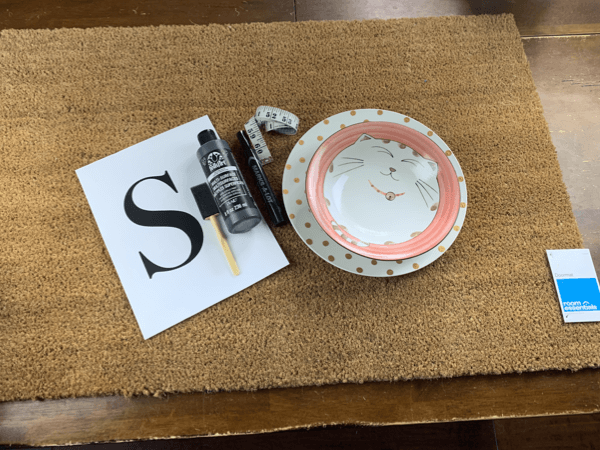
DIY Painted Welcome Mat Supplies:
Thankfully, this DIY personalized doormat doesn't need a lot of supplies.
- Sisal Doormat – $9.99 (@ Target)
(Note: This has gone on sale for $7.99, so keep your eyes peeled for sales!) - Sharpie or permanent marker – $0 (or $1 @ dollar store)
- Printed Monogrammed Letter Template (that fits inside the smallest plate by about 1″ or so) – $0
- Black Multi-Surface Paint (look for paint that is good for outdoor use) – $1.46 (@ Walmart)
- Small Paintbrush – $0 (or $1 @ dollar store)
- Measuring Tape – $0 (or $1 @ dollar store)
- 2 different sized plates or bowls, one just slightly smaller than the next by about 1″
- Tape (just to keep center placement)
- Paper plate for paint
Printed Monogrammed Letter Template Tips:
- Don't get fancy with your font! You want a block letter because it will easier to cut out, easier to trace and easier to paint!
- The size of the letter also needs to be at least 1″ smaller than the smallest plate.
I can't wait for you to see how easy this is to make, you are going to be pleasantly surprised.
BONUS FREE DOWNLOAD
Save Money On Your Craft Supplies
Download this FREE Guide to find 25 Ways to save money when you buy craft supplies so that your beautiful creations cost less.
Save Money On Your Craft Supplies
Download this FREE Guide to find 25 Ways to save money when you buy craft supplies so that your beautiful creations cost less.
Directions:
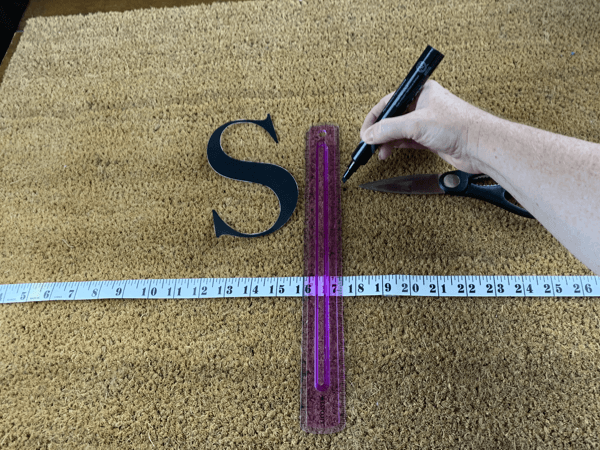
Step 1: Measure The Center
Take your measuring tape and find the center of the welcome mat. You can add a piece of tape to keep the center if you need to. I knew my monogram letter would cover my mark, so I just added a dot to the center.
It would've been really smart to add a piece of tape out all the way across the mat to make it easier to line up the plate.
Measure the plate on the monogrammed front door welcome mat and center it.
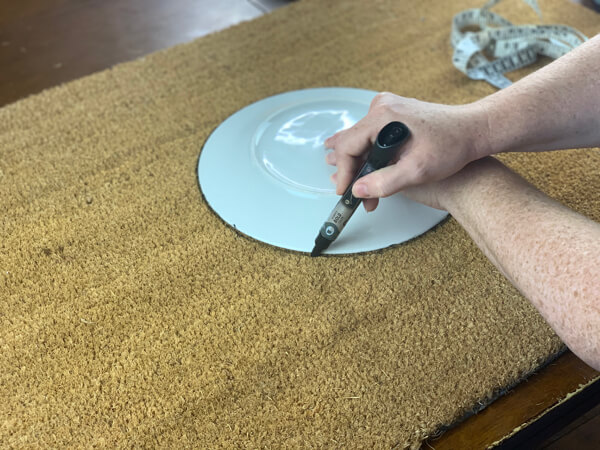
Step 2: Trace Around The Larger Plate
With your permanent marker, trace around the large plate making sure it is centered first.
You do not have to make sure the line is nice, just enough to see where to paint and where not to.
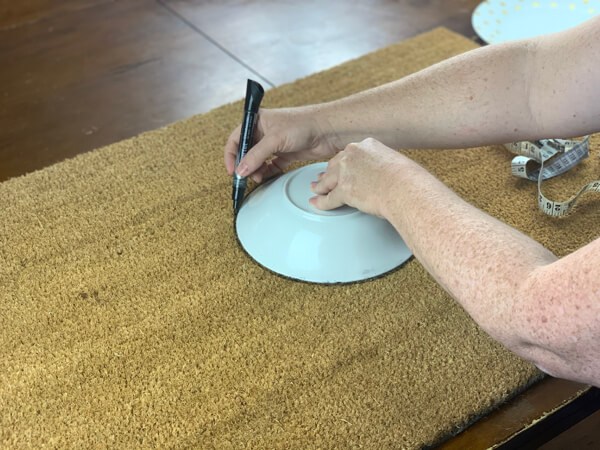
Step 3: Measure & Trace Smaller Plate
Add the smaller plate to the DIY personalized doormat. Using your measuring tape, measure and make sure that it is centered inside the larger plate.
With your dry erase marker, trace around the smaller plate.
(Note: I did this backwards on my welcome mat, I traced the small plate first. Because of this, my circles were not quite perfect and I had to make up for it when I filled in the circles with paint. Save yourself the trouble and trace the large one first.)
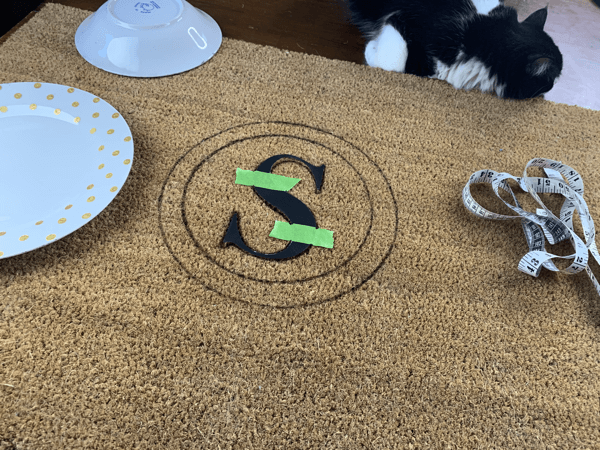
Step 4: Measure & Trace Printed Letter
Add the cut out letter monogram and measure to make sure the letter is centered inside the inner plate traced circle.
Use painters tape to secure your letter in place.
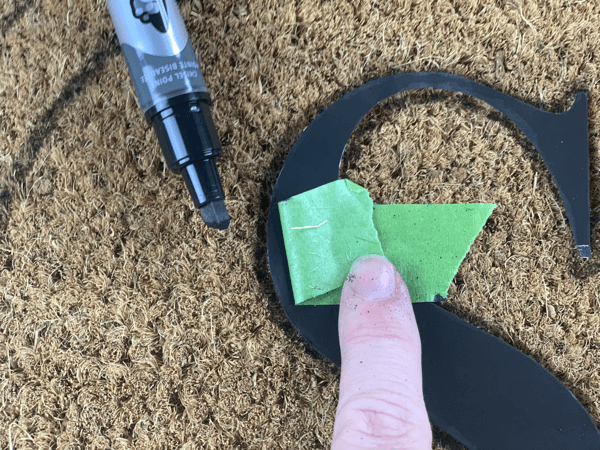
Trace around the letter with your dry erace marker.
You can see I pulled back the paint and traced underneath.
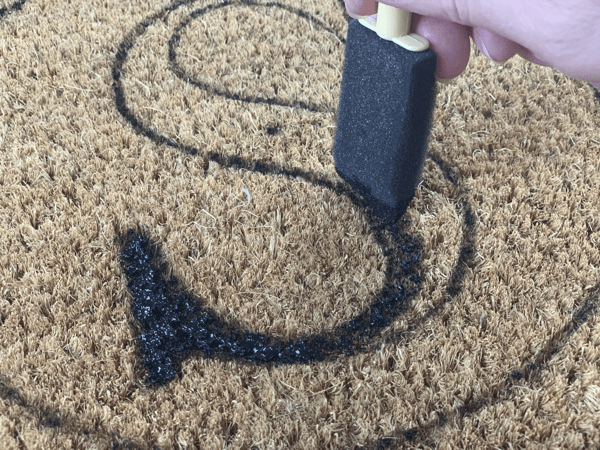
Step 5: Paint The Monogrammed Front Door Welcome Mat
Add a small amount of paint to your paper plate and use your paintbrush to paint the circle and inside the letter.
Let dry.

Other Welcome Mat Ideas:
A monogrammed letter isn't the only thing you can paint on a sisal rug. The sky is the limit! Use your imagination as to what your gift recipient might like!
Does someone have dogs? Paint “Wipe Your Paws”, a set of paw prints or a big bone.
Did someone just get married? Add their initials, such as: J+K, J&K, or J❤️K. You can even add the year they were married or “est.” for established.
Is this a housewarming gift? You could add the numbers of their new house to their DIY painted welcome mat.
BONUS FREE DOWNLOAD
Save Money On Your Craft Supplies
Download this FREE Guide to find 25 Ways to save money when you buy craft supplies so that your beautiful creations cost less.
Save Money On Your Craft Supplies
Download this FREE Guide to find 25 Ways to save money when you buy craft supplies so that your beautiful creations cost less.
What Does A DIY Monogrammed Welcome Mat Cost?
- Sisal Doormat – $9.99 (@ Target)
(Note: This has gone on sale for $7.99, so keep your eyes peeled for sales!) - Sharpie or permanent marker – $0 (or $1 @ dollar store)
- Printed Monogrammed Letter Template (that fits inside the smallest plate by about 1″ or so) – $0
- Black Multi-Surface Paint (look for paint that is good for outdoor use) – $1.46 (@ Walmart)
- Small Paintbrush – $0 (or $1 @ dollar store)
- Measuring Tape – $0 (or $1 @ dollar store)
- 2 different sized plates or bowls, one just slightly smaller than the next by about 1″
- Painters Tape (just to keep center placement)
- Paper plate for paint
Total Cost: On Sale: $9.45 (sisal rug on sale + paint)
Not On Sale: $11.45 (sisal rug NOT on sale, paint)
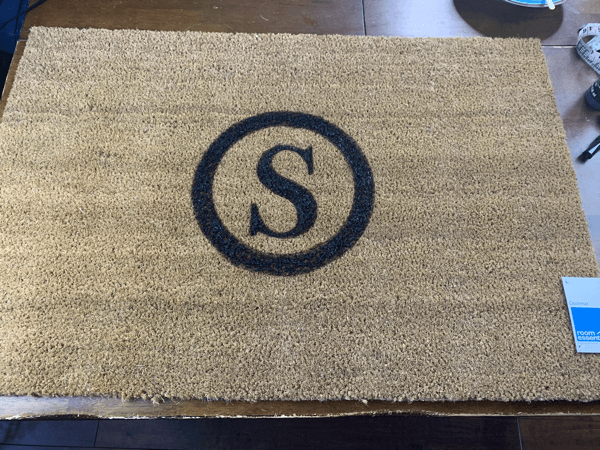
As you can see, this DIY personalized doormat won't cost us a lot to make.
And, this DIY painted welcome mat is so easy to make. It should take you no more than 30 minutes to complete. It's that easy.
And in no way is it complicated. This monogrammed front door welcome mat is so simple. If you can trace and color within the lines, you can make this gift!