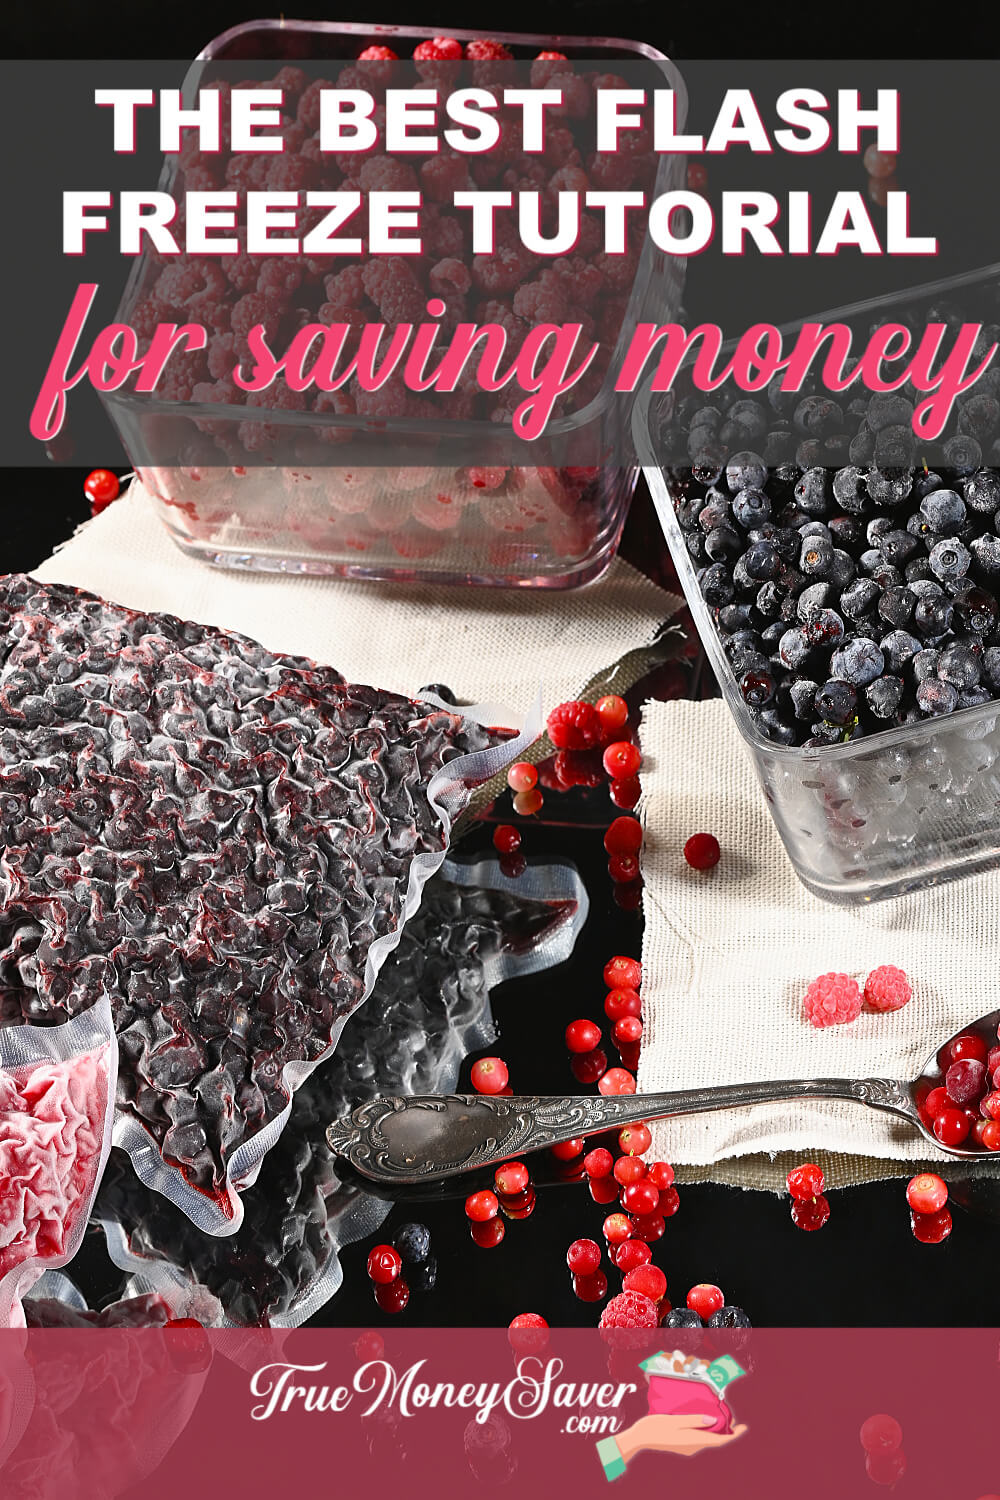
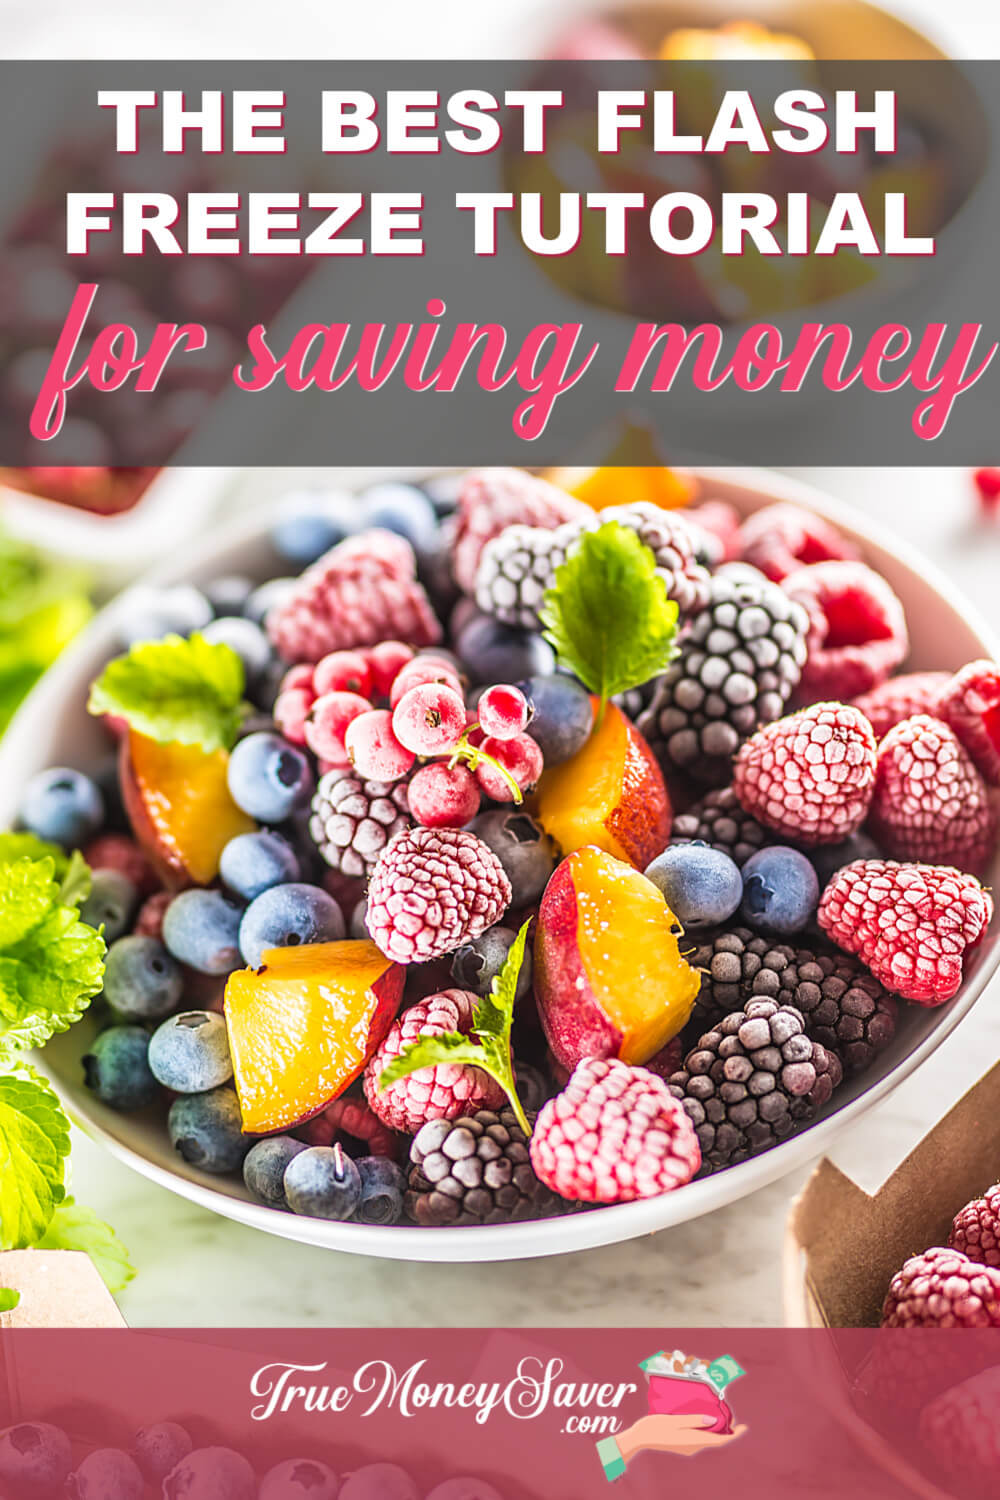
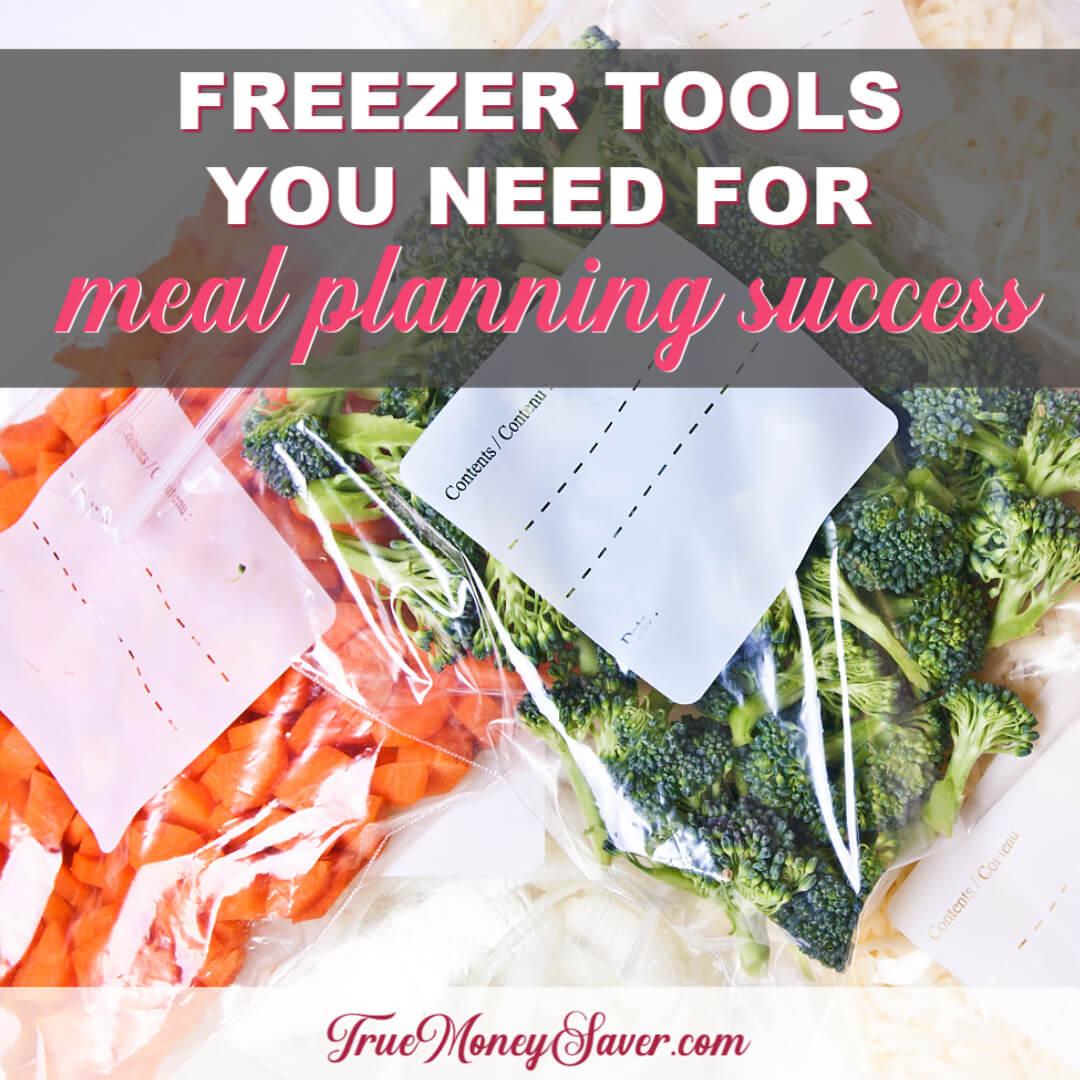
 If you need to save produce in the freezer, then you’re going to need this flash freeze tutorial before your produce turns to mush.
In every area of the country, there is “local” produce that is ripe for the picking!
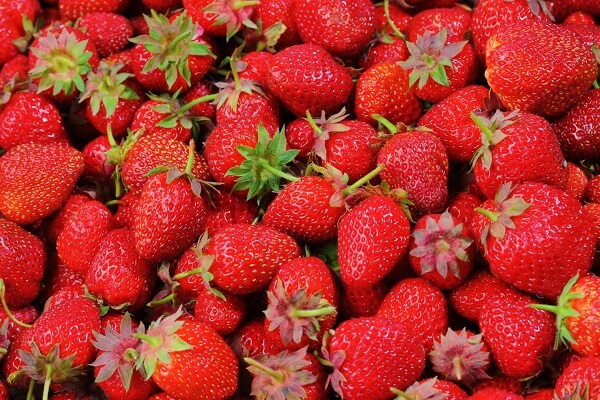
Because I live near so many strawberry fields and other u-pick farms, we get to go picking several times during the harvest season.
I bring all the kids along…we even eat a few juicy ones directly off the vine! (Is that like “sip stealing” at the gas station?)
But once I get home, there is NO WAY we can eat them all before they would go bad.
So I’ll teach you how to flash freeze at home so you can save that produce in the freezer.
Once you learn how to freeze produce, you’ll see how easy it is and how much money you’ll be saving.
Plus, with these freezing produce tips, you’ll be able to save money all year long by freezing in-season produce that’s cheap.
And, with this best way to freeze produce, your precious produce will be saved from the freezer burn monster.
So let’s get busy with this flash freeze tutorial!
Flash Freeze Tutorial
“Flash Freezing” is a simple method to freeze the berries individually so that they are ready to use at a moment’s notice.
This style of freezing works well on many types of foods but is especially convenient for small food items you wish to freeze and have access to in individual portion sizes.
Flash freezing food keeps them from sticking together and locks in those good food flavors.
BONUS DOWNLOAD

Want to plan your weekly meals with less hassle?
Download these FREE Meal Plan Templates and you'll get your meals and shopping list organized in just minutes.
Some items you will need for the best way to freeze produce:
- Large cookie sheets
- Parchment paper
- Vinegar
- Large mixing bowl
- Paring knife
- Clean kitchen towels
- Strawberry huller
- strawberry slicer
- And a freezer!
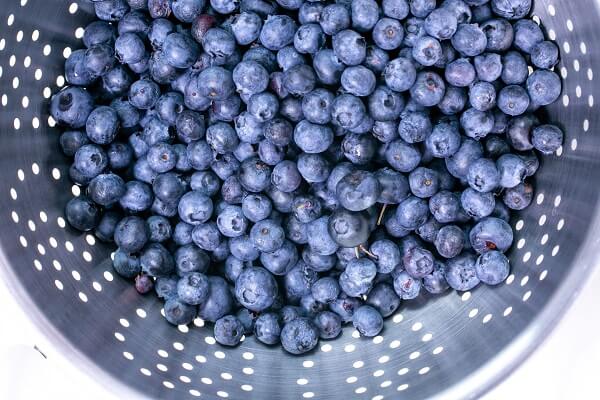
Step 1: Wash Your Berries
To a large bowl, add a splash of vinegar and add the rest with water. Vinegar helps to eliminate any mold spores or bacteria.
Then, swish the water around the berries to thoroughly wash them for a couple of minutes.
Step 2: Drain And Dry
Remove the berries from the water and drain in a colander, then carefully dump them onto a clean kitchen towel to finish drying.
You may need to pat the tops dry with another towel. This will help to get any excess water off the berries which will help prevent freezer burn.

Step 3: Slice And Dice
Slice the berries however your family likes them.
There is a strawberry huller which takes the top stem off with ease.
And there is a strawberry slicer that will create even strawberry slices. These tools will come in handy when you are processing a lot of berries.
Step 4: Prepare Your Pans
In order for this flash freeze tutorial to work, you will need to lay the sliced strawberries on a cookie sheet to place in the freezer.
When you place the berries in a single layer on a cookie sheet, this helps the cold air to freeze the berries faster. Also freezing them individually helps later when you only need a small amount for a shake or smoothie and you don’t have to defrost the entire bag.
Prepare your pans by lining them with a sheet of parchment paper. Do not skip this step or you will have stuck berries to your metal pan!
Lay the berries in a single layer on a parchment paper-lined cookie sheet.
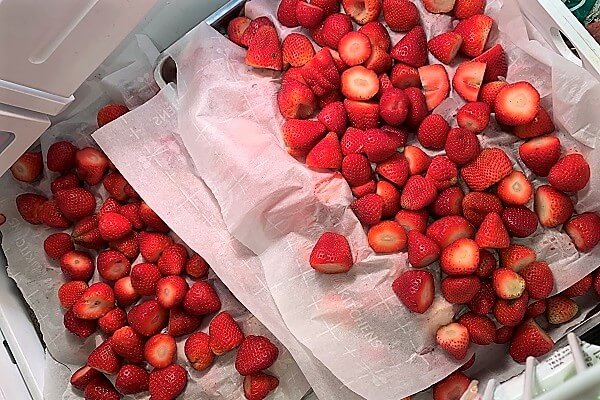
Step 5: Layer Berries
Layer the berries between sheets of parchment paper (I do 3 layers per cookie sheet because I never have enough cookie sheets).
Step 6: Freeze Berries
Put the berries in the freezer until solidly frozen — four to six hours is usually adequate.
Larger items (like meatballs) may need to stay on sheets overnight. Just be sure to remove them first thing in the morning to avoid freezer burn.
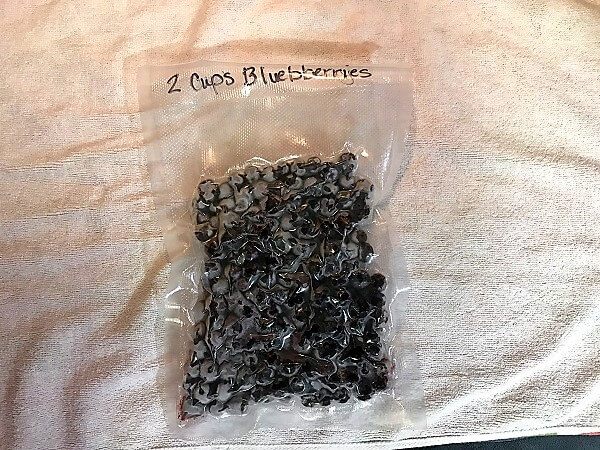
Step 7: Remove The Berries And Put Into Freezer Bags
Remove the cookie sheets from the freezer and place the frozen items into large plastic bags.
Vacuum sealed bags will last longer in the freezer. I love using the FoodSaver system because I know my food will last longer.
If you do not own a vacuum sealer, just use freezer bags and remove as much air as possible after filling the bag.
Freezing Produce Tips: Your food will last a lot longer in FoodSaver bags. I know from experience that even a “plastic freezer bag” can result in freezer burn.
Step 8: Label The Bags
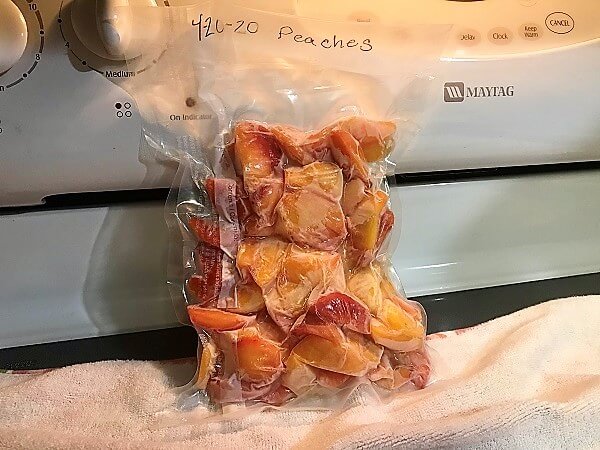
Don’t forget to label the bags with the contents and the date it was frozen. This way it will help you know what’s in it, but also when it should be used by.
You can also label how much is in the bag so you can easily pull out the amount you need for a recipe.
And that’s it for this flash freeze tutorial on how to freeze produce.
BONUS DOWNLOAD

Want to plan your weekly meals with less hassle?
Download these FREE Meal Plan Templates and you'll get your meals and shopping list organized in just minutes.
You can do this with all sorts of foods you want to prepare ahead of time…fruits (berries, bananas, sliced pineapple), veggies (peppers, onions), meats (meatballs, cut up chicken breasts).
It is especially convenient for small food items you wish to freeze and have access to in individual portion sizes.
Find more ways to save on produce or how to save at U-Pick farms!
Learn More About Freezing Stuff
Download our handy Freezer Guide to see how long it is safe to store stuff in your freezer!
Flash freezing food keeps it from sticking together and locks in food flavors. Now we’re ready… and just in time too… Blueberry season is coming up for me next!
So I hope you’ve learned how to flash freeze at home so you can save that produce in the freezer and not waste your money by having it go bad.
Once you learn how to freeze produce, you’ll see how easy it is and how much money you’ll be saving over the course of the year.
Plus, with these freezing produce tips, you’ll be able to save money all year long by freezing in-season produce that’s cheap.
And, with this best way to freeze produce, your precious produce will be saved from the freezer burn monster.
Your Turn: What other tips would you tell someone if you were going to give them a flash freeze tutorial? Share with me below!
