Now I know what you are thinking…a serving tray? Yes! Not only are they incredibly functional as a real tray, but they are great items for organizing and super helpful at keeping your spaces looking neat and tidy.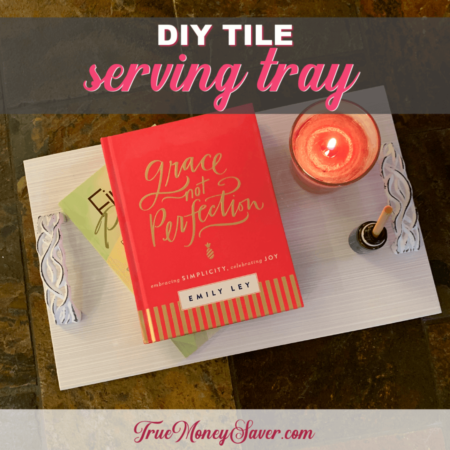
And I can also guess at what you're thinking…they are either gonna take a long time to make or are going to be super expensive. Gotcha covered there too!
This DIY Tile Serving Tray is fast and easy to make, and comes in at a price that's under $10, so it's cheap too!
This post is part of our 30 Days of Homemade Gifts Series. 30 gifts that are easy (and cheap) to make, but also something you’ll be proud to give.
Each Homemade Gift has to meet 5 stipulations in order to maximize your money and make it easy for a busy mom to do:
- Easy to obtain supplies – Supplies are things you might already have on hand or are easy to find at Walmart or a craft store so you can get them in the same day you want to make it.
- Easy to make – Supplies are easy to work with or use so that anyone could do it… not caustic… so you could do the craft with your kids.
- Quick to make – It can be made in 30 minutes or less so it’s possible to make this gift in the middle of the night with products most likely already have on hand. (Note: The 30 minute guide is your “hands on” time, dry time is excluded.)
- Cheap to make – You should be able to make the project without spending more than $10.
- Substantial – Each gift is “big” enough that you'll feel confident giving it alone and not having to add a gift card to it.
BONUSES:
Multiple uses – Multiple gifts can be made out of the same supplies giving you options to use up all the supplies you buy.
Saving Money Double Bonus: Try to think about what you already have on hand to upcycled and save more money.
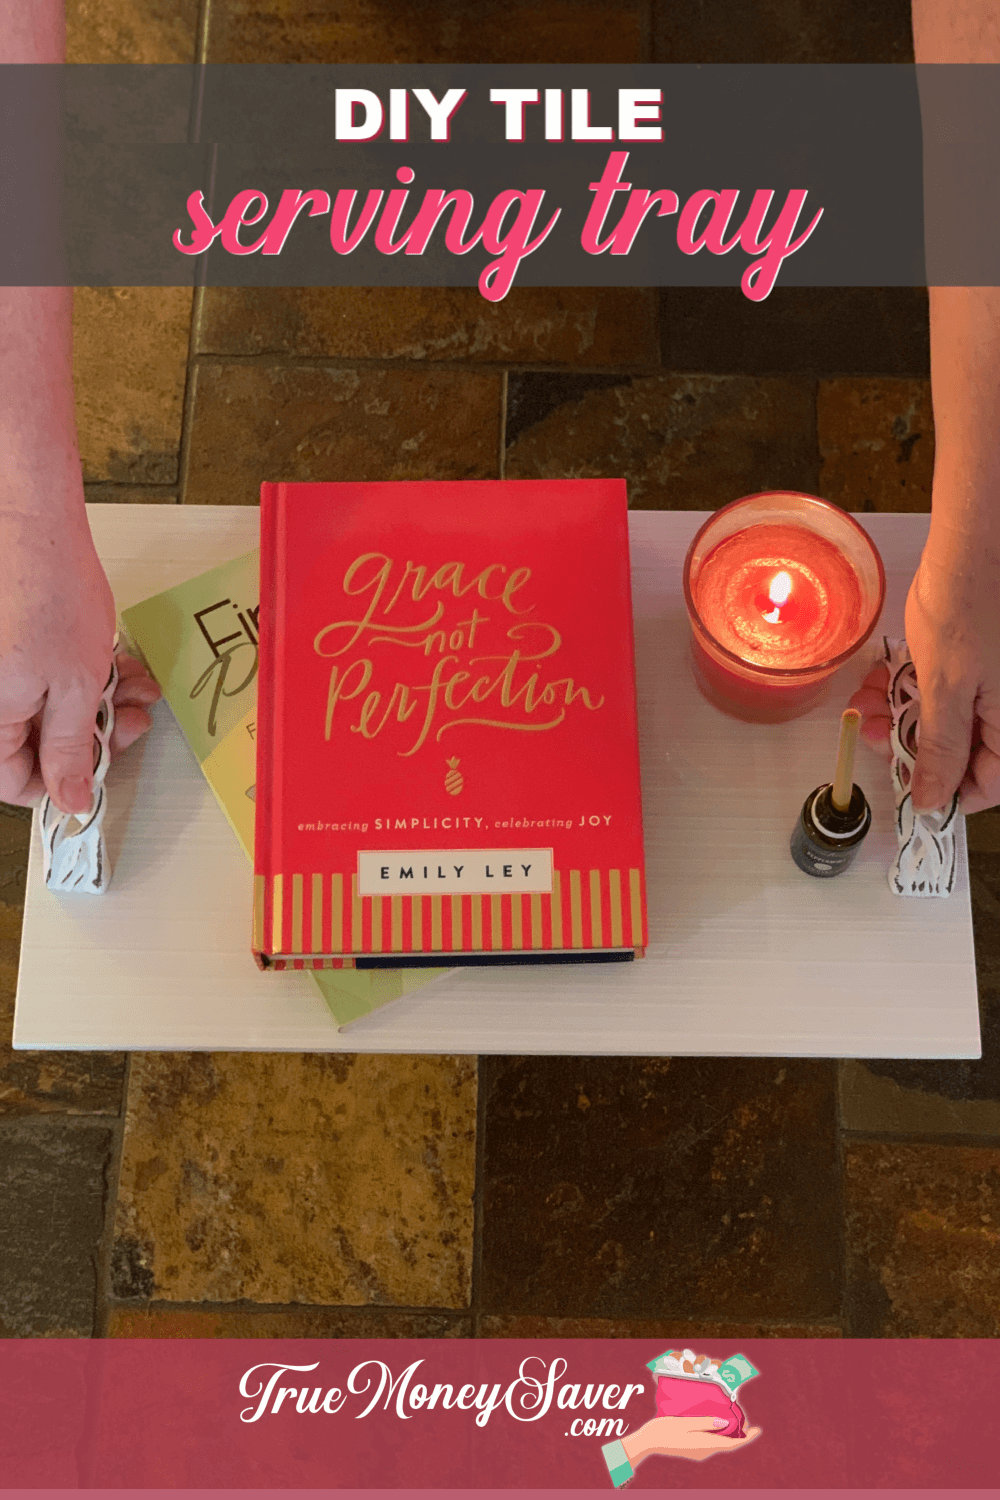
DIY Tile Serving Tray
Now this DIY tile serving tray really isn't for using as a serving tray, but it can be just as nice to corral things on a table, desk, nightstand or vanity.
This will be the cheapest tray and one of the fastest crafts to make.
BONUS FREE DOWNLOAD
Save Money On Your Craft Supplies
Download this FREE Guide to find 25 Ways to save money when you buy craft supplies so that your beautiful creations cost less.
Save Money On Your Craft Supplies
Download this FREE Guide to find 25 Ways to save money when you buy craft supplies so that your beautiful creations cost less.
This is more of a decorative tray that gives you a pretty place to put things.
While that sounds frivilous, it actually helps keep things organized because it gives you a designated place to keep things.
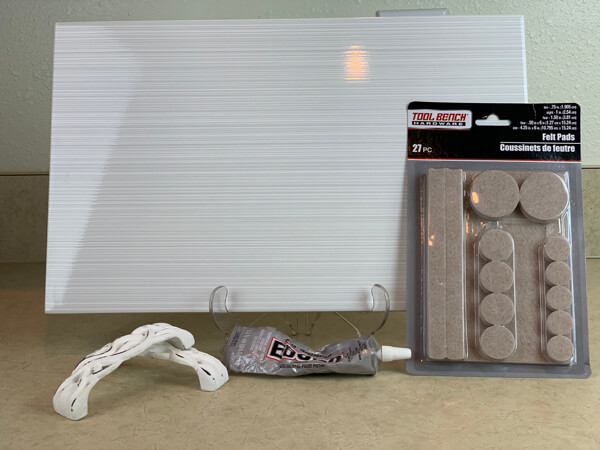
DIY Tile Serving Tray Supplies:
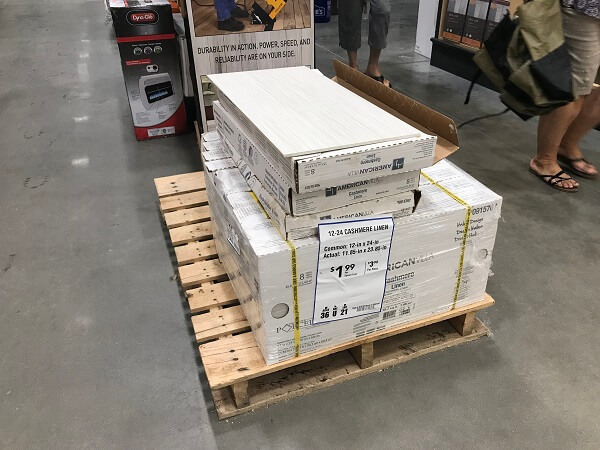
I included a picture of how the tile looks inside the home improvement stores becuase it can be hard to find. I thought it would be on the normal flooring tile area, but look around. You might find some really nice ones on a pallet all by themselves.
- Regular Floor Tile 12″x24″ – $1.99 or less (@ Home Depot)
- Handles – $1.74 each (on sale @ Hobby Lobby) = $2.98
(You’ll want handles that have a flat bottom, not the kind that have a post that is supposed to go through wood. You will be glueing these on, not using the screws.) - Felt Pads – $1 (@ dollar store)
- Craft Paint to match tile (Optional) – $1.89 (@ Walmart or craft store)
- Small paintbrush or foam brush – $0 (if you already have some)
- Painters tape – $0 (if you already have some)
- Gorilla Epoxy Glue OR E-6000 – $3.99 (@ Walmart or craft store)
Total Cost: As low as $7.86 (tile, 2 handles, felt pads & paint)
DIY Tile Serving Tray Directions:
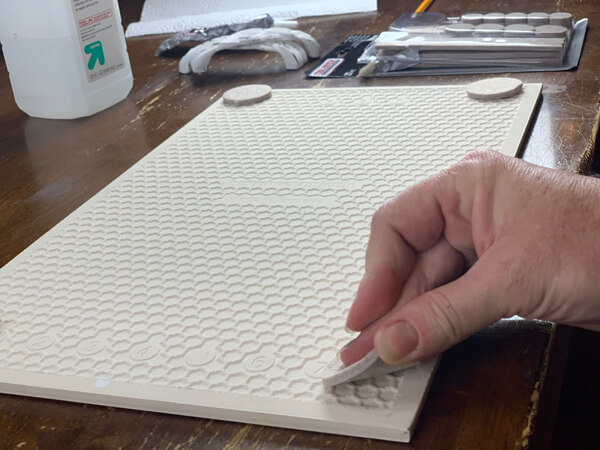
Step 1: Add Felt Pads
Once it has dried, turn the tile over to the bottom. You might want to put it down on an old towel so that your DIY tile serving tray doesn’t scratch your working surface. I was using a stretchy trash bag to protect my kitchen table.
Stick and press the felt pads to the bottom of your tile. This will help from it scratching any surface while moving it.
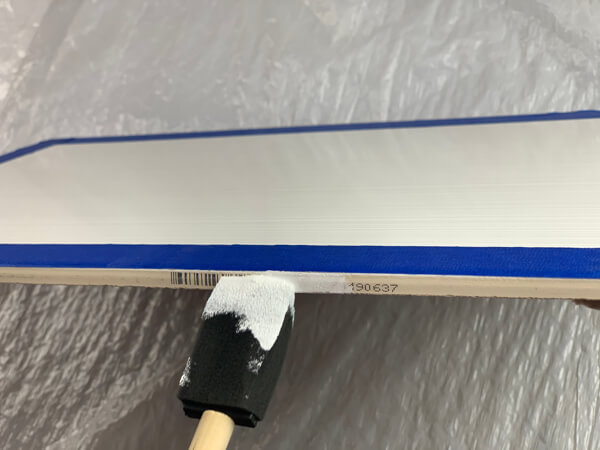
Step 2: Paint The Edge Of Your Tile
Look on the sides of your tile for a barcode. I didn't even know they had one! You'll want to paint over it to hide it. Even if there isn't a barcode, you might want to paint the edge to make it look nicer.
Use the painter's tape to protect the pretty side of the tile. Although the paint wipes right off the tile surface when it's dry, but taping it makes cleanup much quicker.
Paint around the edges and cover that barcode. This type of paint dries really quickly, so by the time you get around to the fourth side, the first one will probaby be dry.
You can peel off the tape immediately and rub the paint off the top of your tile.

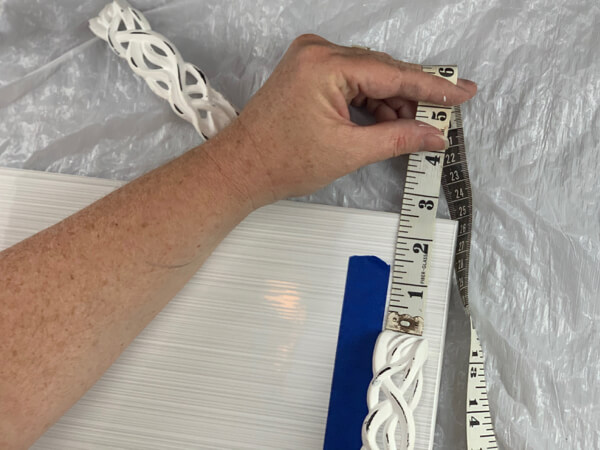
Step 4: Measure For The Handles
First, measure the actual handle as well as the side of your tile in order to determine where it should go and to place it in the correct place on your DIY tile serving tray.
I like to use painters tape to give a straight line where to place the handle once it's got glue on the bottom.
You don't need a long piece of tape that goes all the way across the tile, just enough that's slighly longer than the handle so that you can easily see where to place it once you're ready.
Step 5: Use Tape To Make It Easy
I also measure from the top and bottom of the tray to the top (and bottom) of the handle to make sure it's placed evenly.
BONUS FREE DOWNLOAD
Save Money On Your Craft Supplies
Download this FREE Guide to find 25 Ways to save money when you buy craft supplies so that your beautiful creations cost less.
Save Money On Your Craft Supplies
Download this FREE Guide to find 25 Ways to save money when you buy craft supplies so that your beautiful creations cost less.
Use tape on the top and bottom of the handle, as well as underneath the handle so that it's super simple to place the handle in the correct spot once it has glue on the bottom.
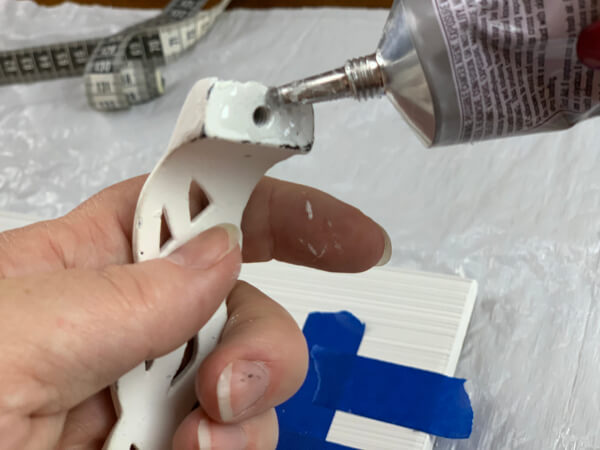
Step 6: Glue The Handles To The Tile
Now it's time to dab some E-6000 glue to your handle and press it down on your tile.
If some squishes out from under the handle, that's okay, just wipe it off with a paper towel.
Step 7: Remove The Tape & Clean Up
I know the glue hasn't dried yet, that's okay. Carfully peel the tape up from around and under the handle being careful not to move it out of position.
Let dry completely for about 24 hours. Just to be safe, I wouldn't carry anything on it for 48 hours.
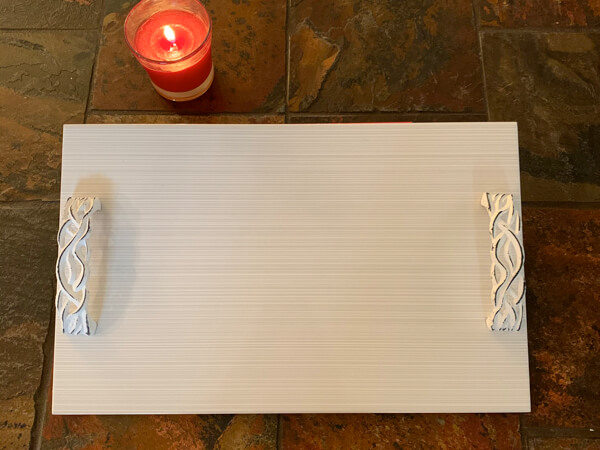
Now you're good to go and wrap it up to gift!
As you can see, this DIY Tile Serving Tray is fast and easy to make.
It also comes in at under $10! Such a cheap and great looking gift too!
YOUR TURN: What are you going to use this tray for? Let me know in the comments below!