 After we've enjoyed coloring our Easter eggs, my family likes to make Deviled Eggs with them to serve with our Easter Dinner.
By far, the hardest part of making Deviled Eggs is peeling them. We've learned some tricks over the years to get those shells off easier.
How to you get perfect hard-boiled eggs that are easy to peel?
It all starts with how you cook them!
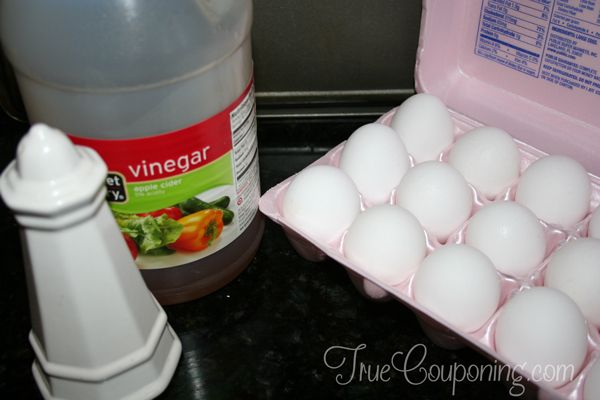
In addition to eggs, you'll need salt and vinegar. I usually use white vinegar, but my husband used all we had to pour down our AC unit drains. So, I found apple cider vinegar in the pantry. Either will work fine!
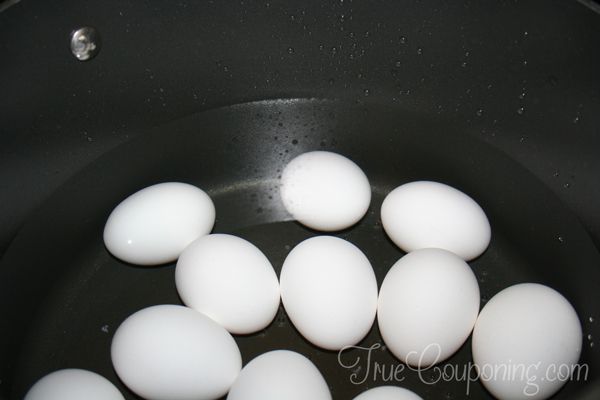
Place the eggs in a single layer in a saucepan and cover with an inch or two of water.
BONUS FREE DOWNLOAD
Save Money On Your Craft Supplies
Download this FREE Guide to find 25 Ways to save money when you buy craft supplies so that your beautiful creations cost less.
Save Money On Your Craft Supplies
Download this FREE Guide to find 25 Ways to save money when you buy craft supplies so that your beautiful creations cost less.
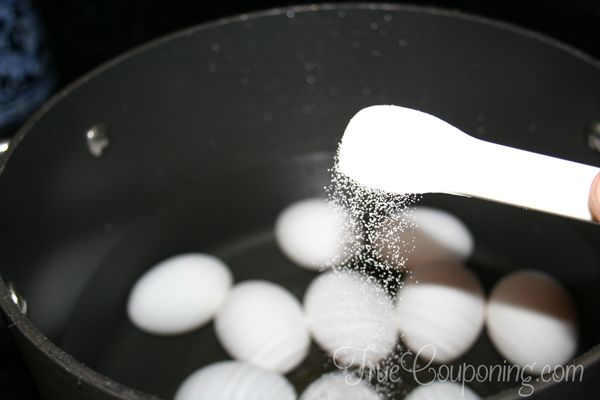
Add 1/2 teaspoon of salt and 1 tablespoon of vinegar.

Wait for the water to boil.
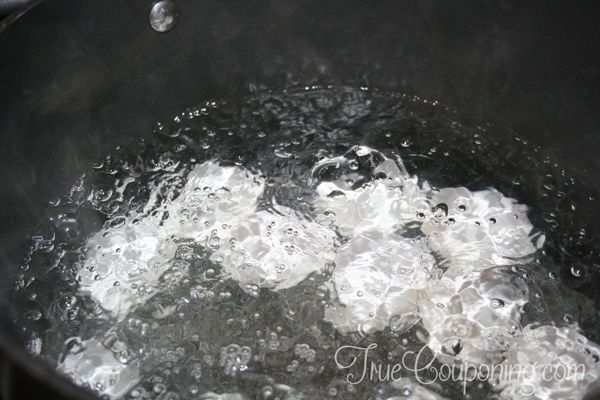
You don't want to let it boil vigorously because that can crack the eggs. It does need to be to a full boil, though.
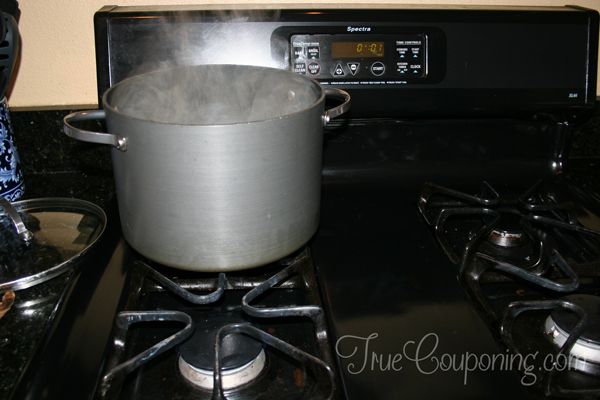
Remove from heat, reduce heat to low, return the pot to the burner and boil slowly for one minute.
After one minute, remove from heat and cover.
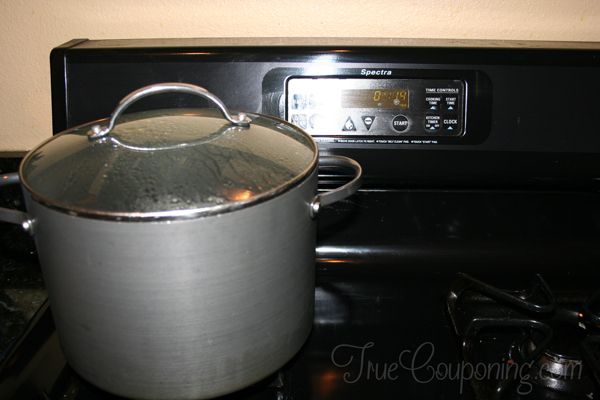
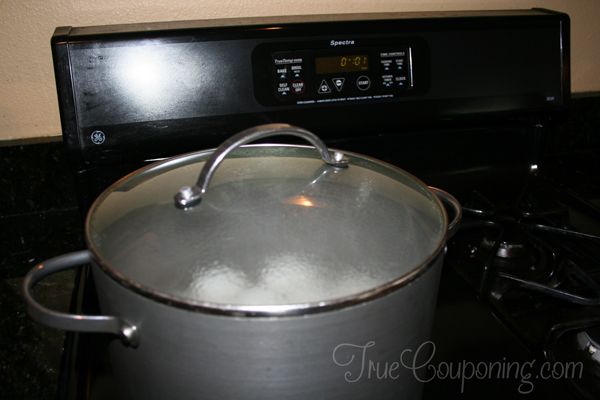
Let pot sit covered for 14 minutes.
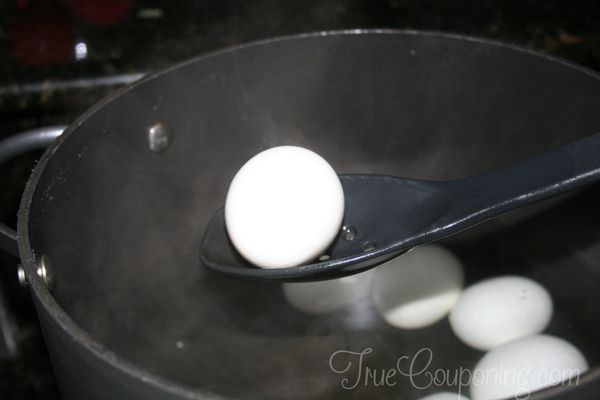
Using a slotted spoon, remove eggs from hot water…
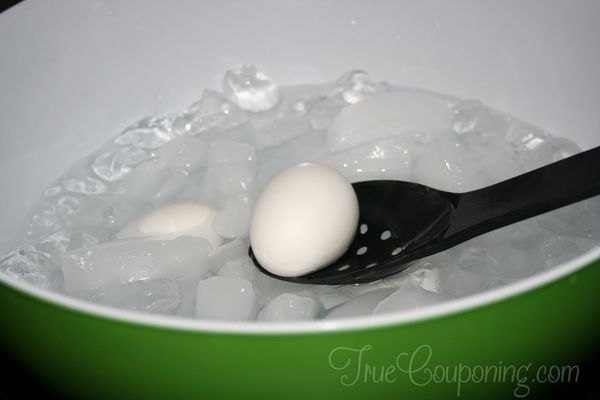
and place gently into a bowl of ice water. Allow eggs to cool completely in ice water. I usually leave them in there 5-10 minutes.
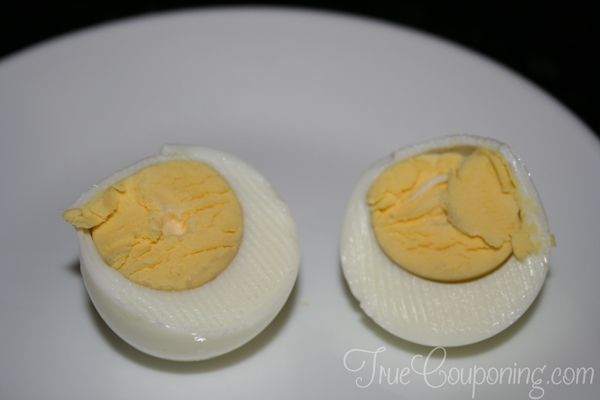
Not only will your eggs peel easily, but they will be perfectly cooked, too! No green ring around the yolk!
BONUS FREE DOWNLOAD
Save Money On Your Craft Supplies
Download this FREE Guide to find 25 Ways to save money when you buy craft supplies so that your beautiful creations cost less.
Save Money On Your Craft Supplies
Download this FREE Guide to find 25 Ways to save money when you buy craft supplies so that your beautiful creations cost less.
See how easy they are to peel in this video!
- 1/2 teaspoons salt
- 1 tablespoons distilled white vinegar
- 4 quarts of water (16 cups)
- 12 eggs
- Place eggs in a single layer in a saucepan, covered by at least an inch or two of cold water. Start with cold water and gently bringing the eggs to a boil. This will help keep them from cracking. Add a tablespoon of vinegar to the water. This will help keep the egg whites from running out of any eggs that happen to crack while cooking. Add a half teaspoon of salt to help both with the preventing of cracking and making the eggs easier to peel. Put the burner on high and bring the eggs to a boil. As soon as the water starts to boil, remove the pan from the heat for a few seconds.
- Reduce the heat to low, return the pan to the burner. Let simmer for one minute.
- After a minute, remove the pan from the heat, cover, and let sit for 14 minutes.
- It is very hard to overcook eggs using this method. You can let the eggs sit, covered, for up to 15-20 minutes without the eggs getting overcooked.
- Remove the eggs with a slotted spoon and place them into a bowl of ice water to cool. Once cooled, strain the water from the eggs. Store the eggs in a covered container in the refrigerator. They will keep up to 5 days.
- Eggs will peel easier after being refrigerated a day or two.

A Decorating Idea!
After your eggs are completely cool, here's a fun and easy way to decorate them!
Using some of your kids' favorite stickers (or yours!), apply them to the eggs before you color them. Make sure all the edges of the stickers are pressed down. After the eggs have been colored and have dried completely, gently remove the stickers leaving the outline where the sticker was applied.
Have more egg tips? Leave a comment below!
Find more Easter recipes PLUS Easter Crafts & DIY projects on TrueCouponing.com.